LET THE FUN BEGIN!
Hi there and thanks again for continuing this course.
Click here to view the whole course.
Welcome to lesson 5 which is where all the fun begins! In this lesson you'll learn how to start recording a movie, what to expect at the beginning and how to configure your recording options. This lesson assumes that you already have ScreenFlow on your computer whether it be a paid version or fully functional trial version as explained in lesson 2.
What NOT to expect...
When you first launch ScreenFlow, not a lot happens as you'll see in the video. Pretty much all that happens is that an icon will appear in the top menu bar of your screen and a small configuration panel will appear in the middle of your screen. The reason I'm mentioning this is because some people (rightly so) expect a full graphical program to open on the screen when a program is launched, for example your web browser. This is not the case with ScreenFlow and the movie will show you why.
What TO expect...
After launching ScreenFlow, all you'll see is the small icon I mentioned above and a small configuration panel appear in the middle of your screen. This panel allows you to choose the video and audio and there's a red "Record" button at the bottom. Once you've configured the inputs, all you do is press record and your screen will darken while a countdown (preset in your ScreenFlow preferences and explained in lesson 3) to the beginning of recording. When the countdown ends, the screen returns to normal brightness and you're on your way! You are now recording everything you do on your screen and say into your microphone.
Scary times!
This can be quite daunting if you've never done it before because it's a little bit like being in front of an audience and trying to make a speech. However, even if it takes you heaps of tries to get your recording as you want it, all you need to do if you're not happy with a recording is to click on the icon in your top menu bar and click on stop record. You'll then have the option to either discard the recording or simply not save the recording after the interface opens up. You can then compose yourself and start again.
Stop Record - opens the editing software...
It's only after you click "Stop Record" that the graphical interface of ScreenFlow opens up and shows you what you've just recorded. This is why it's good to use the trial version so you can get your head around how all this unfolds. Once the interface has opened up, you'll have full access to all the editing functions which allow you to make the movies you want.
Make a short recording first...
I suggest if you're new to this software that you follow the instructions and simply make a short recording so you can see how the process works. Once you've made a recording, press "Stop Record" which will automatically open the editing interface. You can then start to play around with the buttons to see what they do. Don't worry, if none of this makes sense to you, I'll guide you through in the next courses and show you everything the buttons do and how they'll help you make high quality videos.
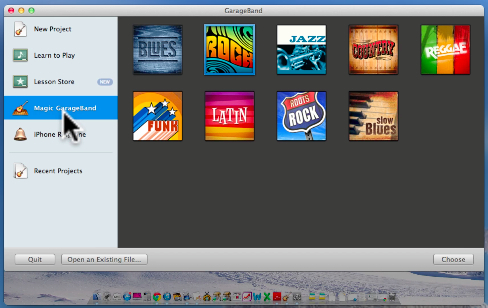
I'll also wet your taste buds in this lesson with ways you can create your own music sound tracks to use as backing tracks in your movies - with no Copyright infringement issues.
Movie duration: Approx. 17 minutes
Click here to view the movie for lesson 5.
Take your time.
It's really important that when trying something new, that you take your time and learn at your own pace. If you rush this course, chances are you'll become confused and want to throw your hands up in frustration and walk away. Please don't do that. It doesn't matter how long it takes you to get used to how things work in this program, what's important is that you persist and become a professional movie maker to boost your website and blog traffic.
So watch the movie and if you have any questions at all about this lesson or any other lesson in this course, please contact me and I'll be more than happy to help you.
Kind regards,
Phil.


