Saving and Publishing your Welcome Email
Step 9: Click Save and Publish
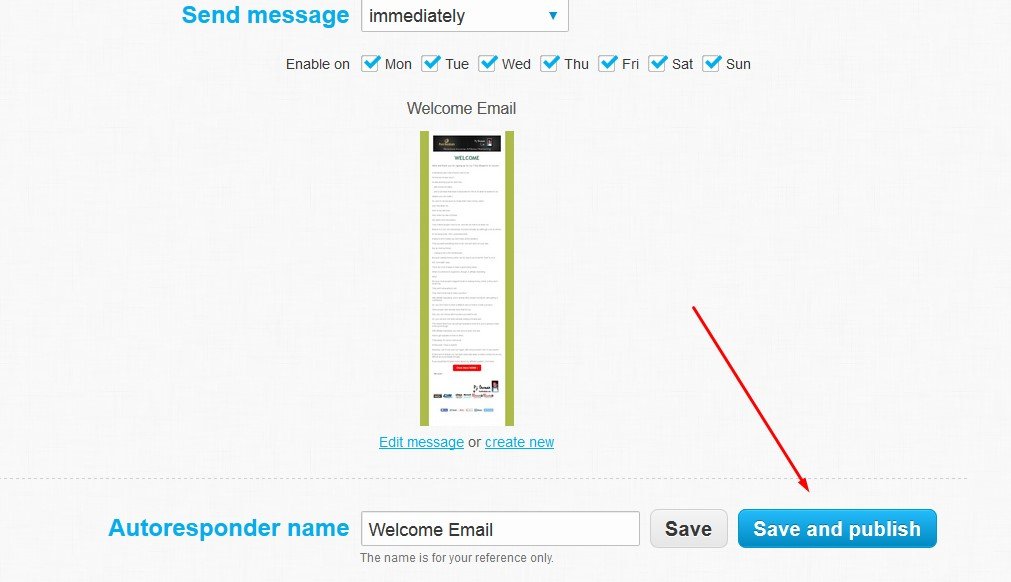
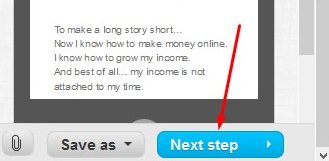
On the next screen you will see a snapshot of your first email in your autoresponder - the Welcome Email. Click the Save and Publish button as shown below:
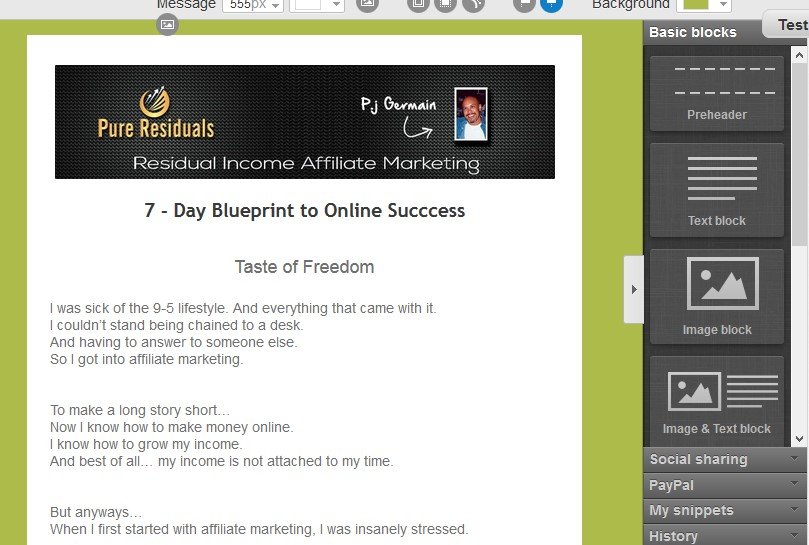
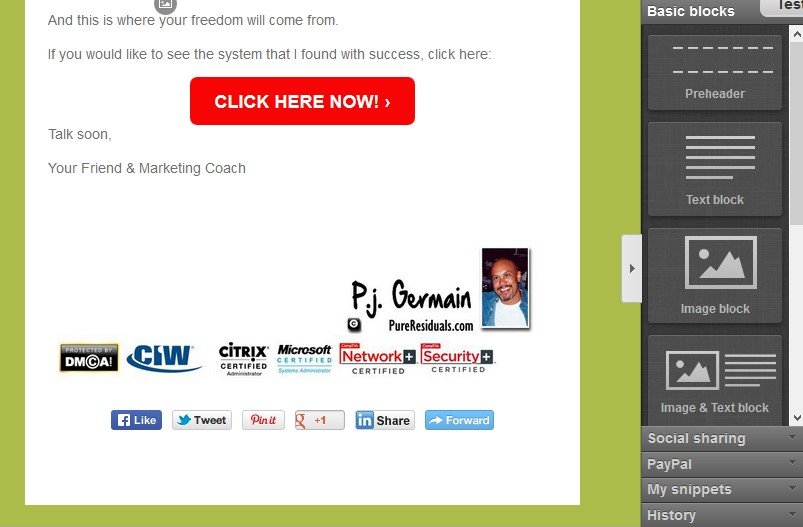
Okay, here's the cool part.
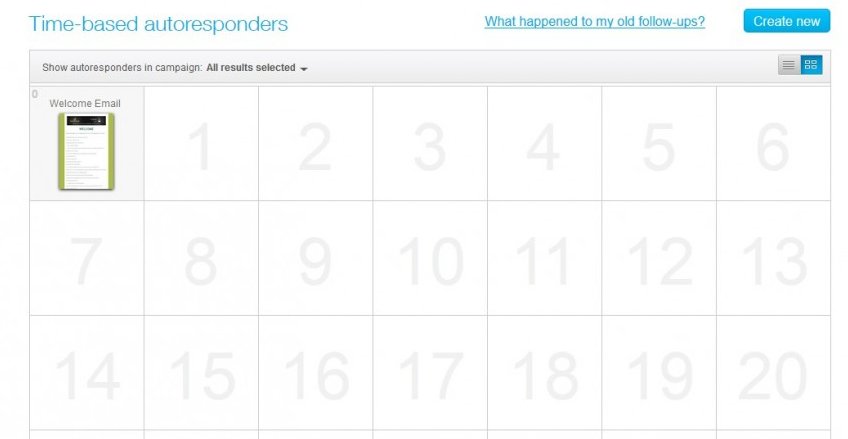
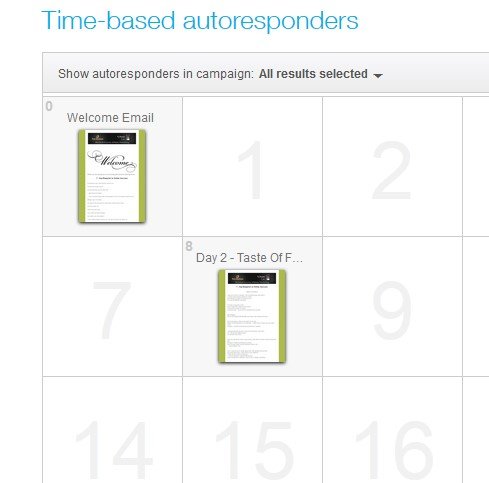
You will be switched to a Month View for your time-based email autoresponder. This is the calendar of how your emails will go out and in what frequency:
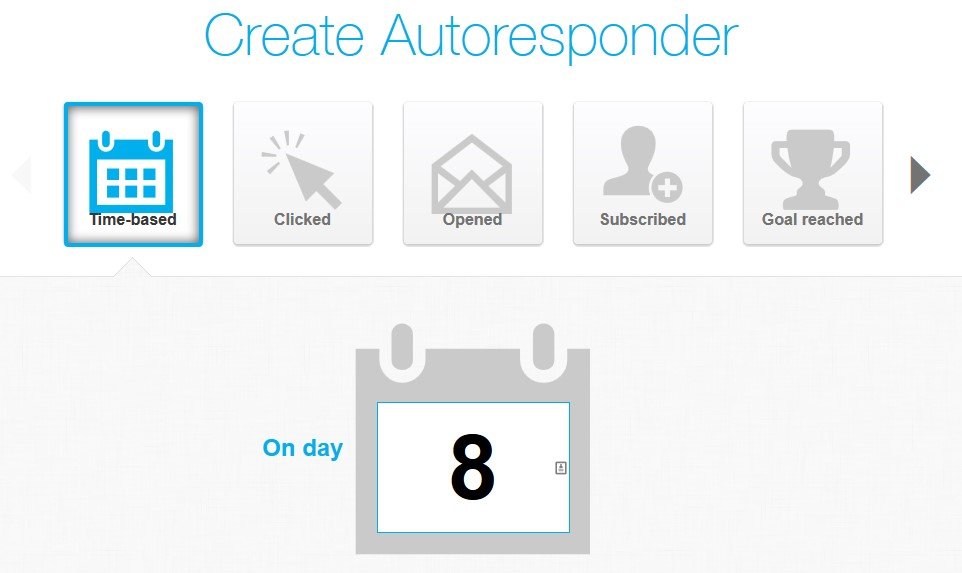
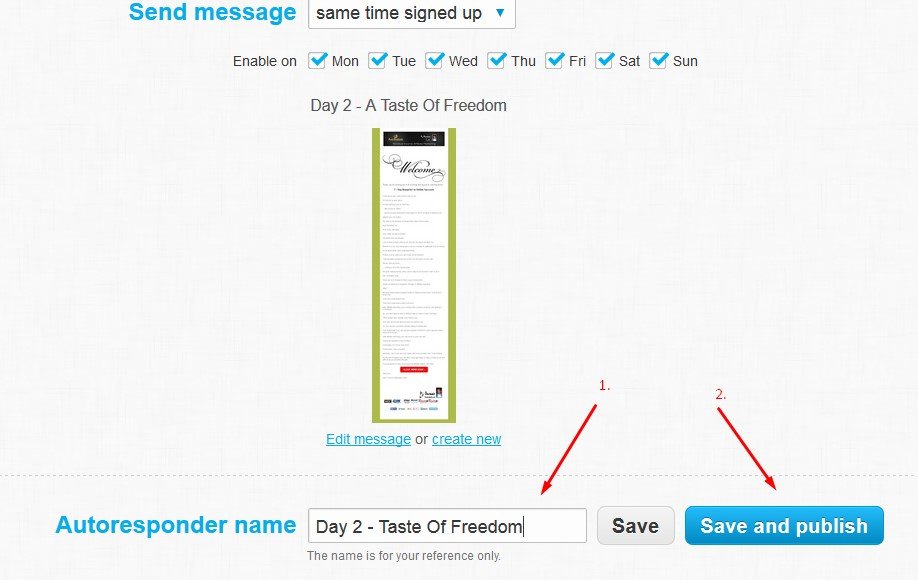
Step 10: Select the Day of the Next Email
Click on the Day of the next autoresponder email as such:
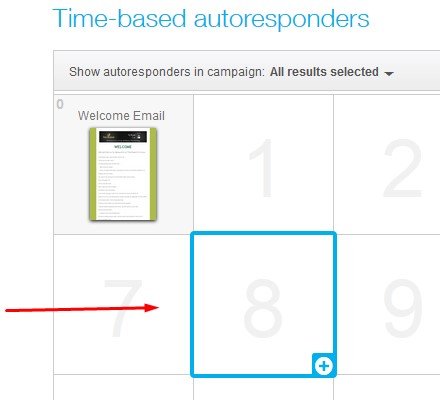
I have selected Day 8 for the first email of the training series. The following is presented:
NOTE:
Please keep in mind, this is day 8 of the email sequence, NOT simply the 8th day of the month. The calendar view is simply to aid you in determining the timing of each email that is sent out. But, each day 0 and day 8 will be different for each subscriber depending on the day they actually signed up. The day they signed up is day 0 for THAT subscriber. I hope that makes sense!
Scrolling down on the same page you'll be presented with the following:
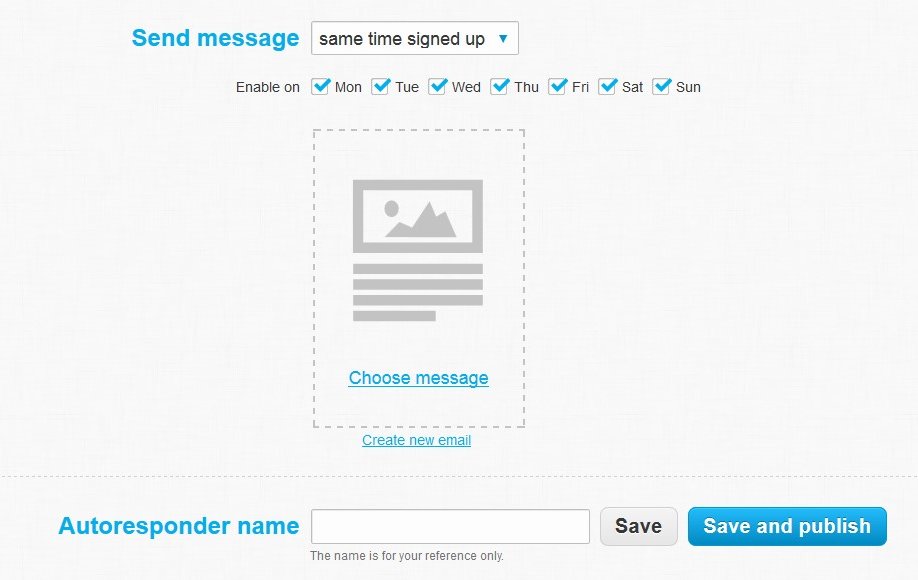
Careful with the top option: Send message
Here, the default is the same time of day that the person signed up for your autoresponder. It can be changed to a specific time, but I normally leave it alone.
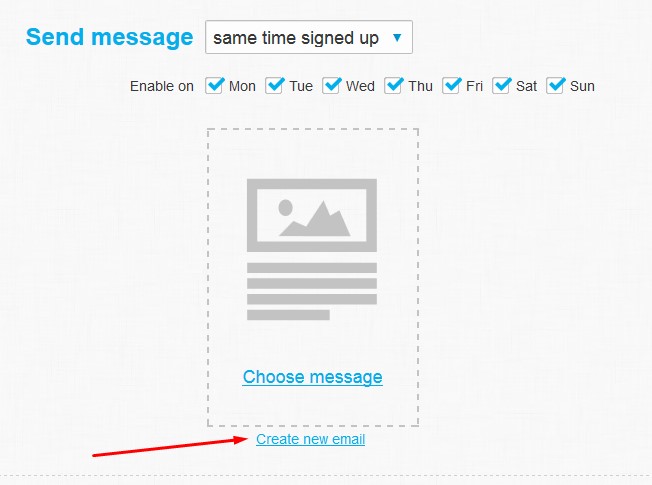
Step 11: Click Create New message
Step 12: Input Message Name and Subject
In the new Autoresponder settings for the next email, input the new Message Name and Subject.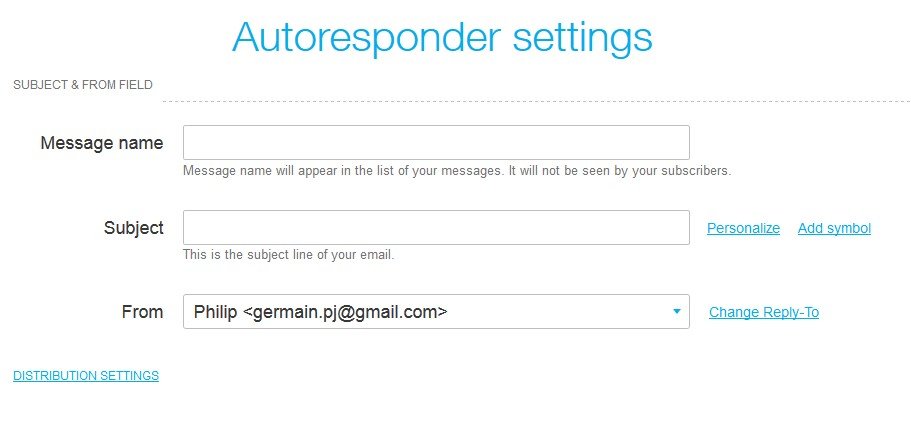
NOTE: Keep in mind, this is your second email, one week later (or at the interval you choose) but, it is what I refer to as the Day 1 email - because it's the first of the real meat of what I'm sending them.
OPTIONAL: Send the Welcome email immediately. On the next day, send the Day 1 of the series, then wait a few days, send Day 2, wait a few days, send Day 3 and so on.
OR you can include the Day 1 email within your Welcome email. Then, space it out with the day interval of your choice. I do this a lot.
Okay, so here is mine after I have edited:
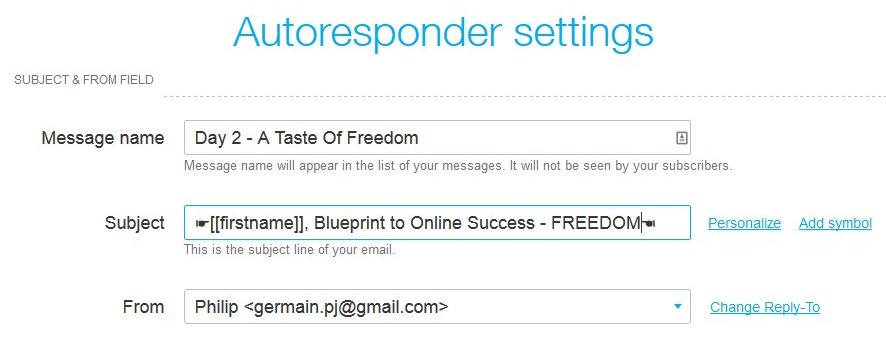
Reminder: The Message Name is just for your eyes. The Subject is what they will see in their Inbox and hopefully open and read!
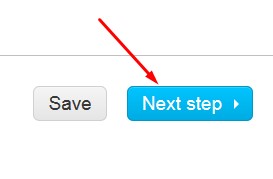
Step 13: Click Next step:
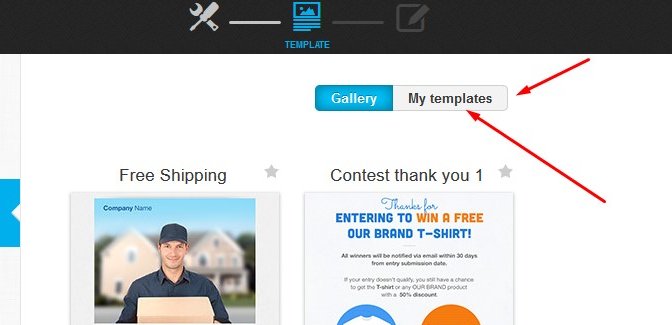
Step 14: Get your Saved Template
14-A
You will be presented again with the template selector. But, because you saved a template previously, we can use that one from here forward.
Click the My Templates button at the top this time:
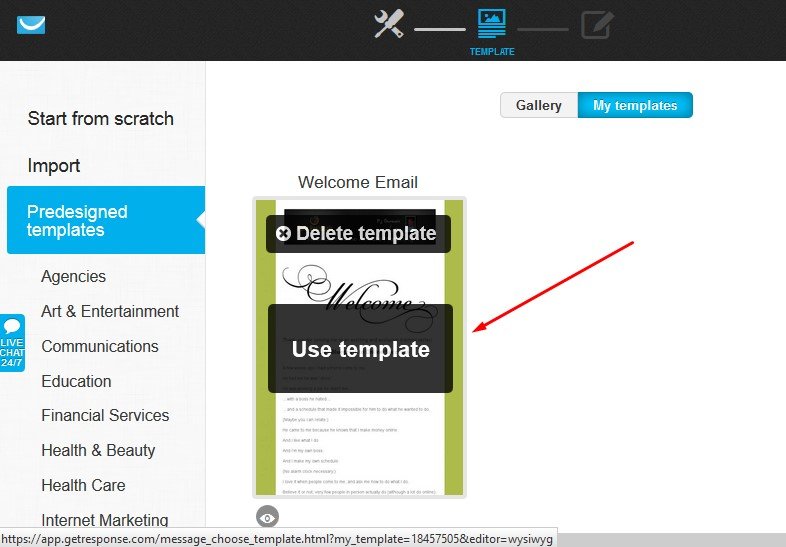
14-B
Hover over the saved template and click Use Template:
Step 15: Modify Template for Next Email
Again, you will be presented with the email editor functions. Simply modify this email for your next in your series. Here's mine:
You will get this one doneMUCH quicker because many of the elements of the template won't change, it's mostly about swapping out the text and perhaps adding in another add or something.
This time, after you have completed your changes, Click the Next Step button only:
Again, you will be presented with the autoresponder creation screen as shown below:
Change the name to reflect which email you're sending
Then,click Save and Publish
Again, you will be presented with the calendar grid view:
NOTE: Due to the server saving time and image generation, you may see this image presented as the preview :
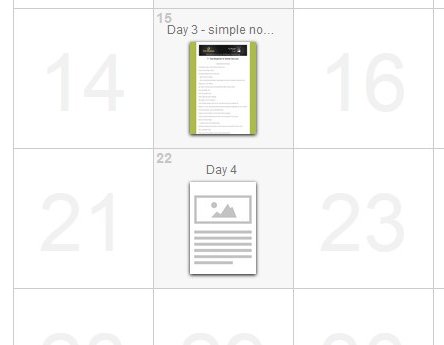
Notice that the Day 4 image looks blank. Don't worry! Refresh your browser a couple of times and it will generate the preview image correctly. But, either way you can move on. It DID save it.
Okay, so now you have TWO emails completed for your autoresponder time-based email series.
Step 16: Rinse and Repeat
Repeat Steps 10 - 15 until all your emails for your sequence are saved and published.
Next we will setup the final steps of the autoresponder configuration.


Thank you,
Robin