Okay, you've done well thus far my young padiwan!!! (In my best Yoda voice)
But, here's one thing to further set yourself apart and make you look like a Pro email marketer.
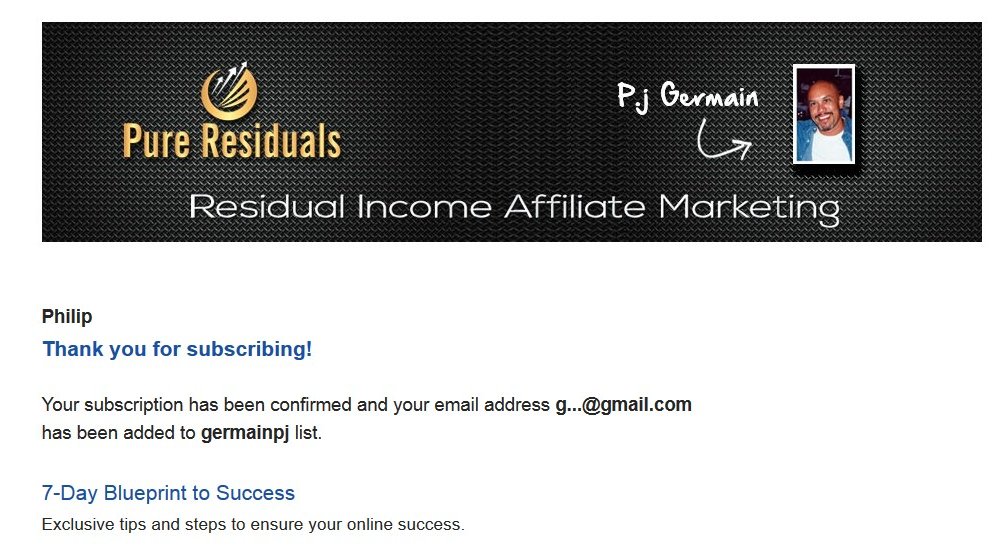
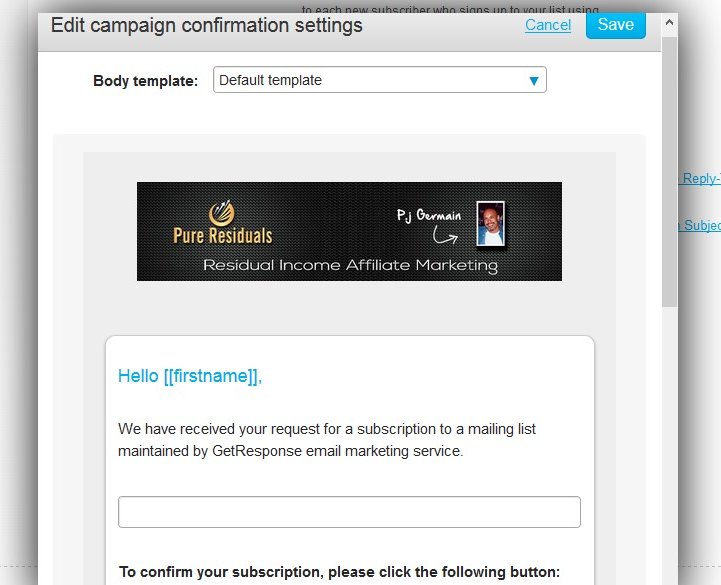
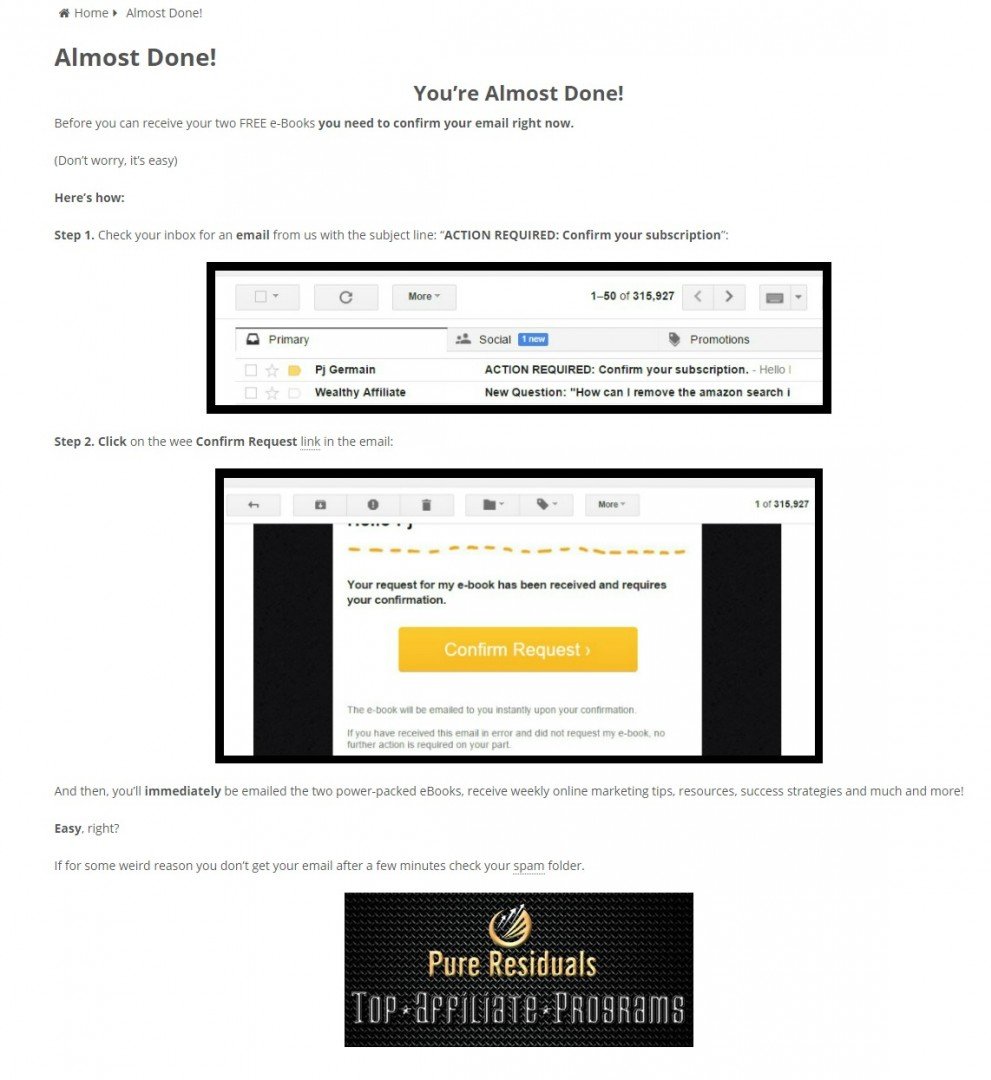
Here is what the standard confirmation email will appear like after the visitor fills out your SumoMe (or other) opt-in form. This is their very first email to confirm their request to receive information from you.
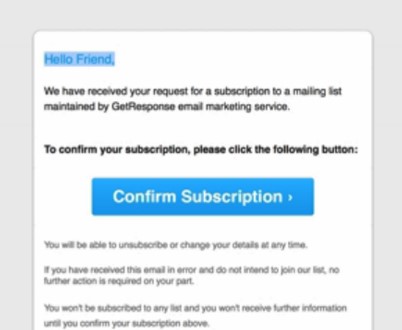
Sorry it's fuzzy. But, as you can see, it's pretty generic and I didn't like it at all. You can leave it as is, but many of us choose to personalize it, brand it and also take this opportunity for a wee promotional link.
NOTE: It took me several minutes to figure this out at first. So, if you have never performed this step. BOOKMARK this now!! LOL!
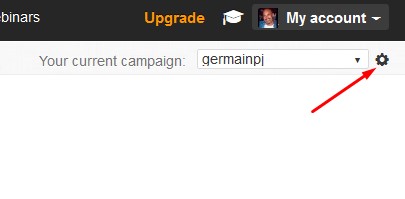
Step 1: Login to GetResponse
You'll then notice a wee gear icon in the upper right corner next to your campaign (email list) name:
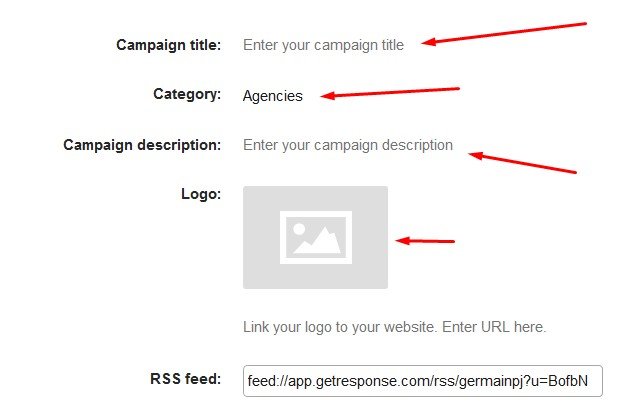
You will then be presented with the Campaign settings screen as such:
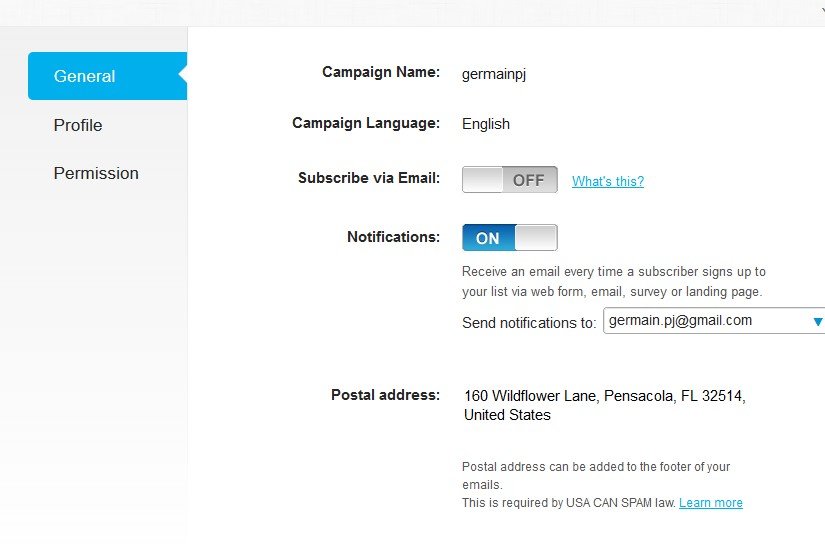
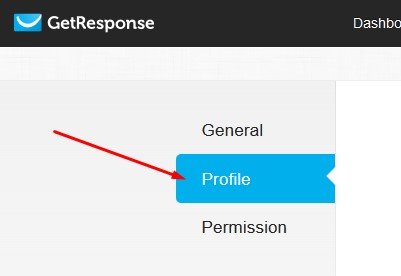
You will be presented with the Profile options for this specific campaign:
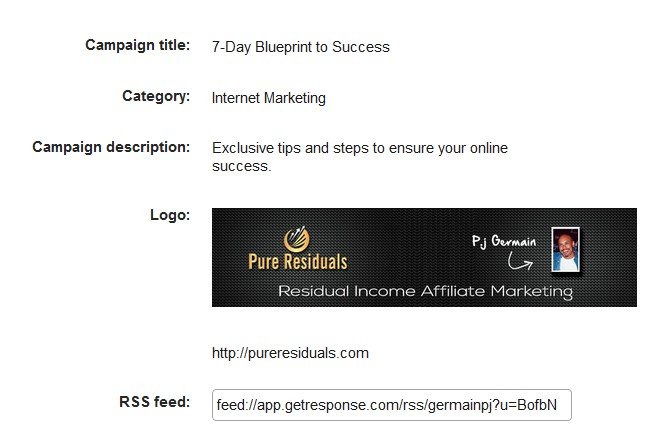
Here's mine after editing for an example:
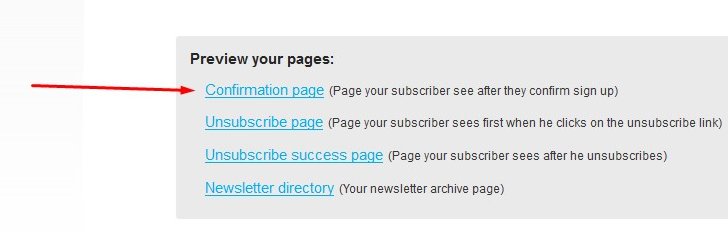
Step 4: Review the Confirmation
There are TWO confirmation pieces you should be aware of.
Email Confirmation Email - the page the visitor is taken to AFTER they receive the confirmation email in their Inbox from the service to satisfy the Double-Optin requirement.
Email Confirmation Thank You page - The PAGE the visitor is taken to after they click on the confirmation email.
IF you setup a Thank You page within the SumoMe options, you can simply add the same URL here.
IF you did not, you can use one provided by GetResponse and served up by their servers. But, I recommend the SumoMe option - in this manner you can put them back on your website and pitch something else - as I mention in the SumoMe training.
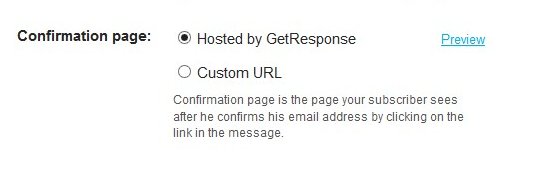
IF you choose to use the GetResponse provided Thank You page, scroll down a wee bit and you'll see this:
Let's move on to modifying (a bit more) the Email Confirmation email.
Step 5: The Permissions Options
You should still be on the Campaign settings options.
Click thePermissions menu option:

Step 6: Modify the Confirmation Email
You'll be presented with the permissions settings. The middle of this screen is the Confirmation message stuff:
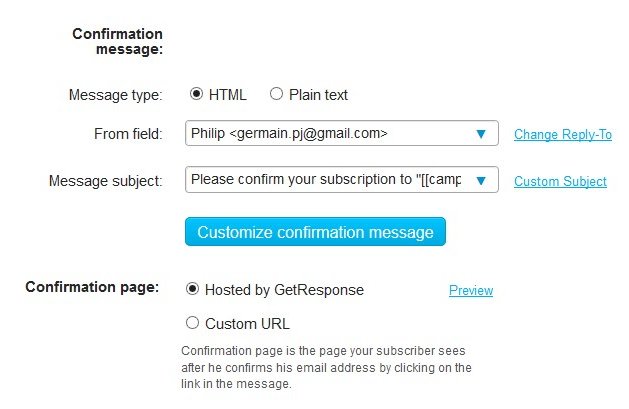
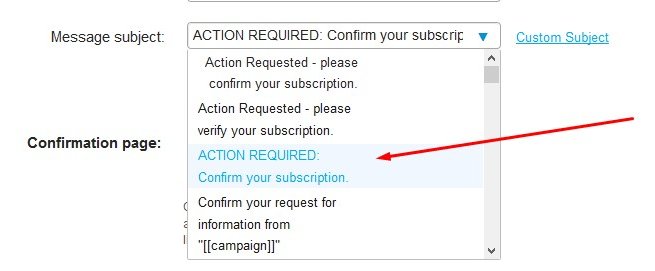
Also, to a certain degree, you can change the Message subject.
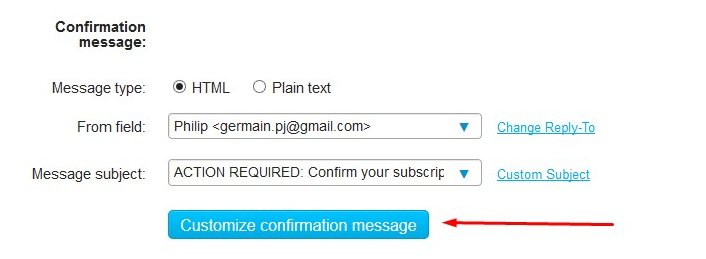
After that is completed, you'll be able to modify part of the actual confirmation email text.
Click the Customize confirmation message button shown below:
The only thing you can do here is add some more text in the two boxes provided. the other text from GetResponse must remain as is. But, this will give you a chance to personalize it a bit and create a connection (relationship building) with your new subscriber.
Additionally, at the top you will see it's set for the Default Template (for the confirmation email - not to be confused with your autoresponder template - two separate things.)
IF you have an eBook giveaway, I highly recommend changing the confirmation email template to eBook request (new). This is what you will see after doing so:
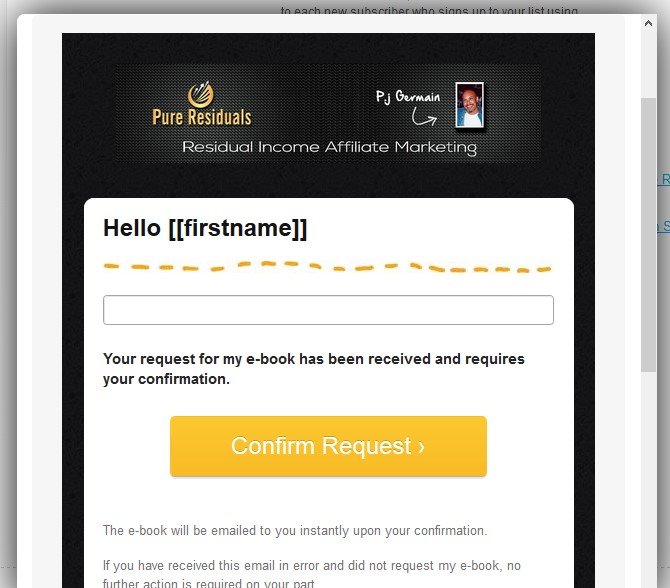
That's a serious call to action to confirm the subscription to your new autoresponder or email.
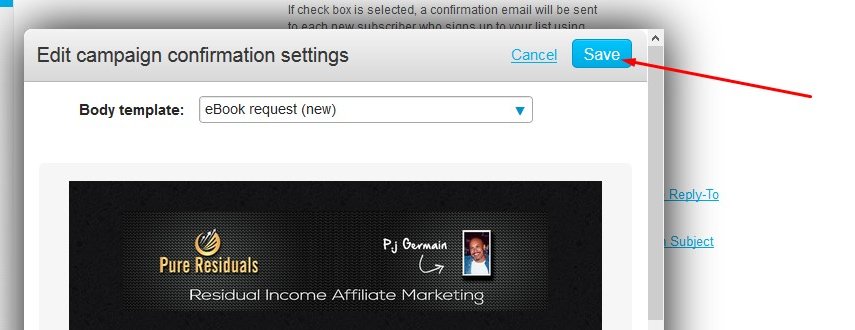
Okay, after you have completed modifying what you wish, don't forget to click Save:
Again, you can put in the same Thank You page you used for your SumoMe email Opt-in OR you can choose yet another Thank You page with other items on it.
This can be a bit confusing - because there is or can be more than one Thank You page. Keep in mind, the visitor can go somewhere after completing the SumoMe Opt-in email form. This is the opt-in Thank you Page. Then, they receive and email from the email service that requires confirmation. So then, you get to send them to another Thank You page OR use the email service's default thank you page.
The takeaway here is that you can modify the confirmation email to brand it and create a more professional appearance.
Also, you can use the Thank You pages to get them on your website again and provide specific instructions on what to do to confirm your message.
For example here is one of my active Thank You pages:
Okay, cool! You did it! I hope this helped you integrate your SumoMe Email Opt-in form with your GetResponse Autoresponder ! The same can be done for a newsletter.
Also, once you have folks in your autoresponder, you can easily use a newsletter template, modify it and send it out to all your email subscribers (and to all lists if you have more than one.)
Cheers!
Pj


Thank you,
Robin