How to Connect SumoMe Email Opt-In form to the GetResponse Service
Okay, now that you have your Autoresponder (Time-based email sequence) all setup and ready to go. ...
NOTE:
The following steps require two things to enable this integration:
- You have installed the SumoMe Plugin from here: Combo Sharing & Email Opt-in - SumoMe
- You have used the previous steps in this training tutorial to setup a GetResponse Autoresponder
Let's connect your website email form to this service.
Step 1: Login to your website and into SumoMe
Remember... click the Crown!
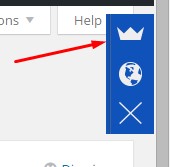
Step 2: Click the SumoMe App Icon
From your SumoMe installed apps, select which app you are using and wish to connect to your autoresponder or newsletter.
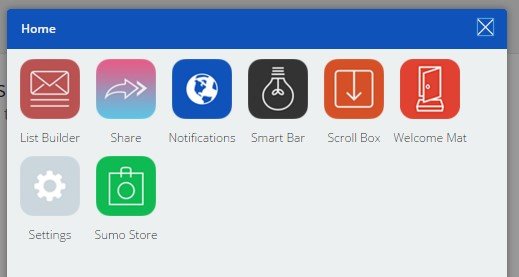
You can connect it with several of the SumoMe apps. For this example, I'll use the Welcome Mat email app.
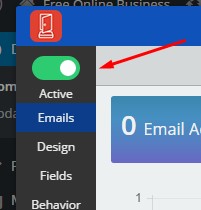
Step 3: Enable the App if not already
Within the App settings, first ensure the App is set to Active
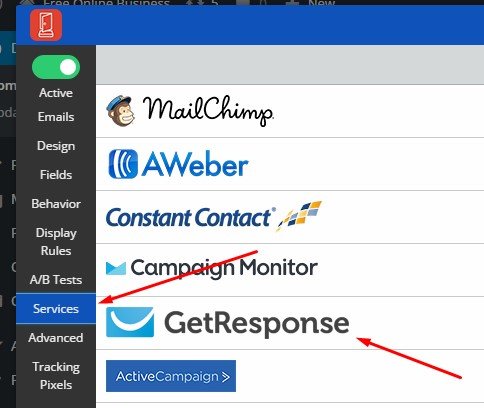
Pause here
Step 5: Open another browser tab - Login to GetResponse
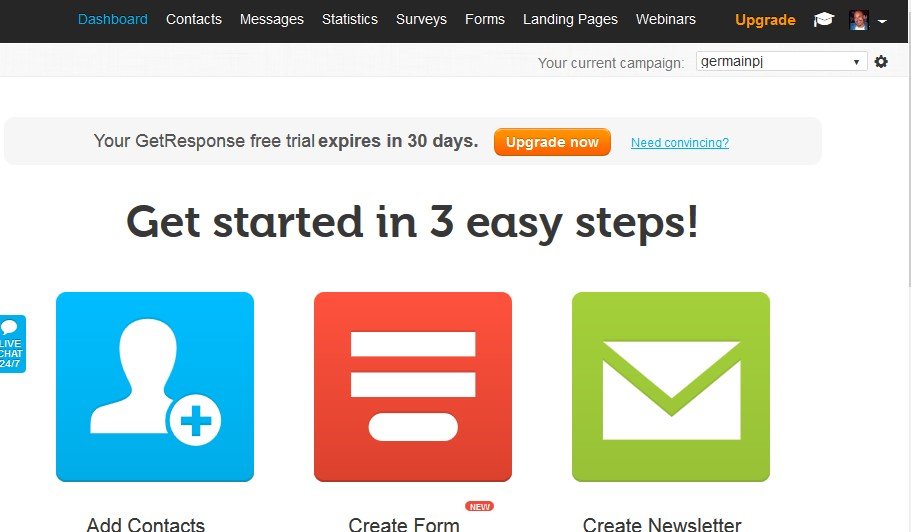
Step 6: Click your Settings and Select Integrations
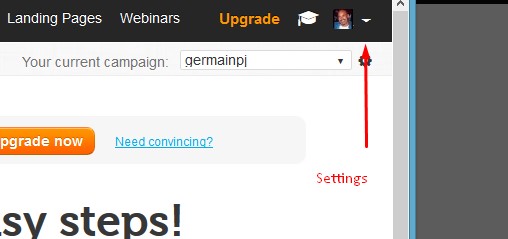
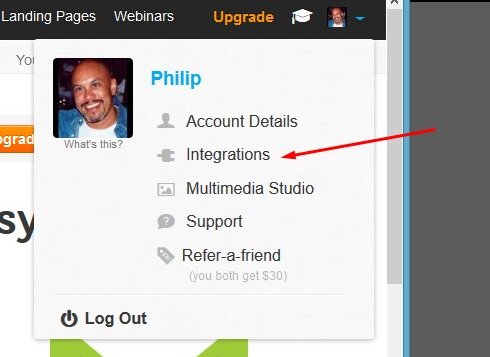
Step 7: On the Integrations Screen, Switch to the API & Oauth menu option
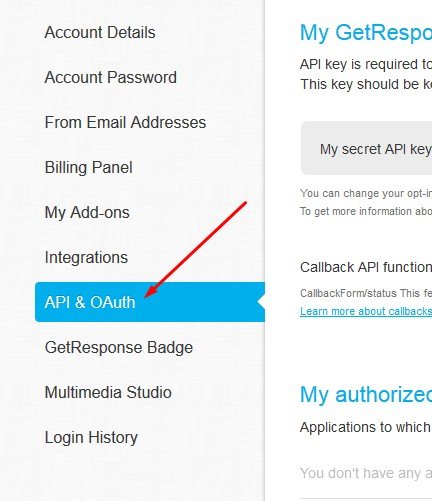
Your Secret GetResponse API key will be revealed. Click the Copy to Clipboard button on the right:

Step 9: Return to SumoMe browser tab
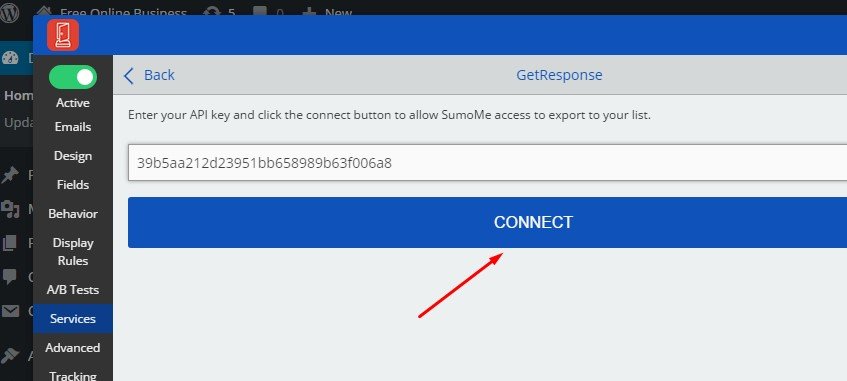
Return to the other browser tab where you logged into SumoMe and paste into the awaiting API box:
Step 10: Connect
After you have copied and pasted the API key into the awaiting box, click Connect:
Because you can have multiple different email lists within the respective email marketing services, you'll need to select which one to connect.
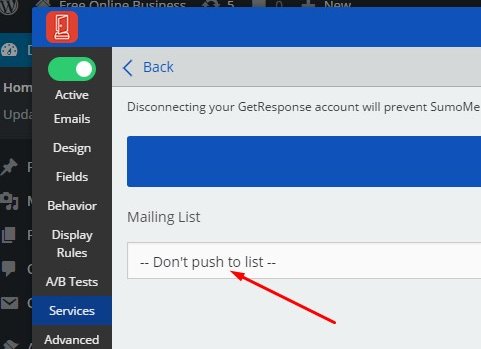
(I believe this initial one is created from part of your email address)
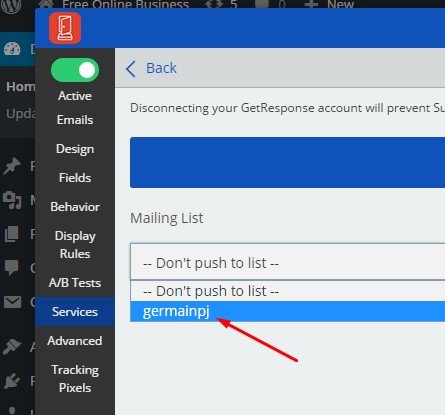
Simply click the Mailing List pull-down and select your list as shown above.
Step 12: Save your Settings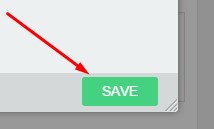
 YOU'RE DONE!!!
Now, I can't stress this enough. Use a free email account OR your primary and test it out. Go to your website, fill in the email opt-in form and ensure you receive BOTH the confirmation email AND the Welcome (or Day 0) email.
Now, if you completed all this. You'll notice the confirmation email is REALLY generic and could use some jazzing up. Also, you may wish to change what happens after someone confirms. So, for the last part of this tutorial, I'll introduce you to those features.

Thank you,
Robin


