
Getting Setup with Mad Mimi Email Marketing
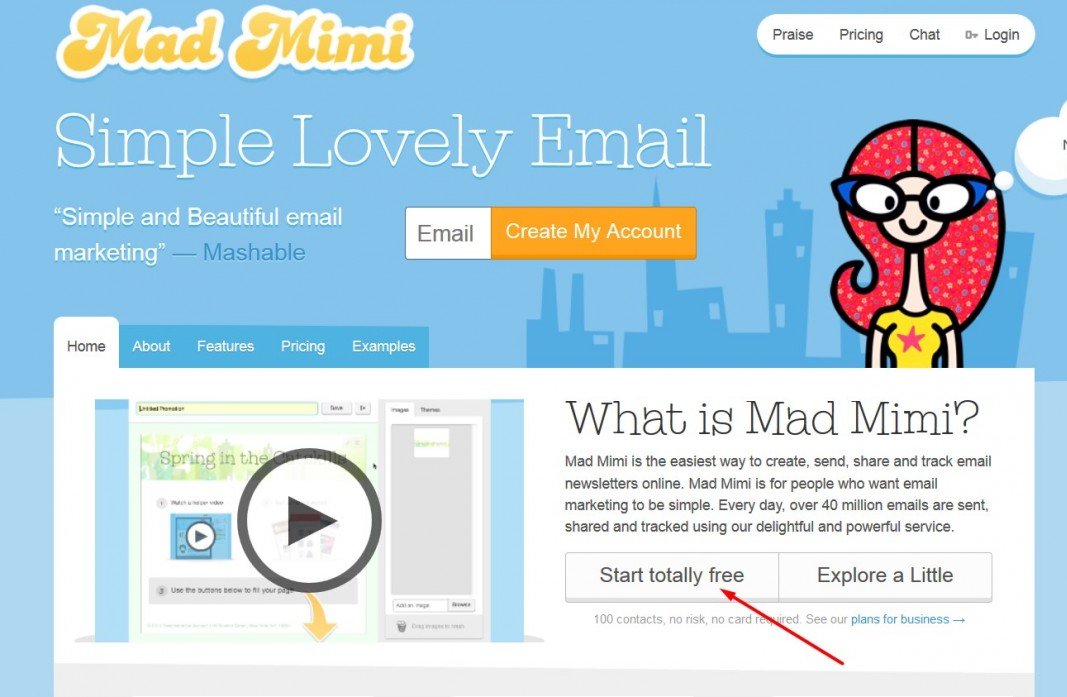
Step 1: SignUp Here:
Step 2: Add in Some Needed Components:
After login, click the + symbol to add in a few components (features) to help get you started: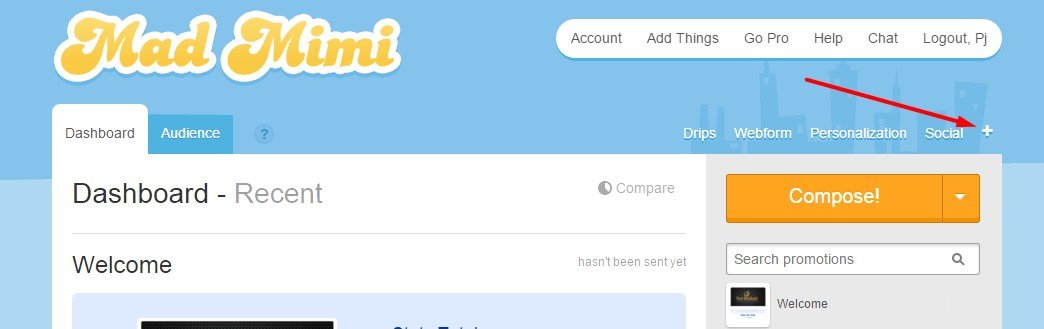
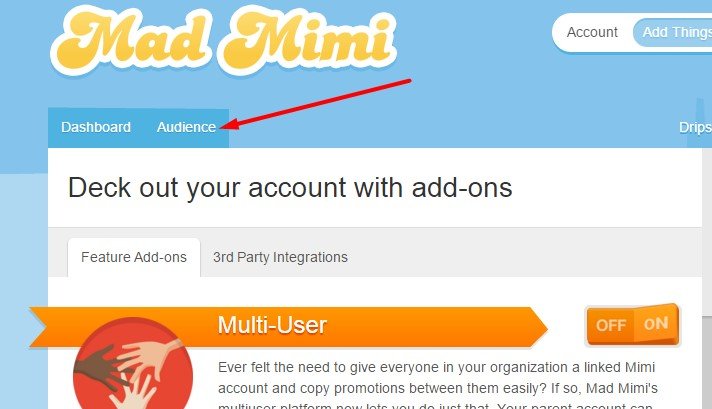
Step 2A: Turn on Components:
You will notice a "toggle" switch out to the right of each component. Just click to turn On. These are the ones I recommend:
 Drip Campaigns - This is the term for Autoresponders within Mad Mimi, and that is our main goal, of course. Turn it on!
Social Links - As I mentioned previously, many email marketing services will allow an online (browser) version of each email. So, you can add Social Media links within your email. (For many email clients, this also allows the ability to click the social icon within the email and it will open the default browser and allow the person to follow you.) Great tool to increase social shares and follows.
Signup IPs - this is important if you wish to later move your email list subscribers to another service like GetResponse or AWeber.
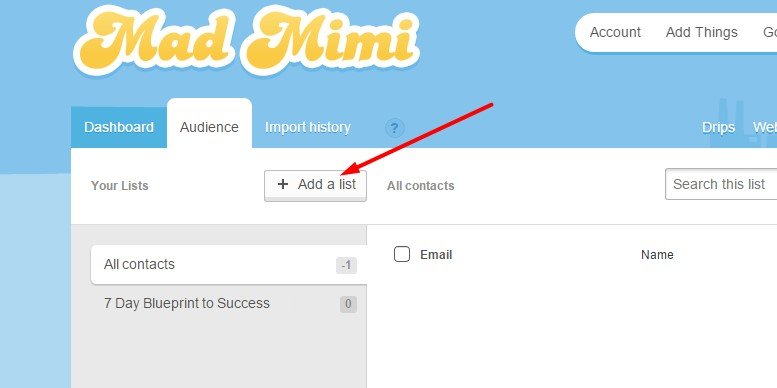
Step 3: Set up a List
Before you can create an autoresponder, you'll need to create a List.
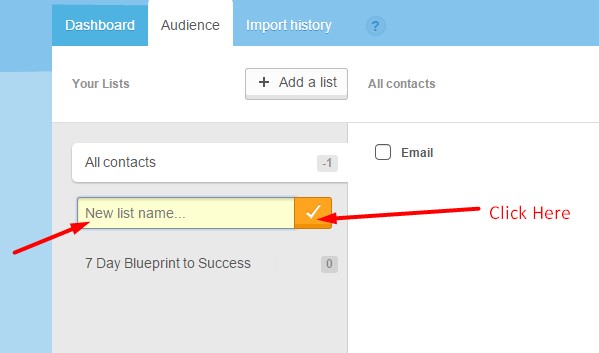
Step 3A: Click the Audience tab in the upper left:
Step 3B: Click Add a List
Step 3C: Enter the new List Name, Click the Checkmark:
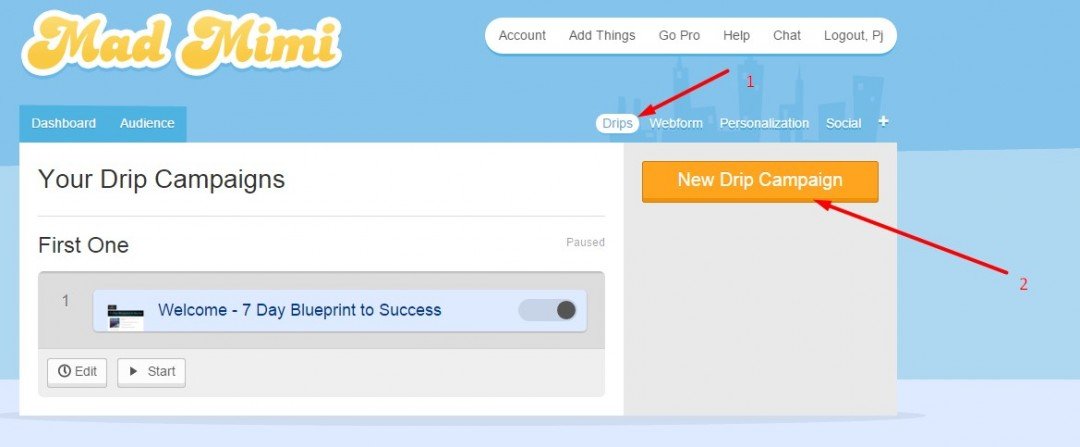
Step 4: Click Drip and then the New Drip Campaign button:
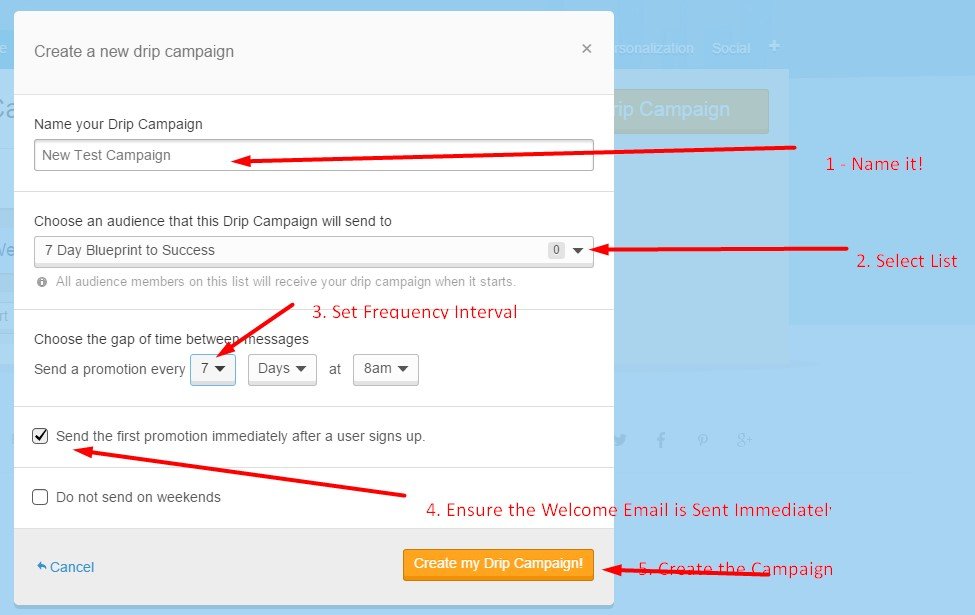
Step 5: Campaign Settings
- Give your first email campaign (autoresponder) a name.
- Choose a List (audience) with the pull-down option - Selecting the List from Step 3 above.
- Set the time gap between each email.
- Check the box for Send promotion immediately after signup. (Your Welcome email needs to go out immediately.)
- Click theCreate my Drip Campaign button.
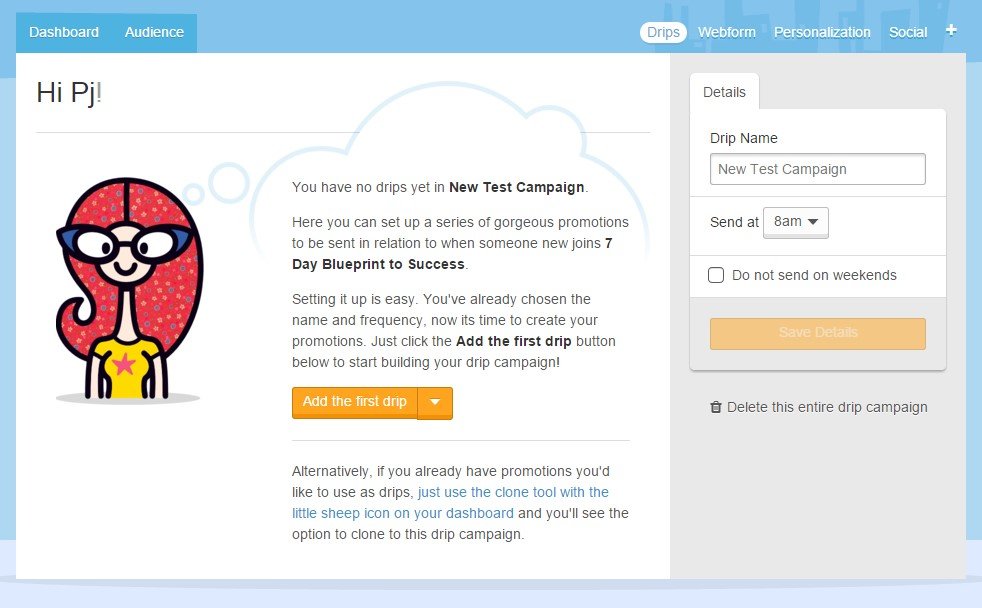
Step 6: Add the First Drip
Then, you'll go into configuring the emails that will go out - you're actual autoresponder emails.
Step 6A - First, you'll see this screen:Click the Add My First Drip button:
Step 6B: Getting around within the email setup:
Mad Mimi has a really intuitive and easy to use interface. But working from the top down:
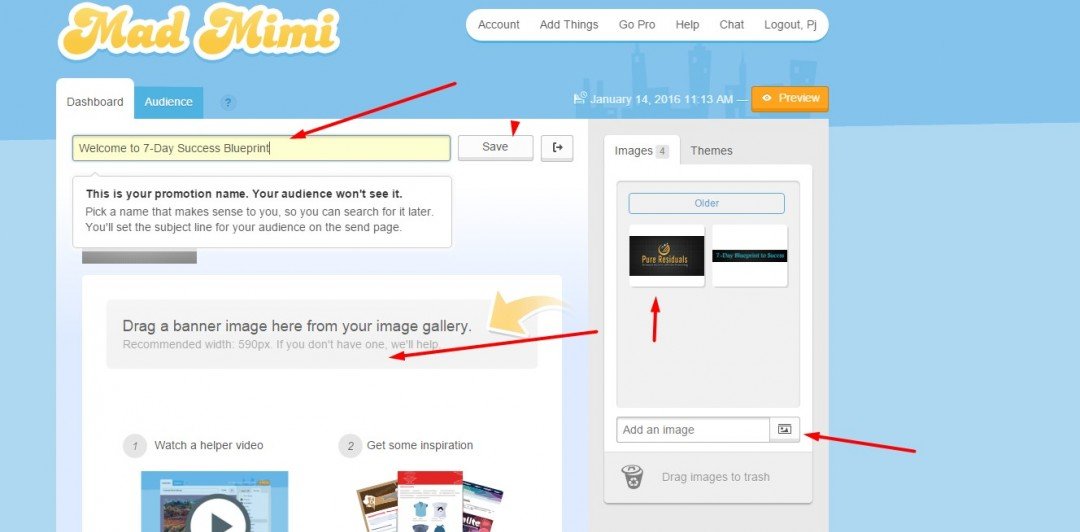
- Give this email a name such as "Welcome to (your promotion)" - This is just for you to know which email this specific one is among the others in the series.
- Click the Save button for that function.
- On the left, you can upload images that you will use frequently. Then, you canclick and drag from the images box on the right TO thebanner option at the top of the email.
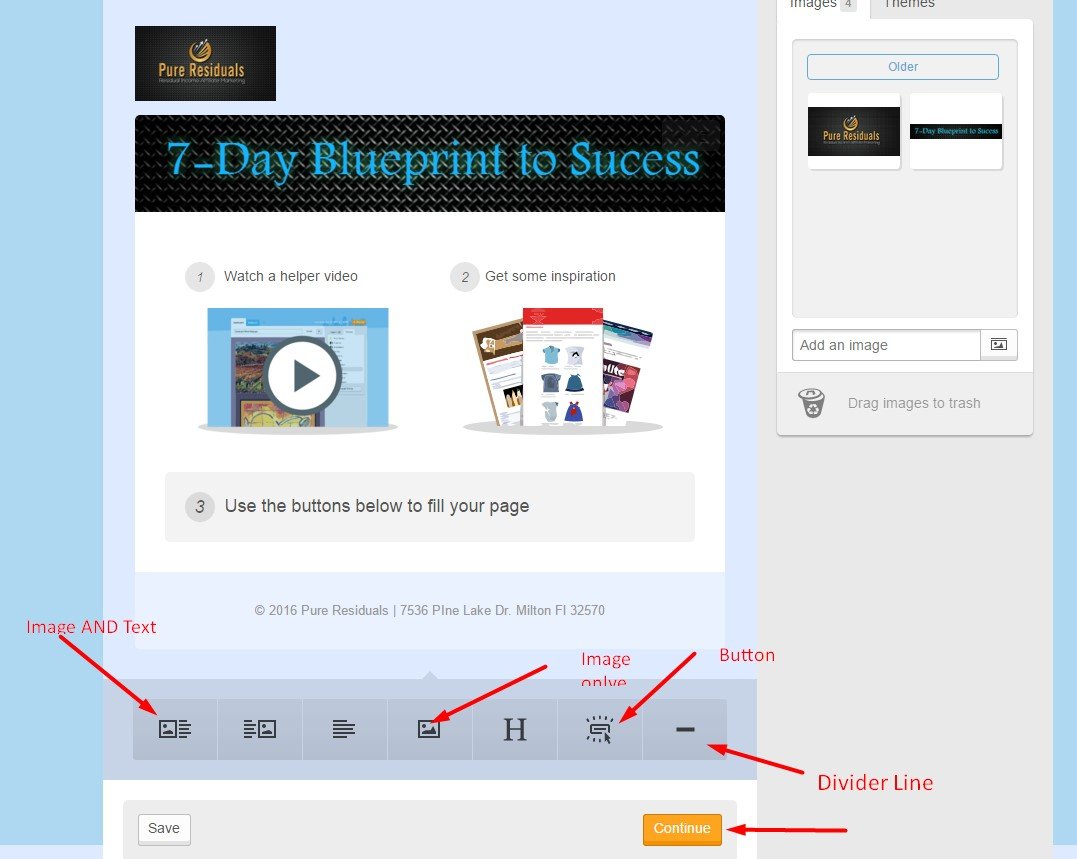
Subsequent to filling out the top stuff, you can then use the cool buttons at the bottom to add components within the body of the message:
Simplyclick one of the buttons to insert a block of Text, Text and Image, a Button or a Divider line.
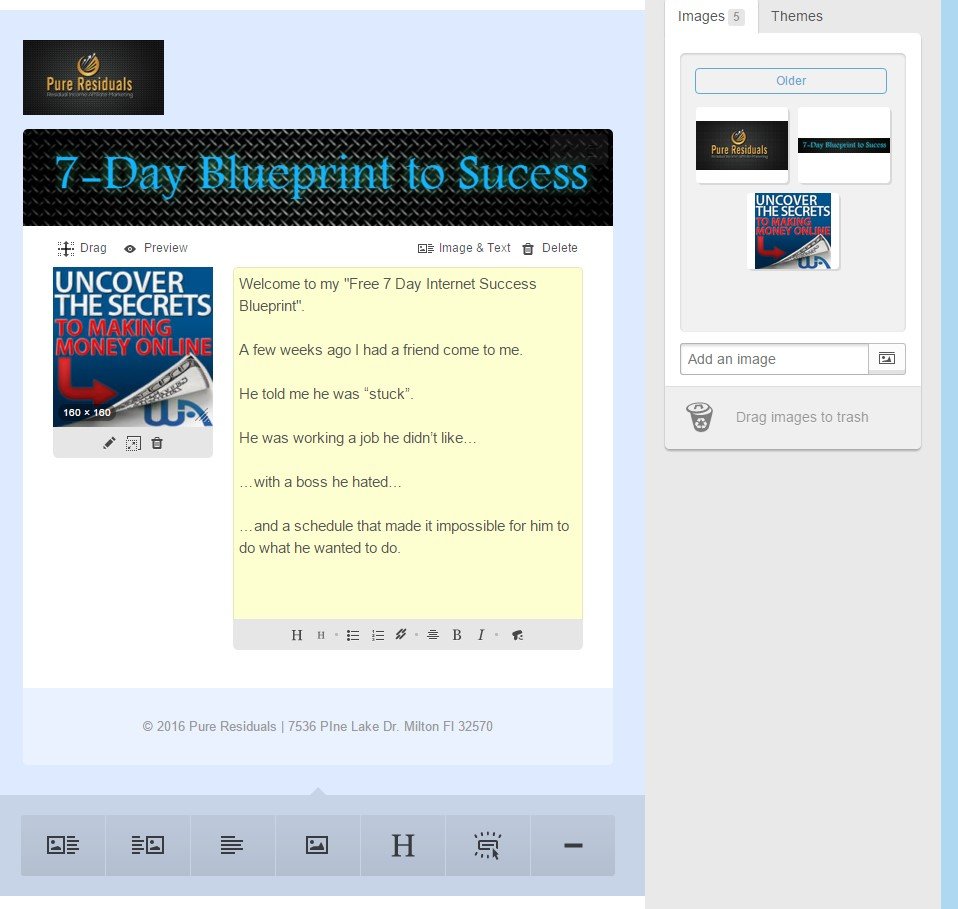
For Example, within the image below, I clicked the Image and Text button. I uploaded a WA banner and then Clicked and Dragged it into the image box on the left. Then, I opened my text file and copies and pasted a portion of the Welcome email into the text block in the middle:
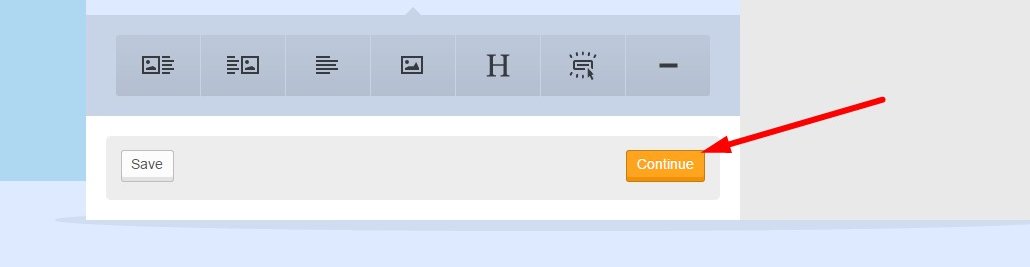
Step 6C: When you have finished composing the first email as you wish, simply Click the Continue button.
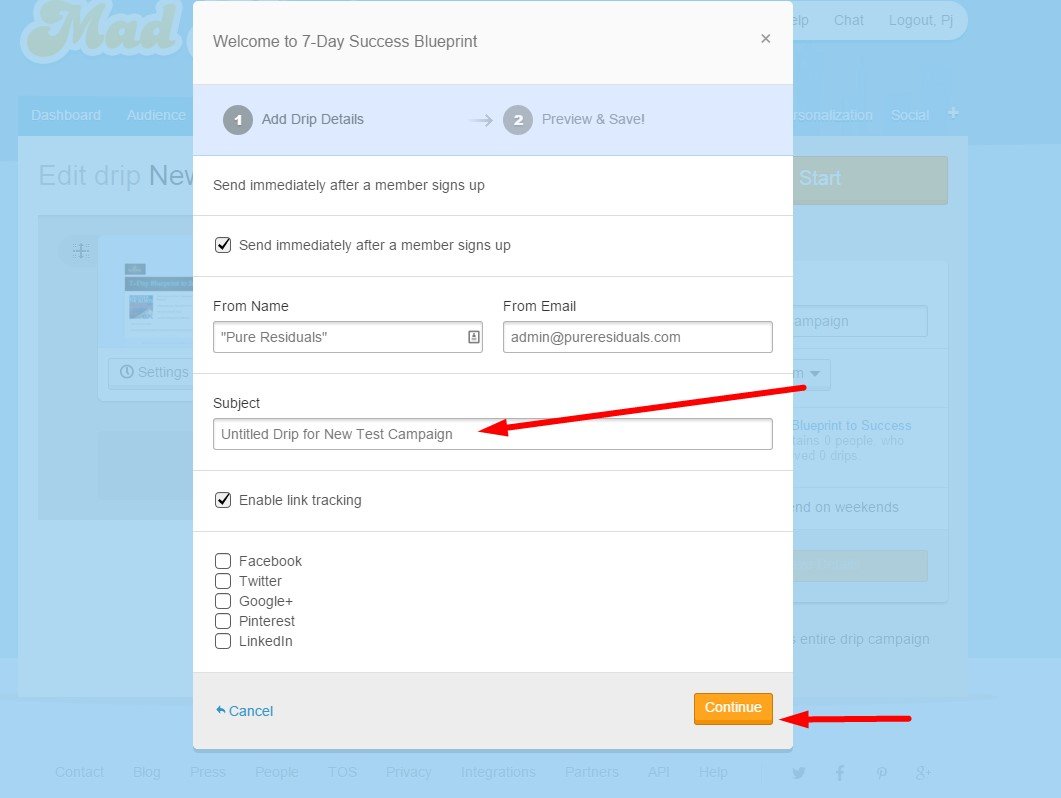
Step 7: Provide a subject for the first email and Confirm:
Step 7A: Provide the Subject line (this is the one the email subscribers will see in their Inbox) of the first email, Click Continue.
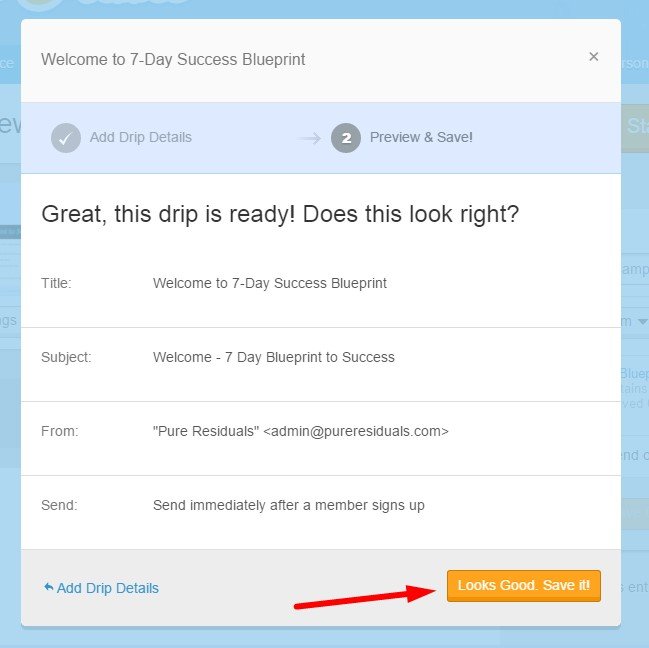
Step 7B: Review your setup and then Click the Looks Good, Save it! button:
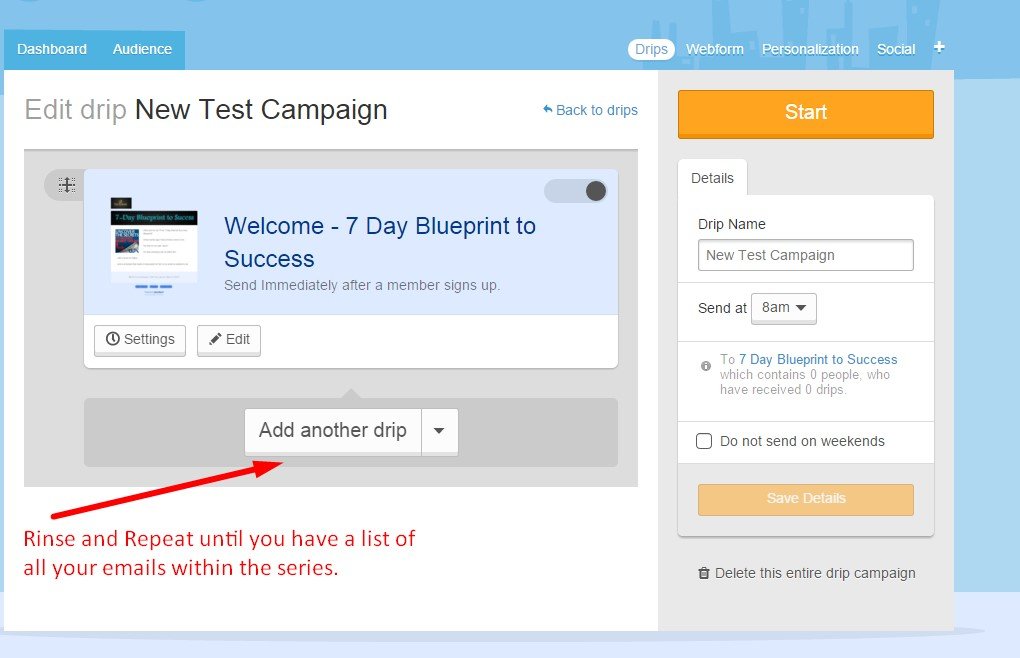
Step 8: Rinse and repeat
Click the Add another drip button to add your next email within your email series. Repeat steps 6 and 7 above until you have all your emails (drips) setup, tested and confirmed.
Just Click OK, unless you need to modify because you already have a list.
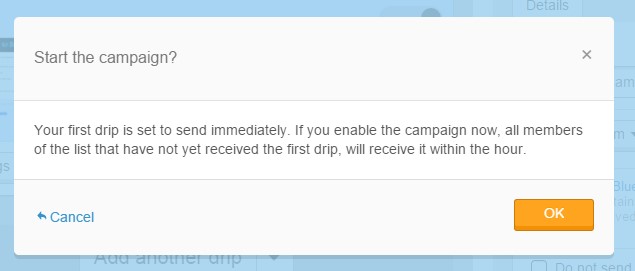
You don't need to do anything here, this image below is just to illustrate.
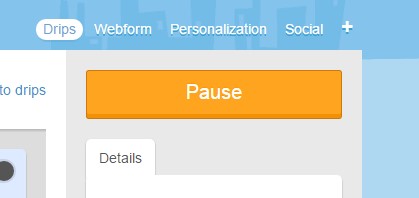
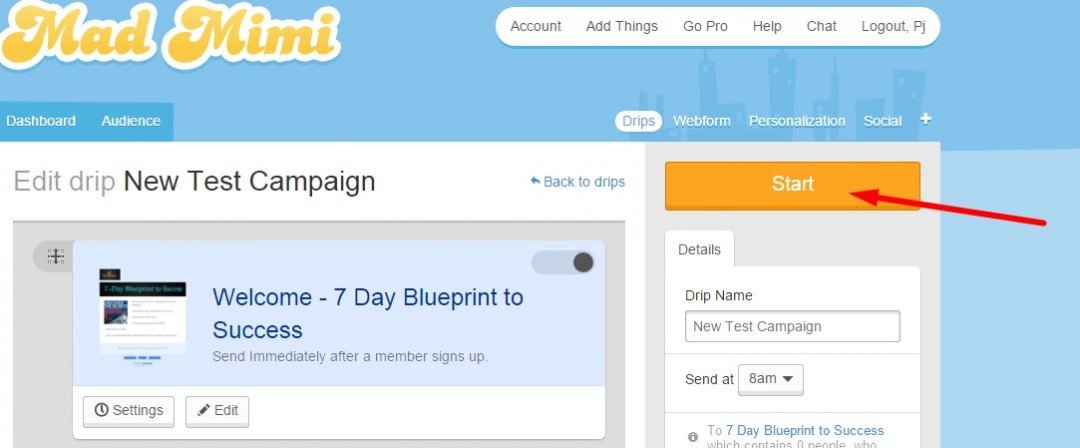
 And, You're Done!!!
Next, I'll show you how to hook this up with an email Opt-in form for SumoMe OR MailMunch. And, You're Done!!!

Thank you,
Robin