Lesson 5: CONNECTING THE LANDING PAGE TO AN EMAIL AUTORESPONDER SERVICE PROVIDER
At the Provider Settings, choose which email autoresponder you have.
In my case, I have a MailChimp account which I will be using in collecting email addresses on this landing page.
NOTE: Make sure you have created a list on your email autoresponder service provider before doing this.
OPTIN SETTINGS
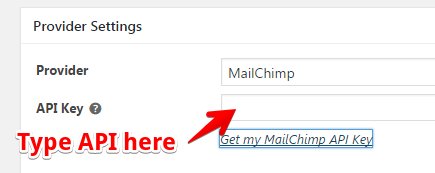
If you have a MailChimp account, choose it on the Provider field and then type the API Key as shown below.
To Get the API Key at MailChimp, here's how:
1. After choosing MailChimp provider, click the link "Get my MailChimp API Key" under API Key text box.
2. Then, login to your MailChimp account. Click Extras menu and select API Keys.
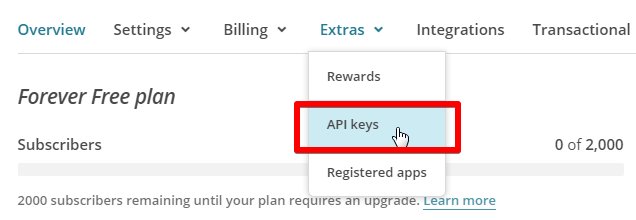
If you haven't found this menu, just go to this link: https://us14.admin.mailchimp.com/account/api/
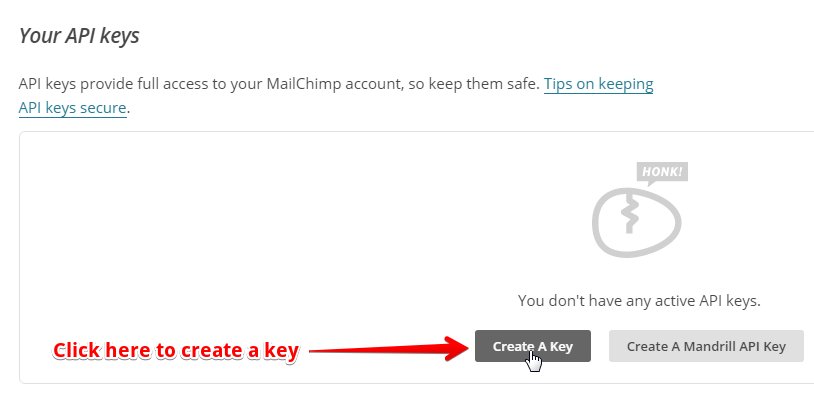
3. If you haven't created an API key on your MailChimp Account yet, just click the Create a Key button as shown below.
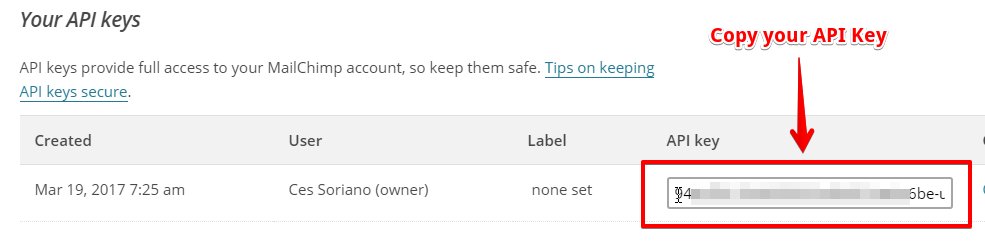
4. It will automatically create an API key for you. Just copy the API Key and paste it on the Provider Settings.
5. After pasting your API Key on the Provider Settings, choose which list you want to use on this email collection. In my case, I will choose my Subscribers list.
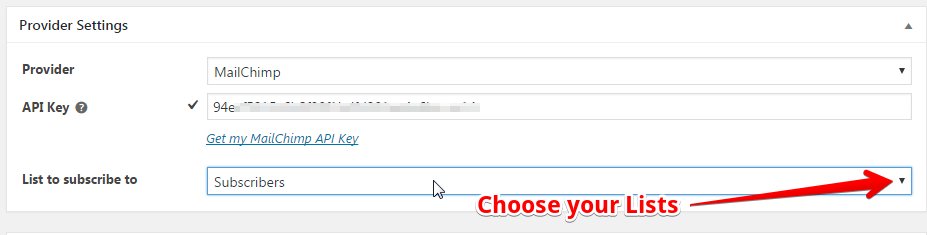
Update: If the List to subscribe to drop-down box is empty, just go back to your MailChimp account and create a List first, give it a name and then save it. When done, go back to this step here and choose the list you have created from MailChimp on the List to Subscribe to dropdown box. Your MailChimp List should appear there.
Other e-mail autoresponders included on this plugin are:
- ActiveCampaign - you will need API Access URL + API Access Key
- Aweber - click the "Get my Aweber Auth Code" link to copy Auth Code
- Drip - Account ID + API Token
- GetResponse - click the "Get my GetResponse API Key" link to copy API key
- Zapier - click the "Make a New Zap" link to copy Zapier Webhook URL
- Local WordPress - just choose this option on the Provider field
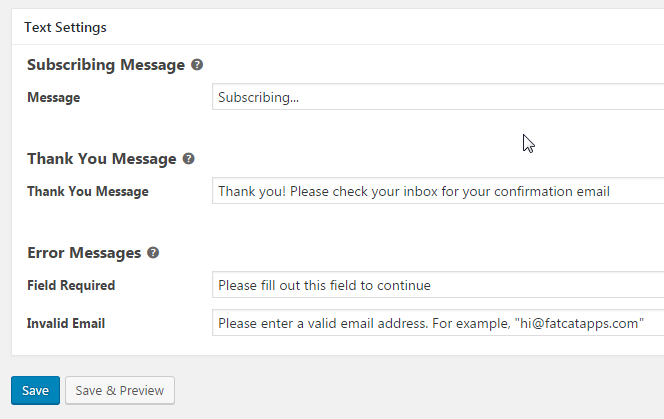
TEXT SETTINGS
On this part, you can modify the following messages while your subscriber is doing the process of subscribing.
- Subscribing Message - this is the message which the user will see while waiting for the subscription process to finish.
- Thank You Message - this is the message which the user will see after a successful opt-in.
- Error Messages - messages in which the user will see if they do not enter the valid information.


Till now I was always struggling with making my landing page. It's great that this plugin works with most autoresponders too!
I'll bookmark your training :)