Inspecting Our Website
Every element of our website (text, images etc) is styled with CSS. What we need to do is find out what those different styles are called so that we can change their properties in our child theme.I'd like you to open up a couple of tabs in your browser, one loaded up with your website, the other with the Wordpress admin area. In the admin area, navigate to Appearance >> Editor.
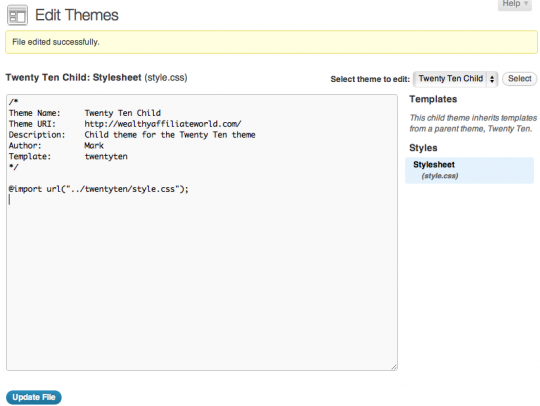
Assuming that you've done everything correctly so far, you should see the code we pasted in a few steps ago. We can edit the file directly in the Wordpress Admin area which is great.
Now, switch over to the other tab, the one with your website loaded. My website currently looks like this:

Pretty basic, I know. But let's change a few things. Let's make it really simple to start with - we'll change the colour of the site header.
Using the Web Inspector
The web inspector is very easy to use in Chrome, Chromium or Safari (and Firebug if you're using that). All you need to do is to right-click on an element of the page (an element being some text, an image, basically anything) and choose Inspect Element from the drop down menu.
Note: you can use my website to practice on if you like.
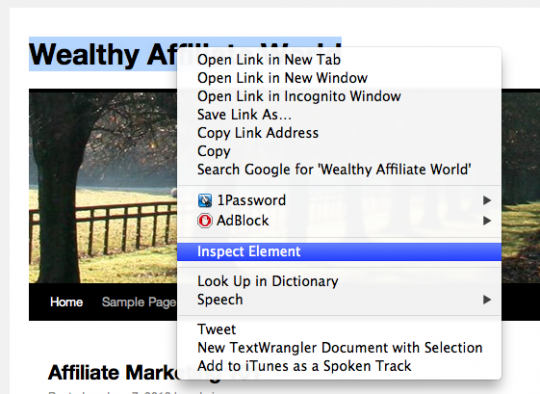
So, right click on the header text as shown below and choose Inspect Element.
The web inspector will pop up at the bottom of the screen:
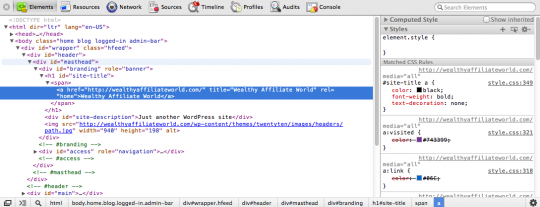
Now don't be scared - it's actually fairly simple. The CSS code that controls the look of the header are those over on the right hand column.
Now all we have to do is look for the section that controls colour, and look, here it is!
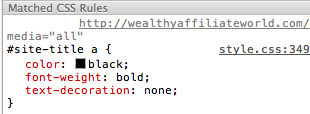
The magic of this web inspector actually lets us change CSS values right within the editor. So, where it says 'black', just click on it and type in something like 'purple'.
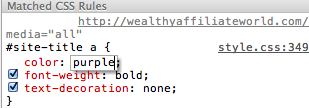
And look what happens:

If you scroll down the page you'll find other controls, such as the line height and size - you can play with those too:


In the next chapter we'll look at how to make those changes permanent and lasting!
Thanks again for doing this tutorial.
Charlie


