7 Steps To Take When Moving Your Website To A New Domain


Published on May 18, 2016
Published on Wealthy Affiliate — a platform for building real online businesses with modern training and AI.
For anyone who's ever moved a website to a new domain, the process is pretty easy when your website's still new and you've barely touched it. But if you've already done any amount of work to your website, you might be in for a surprise!
What do I mean?
Well, a few months ago, I set up my health/finance-related website but I was never happy with the domain I originally chose and so I decided to transfer it to a new domain through WA (which was very straight-forward). That's all it took, right? Not exactly…
The formatting on several posts/pages got pretty messed up in the process. Apparently, it had something to do with my Thrive Content Builder plugin, NOT WA. Despite the rough transfer, I'm still a huge fan of Thrive Content Builder and definitely endorse it.
But the problems didn't end there. I discovered a bunch of other things I needed to take care which I'm now happy to say are finally resolved.
Here are the steps I took which may also help you should you decide to move your site to a new domain…
1. Back up your existing site
Before initiating your transfer, make sure to back up your site using a plugin like WP Clone. If anything goes wrong, you'll be VERY happy you took this step.
https://wordpress.org/plugins/wp-clone-by-wp-acade...
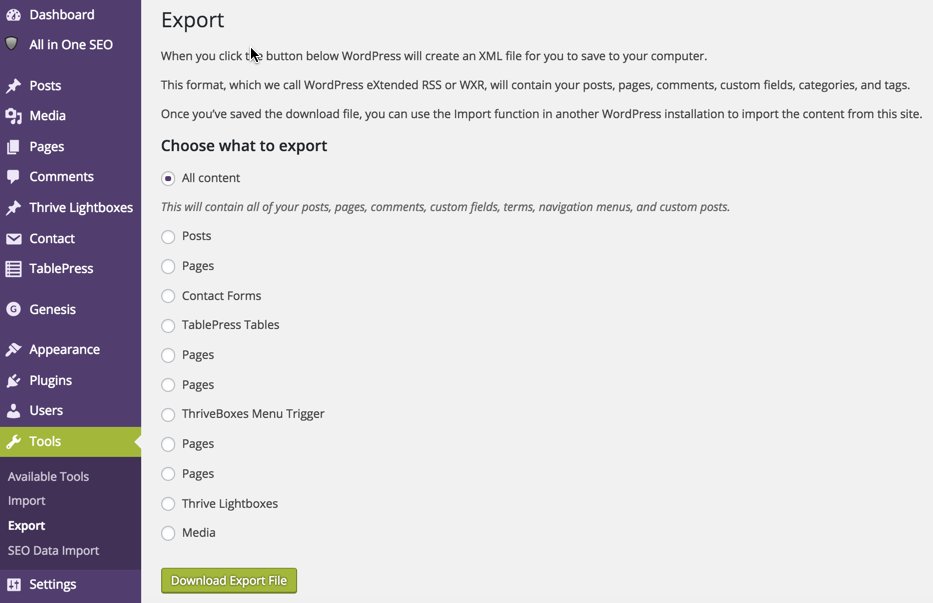
2. Export your content (pages/posts)
While WP Clone backs up your content, it doesn’t hurt to take this extra precautionary step. Simply export your content via Tools > Export in WordPress.
Ready to put this into action?
Start your free journey today — no credit card required.
3. Install and run the Velvet Blues Update URLs plugin
The Velvet Blues Update plugin will quickly update your old urls and links and point them to your new website domain. Once you’ve run it once, you can deactivate/delete it.
https://wordpress.org/plugins/velvet-blues-update-...
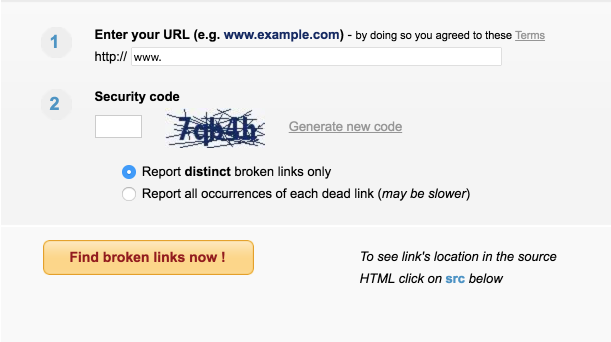
4. Crawl your website for broken links
After updating your old URLs, make sure all your links work using this free online tool: http://www.brokenlinkcheck.com/broken-links.php
5. Add your new property to Google Analytics
After setting up your new website in Google Analytics, make sure to also add your new Google Analytics code inside the general settings of your All In One SEO plugin.

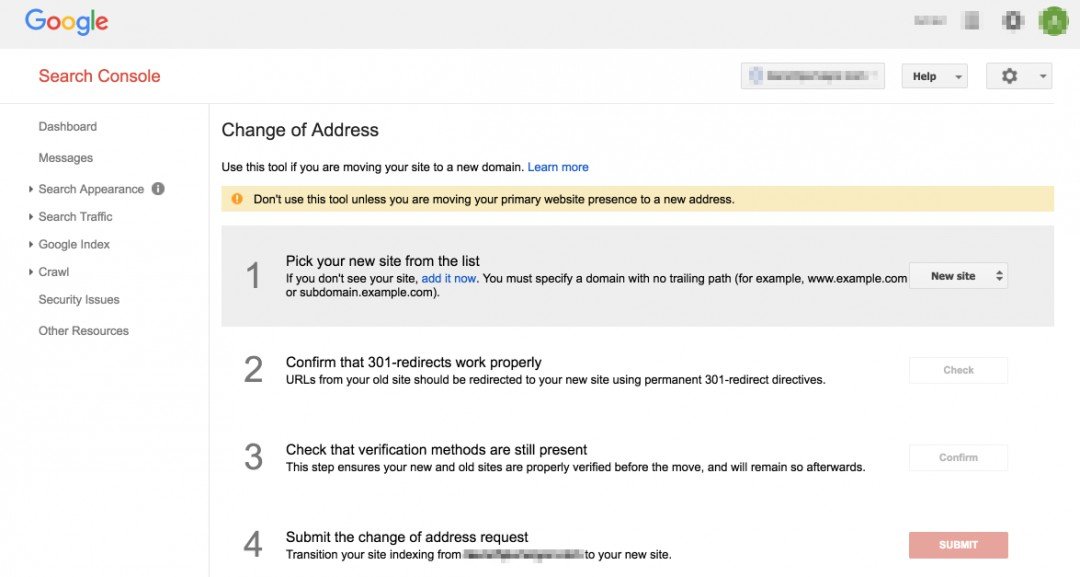
6. Add your new domain to Google Webmaster Tools
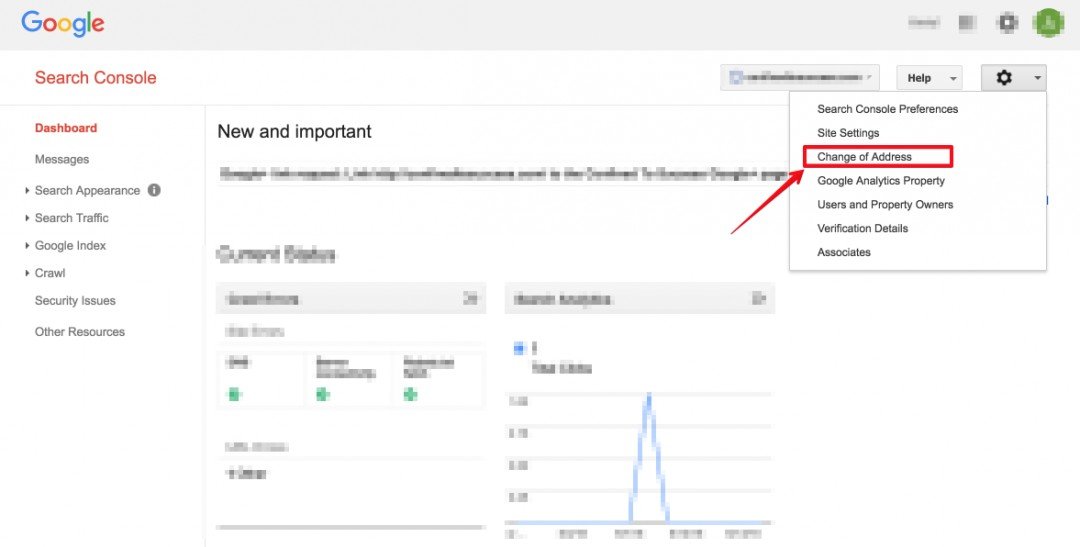
Once you've added your new domain in Google Webmaster Tools, make sure to change your address from your old domain to your new one. This is VERY important as it alerts Google to your transfer, indexes your new domain quicker, and helps retain your SEO rankings.
First, click the gear icon and select Change of Address for the domain you wish to move:
7. Set up new social media profiles for your new brand/domain
If you already set up custom URLs for your social media pages, you'll have to set up new business pages and/or new accounts for your new brand (Facebook, Google+, Pinterest, YouTube, etc.) A hassle but it needs to be done.

Share this insight
This conversation is happening inside the community.
Join free to continue it.The Internet Changed. Now It Is Time to Build Differently.
If this article resonated, the next step is learning how to apply it. Inside Wealthy Affiliate, we break this down into practical steps you can use to build a real online business.
No credit card. Instant access.