How to Get Your New Website Indexed by Google Quickly


Published on September 24, 2016
Published on Wealthy Affiliate — a platform for building real online businesses with modern training and AI.
One of the first things you want to happen to your new website is that Google comes by, crawls it and adds it to the search engine index. And one of the great ways to achieve this is to start to write and publish content from the first day on.
But the Googlebot has certain times where it will check the internet for new websites and goes to crawl them. This explains why some of you are worried that your new website takes so long to index.
Luckily, there are a few things you can do immediately which will “ping” the Googlebot and let him know that your website exists.
But before I show you the steps I take to get any new website indexed quickly, I highly recommend that you work on some content first. If you trigger the Googlebot to crawl your website now, it’s best to give him something to crawl instead of presenting an empty website.
Write and publish the following pages (recommended):- About
- Contact
- Privacy Policy
- Affiliate & Earnings Disclaimer
Please know that it’s optional to create these pages before you take action to get Google to index your website. I’ve signaled the Googlebot without them and with them. It seems to make the index process a little quicker.
How to get your new website discovered by the Googlebot quickly
I’ve been applying a few basic steps to speed up the process and so far been seeing quick indexing times. My newest website was indexed in approximately 8-10 hours.
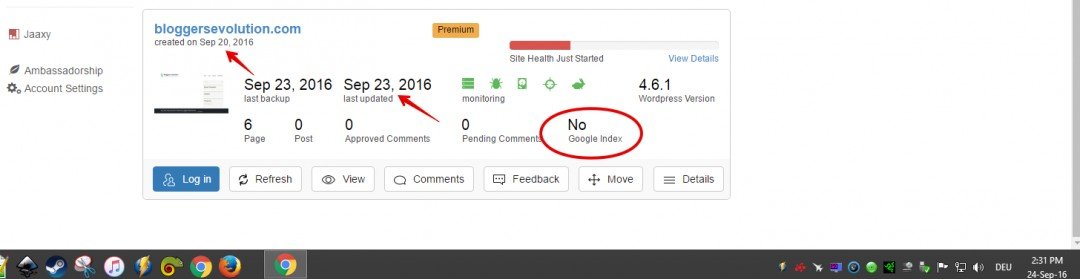
I registered the domain on September 20, 2016. In the first three days, the website has been set up and the usual content, e.g. About, Contact, Privacy Policy, etc. was added.
Nothing was done to speed up indexing, yet.
Looking at the SiteManager here at WA, it’s clear that my website (3 days old) isn’t indexed.
And checking Google shows the same result.
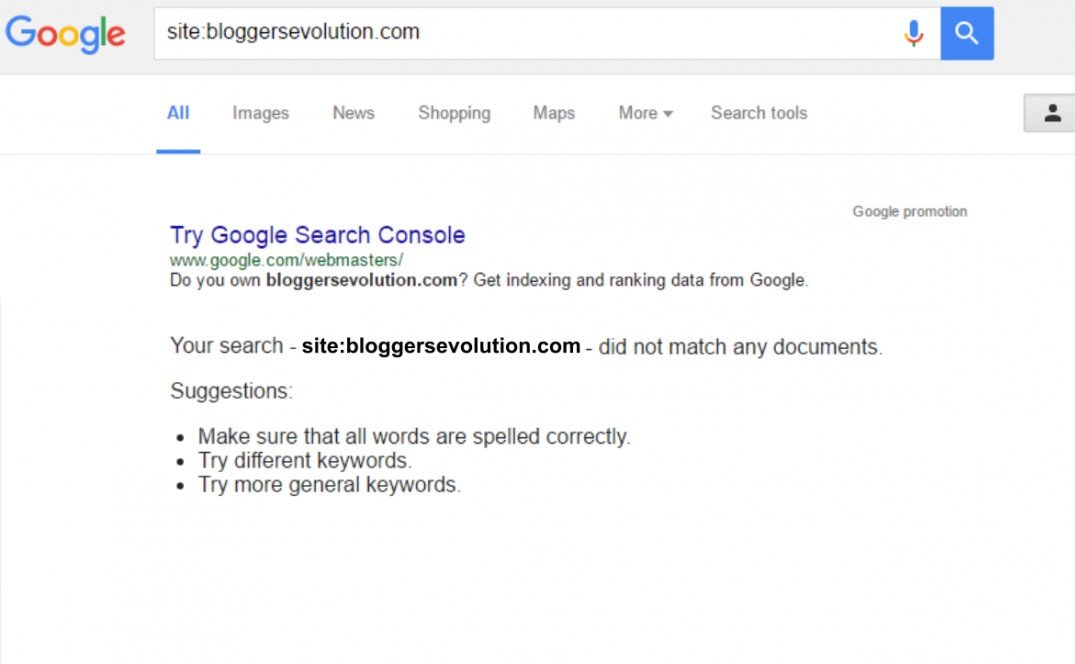
Time to change that.
1. Get Google Analytics and install it on your website
Google Analytics is mainly used to track traffic and their behavior on your website. Since it’s a free Google tool, it notifies Google that there is a new website on the internet worth checking out.
You can easily create a Google Analytics account clicking the link below.
https://www.google.com/analytics/
An active Google account is needed. If you use Gmail, YouTube or any other Google related accounts, you can use them to proceed.
If you don't know how to set up Google Analytics, follow this guide from Google:
Once you have set up Google Analytics, you need to add it to your website. There are different options to do that. You can use a plugin like Yoast SEO, All-in-One SEO or Google Analytics by MonsterInsights (formerly known as Google Analytics by Yoast) or copy the tracking code and add it to the header.php file of your website.
The second option is recommended, because it unlocks all the features and helps to verify your website in Google Webmaster Tools (aka Google Search Console).
The Affiliate Bootcamp Course has a great training on how to add the tracking code to the header of your website.
You can find it here:
https://my.wealthyaffiliate.com/training/wa-affili...
2. Set up Google Webmaster Tools (Google Search Console)
Ready to put this into action?
Start your free journey today — no credit card required.
With a tracking code in place, you can now set up Google Webmaster Tools for your website. Once again, a Google account is needed. While you can use any Google account you have, it's preferred and recommended that you use the same account you've used to setup Google Analytics.
Here's the link to Google Webmaster Tools:
https://www.google.com/webmasters/tools/
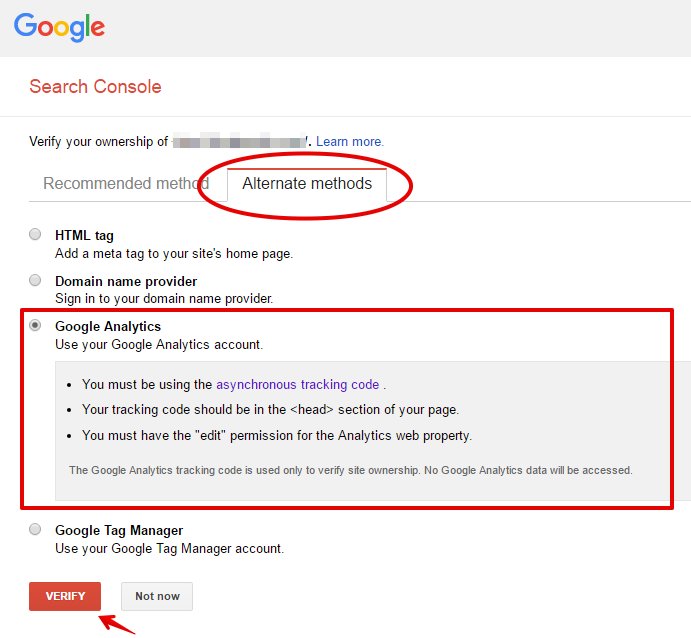
You have to verify ownership of your website in order to be able to use Google Webmaster Tools. You have several options to do that.
The recommended option doesn't work here with WA Hosting, because you have to upload an HTML file which can't be uploaded through FTP when you're using hosting here at WA (gives me a critical error - upload denied note).
That's where the tracking code comes in place. Under "Alternate Methods", you'll check "Google Analytics" and click "Verify" (red button).
If done correctly, shortly after you click "Verify" Google let's you know about the successful setup of Google Webmaster Tools for your website. Now you can fully manage your website and have access to even more insights about Google Index and other goodies.
3. Submit sitemap to Google Webmaster Tools
You can easily submit the sitemap through Google Webmaster Tools. In the left menu, click "Crawl ==> Sitemaps". Then click on "Add/Test Sitemap".

A little popup window will open, given you the option to add your sitemap. ONLY add the sitemap link WITHOUT your domain name.
For example, if you've created a sitemap with Yoast SEO, your URL will look like this:
http://yourwebsite.com/sitemap_index.xml
Only copy and paste this part of the URL:
sitemap_index.xml
Your domain name is already added for you. If you copy and paste it in there again, you'll get an error and your sitemap won't be submitted.
If it submits successfully, you'll see your sitemap link in the list with a pending status. It can be pending for minutes or hours. Be patient. As long as you've successfully submitted the sitemap, there's nothing to worry about.
4. Create & setup Social Media accounts for your website
Regardless of the index status of your website, you should always immediately after registering your domain create social media accounts for your website.
Pick the ones you want to use. I recommend that you at least create an account on Facebook, Twitter & Google+.
The focus here is on creating them and not fully customize and fill them out. If you want to do that, that's fine, but it's optional.
Make sure that you add the website URL to each of them in the appropriate field. When the Googlebot crawls your website, it also scans social media networks. Adding the URL of your website will help it to associate existing accounts for your website.
Invite friends on Facebook to like your new Facebook page. Don't worry about it being empty. Some may even click the link and visit your website. Instant short but sweet traffic to your new website!
5. Ask WA members to visit and like your Facebook page, to follow you on Twitter and Google+
WA has a great community with lots of awesome and pay-it-forward thinking members. Post a question or blog post and ask for some likes on Facebook, followings on Twitter and Google+.
Social activity is crawled by the Googlebot, too!
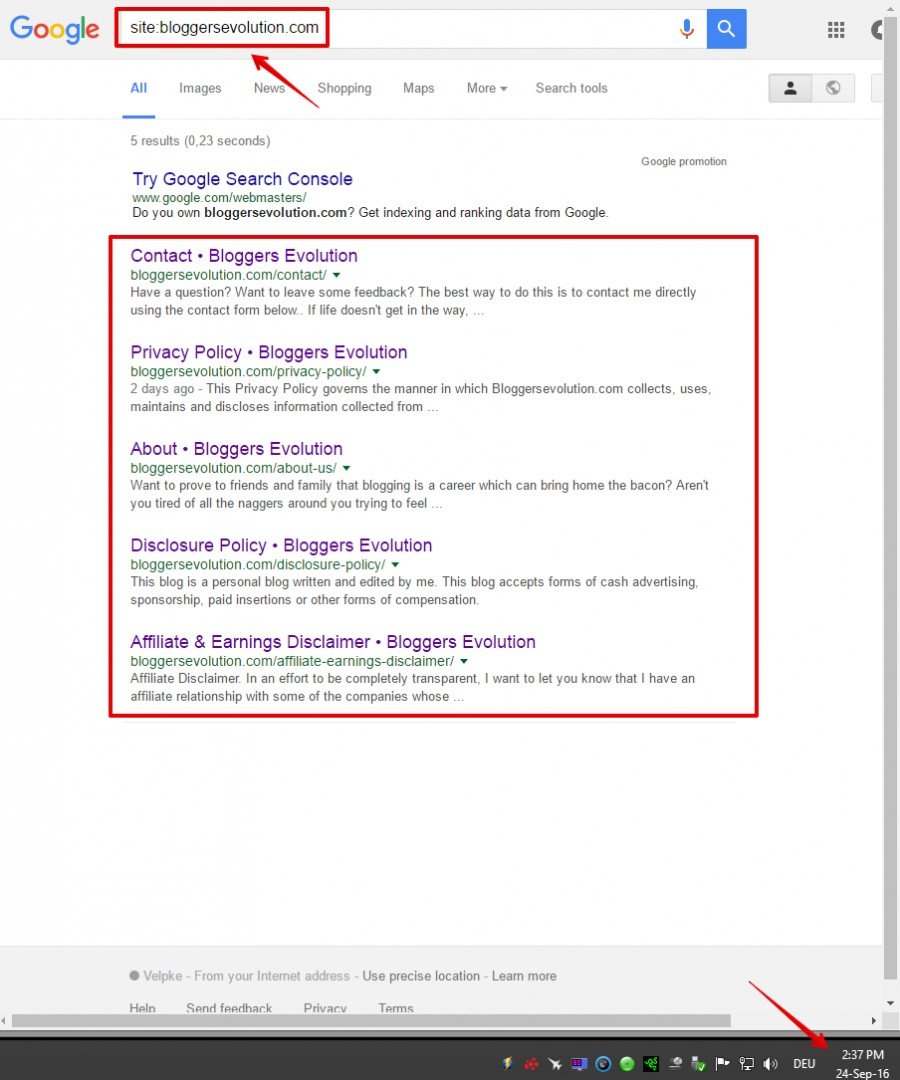
Checking Index Status a Day Later - Website Indexed!
I applied these steps yesterday evening. Earlier today I checked the status and the website was indexed within hours.
While the SiteManager at WA still says that my website isn't indexed, Google shows already a different result.
Conclusion
Your website will get indexed at some point. The above steps speed this process up, though and you can have your website indexed within hours.
You can easily check the index status within WA under SiteManager and do a Google search using the following format:
site:yourwebsite.com
Don't be discouraged if the indexing process takes a bit longer. It does vary but if you apply the above steps, it definitely will happen sooner.
If your website isn't indexed yet, try these steps and leave a comment below about the results. I'd love to know how long it took for your website to be indexed using the steps above. Same goes for any questions and feedback!
Happy indexing! :)
==> Status Update on September 26, 2016<==
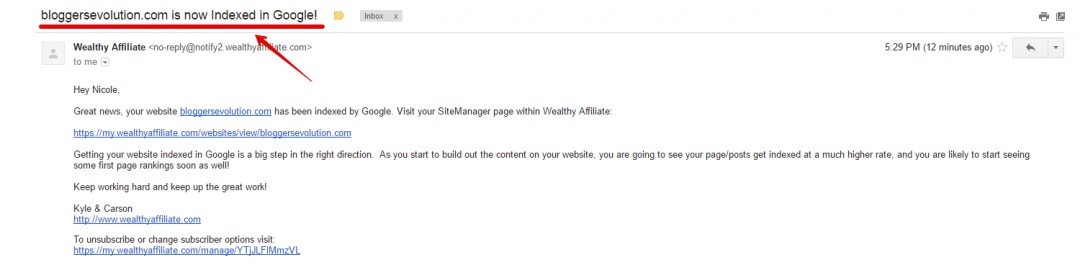
The WA index status has caught up with the Google index status. Here's the email notification you will receive once the WA SiteManager has updated.
And here's how it looks now in the SiteManager.
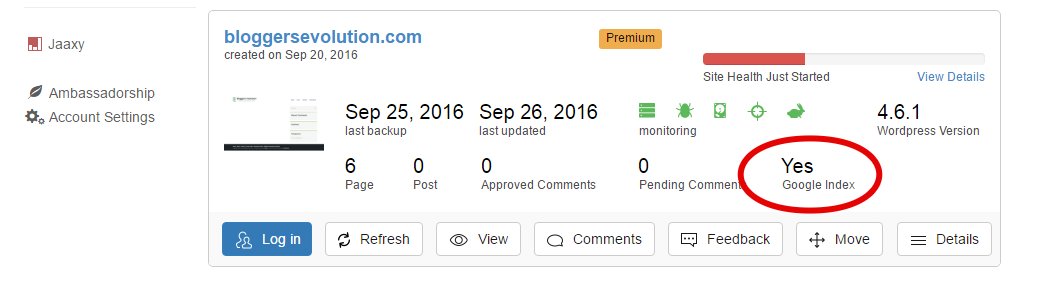
Mission accomplished! :)
Share this insight
This conversation is happening inside the community.
Join free to continue it.The Internet Changed. Now It Is Time to Build Differently.
If this article resonated, the next step is learning how to apply it. Inside Wealthy Affiliate, we break this down into practical steps you can use to build a real online business.
No credit card. Instant access.