Image in the middle, with text above, and test below
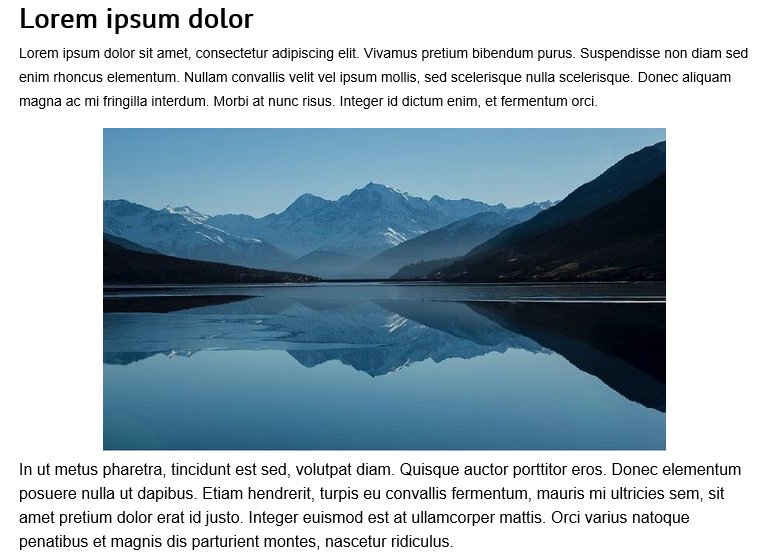
First, I want to show you an example of what the end result looks like.
As you can see, the text is above the image, the image is in the center and the text is below the image.
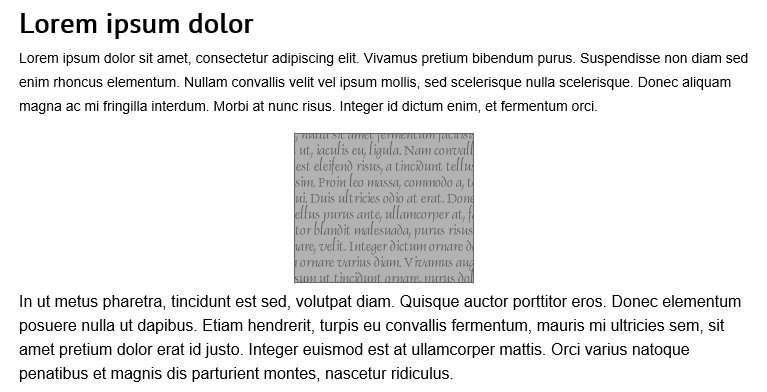
Here is another example. It uses an image of the famous "Lorem ipsum dolor" which is in the middle of the webpage.
The following sample 'code' explains how to do this with the code of 'real interest' in bold:
<h1>Lorem ipsum dolor</h1>
Lorem ipsum dolor sit amet, consectetur adipiscing elit. Vivamus pretium bibendum purus. Suspendisse non diam sed enim rhoncus elementum. Nullam convallis velit vel ipsum mollis, sed scelerisque nulla scelerisque. Donec aliquam magna ac mi fringilla interdum. Morbi at nunc risus. Integer id dictum enim, et fermentum orci.<br /><center><img src="/wp-content/uploads/Lorem.gif" width="180" height="150" /></center>In ut metus pharetra, tincidunt est sed, volutpat diam. Quisque auctor porttitor eros. Donec elementum posuere nulla ut dapibus. Etiam hendrerit, turpis eu convallis fermentum, mauris mi ultricies sem, sit amet pretium dolor erat id justo. Integer euismod est at ullamcorper mattis. Orci varius natoque penatibus et magnis dis parturient montes, nascetur ridiculus.
Note: If you press <Enter> inside of some Editors (including the Word Press Editor, the application will go the next line in the application. I personally like to use <br /> to instruct this to happen. If I was at the end of a line in an Editor and 'rolled over' to the next line, the application may not go to the next line in the application. I just prefer to be sure, and insert the <br /> code to be 100% sure. In HTML 'coding' terms, <br> is the same as <br /> and <br /> is the newer standard and is technically more proper and correct. Where possible use <br />
<br /><center><img src="/wp-content/uploads/Lorem.gif" width="180" height="150" /></center>
The <br /> instructs the browser to go to the next line.
The <center> instructs the browser to align to the center.
The </center> instructs the browser that the previous 'align center' instruction is now over or now finished or now done. In technical terms it is the associated closing instruction for the associated opening instruction.
The image src has already being explained earlier in this training. Go back a few lessons in this training to re-learn it if necessary.
If you liked this, feel free to push the "Like This” button :)


Hopefully many people will tune in to this and grow. Some people don't want to hear the 4 letter word "code" and would prefer to pretend it isn't necessary. Your tutorial is just one example why it is.
Thanks again, peace my friend! :-)