Let's have another look at the 'code':
The code is displayed again further below where you can use 'copy and paste' in an attempt to prevent typos.
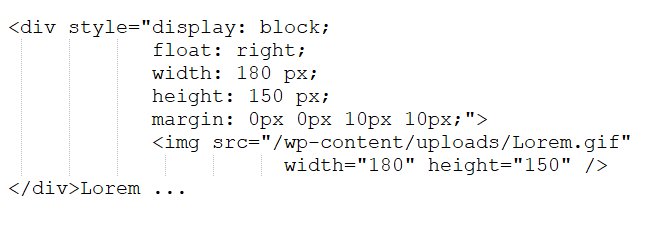
The 'code' for the special area is called a div. Please note the properties are in lower case. This is important. If upper case characters are used, it may not work. Note that ":" characters and ";" characters are important and should be specified as above. Notice that the property is displayed, followed by a ":" followed by a value (which sometimes is followed by something else, eg unit of measure), followed by a ";".
Notice that the image file name begins with an upper case L. This is important here, because it had an uppercase L when uploaded to WordPress. If "lorem.gif" had been specified above, the image would not be found, and therefore would not be displayed. If during your testing stage, you notice an image is not displayed, check the image file name as it is case sensitive (upper case L is not the same as lower case L). If that is correct, check the path to the image file.
Lets explain:
The value of 'right' for float instructs the computer to display this on the 'right'. If the image is to be displayed on the left, then specify 'left' instead using lowercase characters.
The width value is used twice here, the special area is to have this width, and also the image width is equal to this value.
The height value is used twice here, the special area is to have this height, and also the image height is equal to this value.
Please note that the width and height values do not have to be the same values as the actual image's width and height. If you specify half the width and half the height of the image's width and height, the image displayed will be half its normal size. If you do this, make certain that you are happy with the displayed result.
The margin is the space, usually white, around the image. A margin value of "10px 5px, 15px, 20px;" means that the top margin is 10px, the right margin is 5px, the bottom margin is 15px and the left margin is 20px.
If the margin is to be the same value all round, the short form of this is "margin: 10px".
The image file name including path is specified in the short form. There is no need to specify the web domain name, starting off with "/" after the web domain name.
Don't forget the closing div, along with the other characters around it. Then continue on as normal with normal text.
The actual working code ready for 'copy and paste'
The code is below again, and the code in bold is most likely the code that will need to be changed, so you can clearly see that it is not too much. The actual working code is below, so you should be able to use 'copy and paste' and then make the necessary changes. Note that 'copy and paste' may not copy the actual bold typeface:
<div style="display: block; float:right; width: 180 px; height: 150 px; margin: 0px 0px 10px 10px;"><img src="/wp-content/uploads/Lorem.gif" width="180" height="150" /></div>Lorem ...
Once you have specified the 'code' correctly, save the post, and view the post to be sure that it works in the expected way.
Oh, by the way, if you make these type of 'code' changes, you will have performed HTML code changes and CSS code changes. Something else to add to your achievements.
Continue on for some trouble shooting suggestions.
Also continue on if you want to insert an image in the middle. In this case, there is no text floating around it.


Hopefully many people will tune in to this and grow. Some people don't want to hear the 4 letter word "code" and would prefer to pretend it isn't necessary. Your tutorial is just one example why it is.
Thanks again, peace my friend! :-)