So far, so good? Now you're ready to insert the penultimate step, your images.
Step 6
Unless you have the images I have used in the example uploaded to your media library, which I doubt, you will, most probably, only see the alt text, but I will use them purely as an example of the code you will see when you insert your own images.
In the last section of code, copy and paste the following between each of the <td and > tag, (don't forget to leave a space after <td):
style="border: 1px solid #000000; background-color: #ffffff; width: 140px; text-align: center; vertical-align: top; line-height: 0pt;"
Now copy and paste the following after each of the 0pt;"> tag:
<p style="width: 110px; margin-top: -15px;"><img src="http://wreckingsite.siterubix.com/wp-content/uploads/2016/03/WA-Logo-3.png" alt="This Little Square Logo" width="110" height="110" class="aligncenter size-full wp-image-1238" /></p>
<p style="width: 110px; margin-top: -15px;"><img class="aligncenter size-full wp-image-1164" src="http://wreckingsite.siterubix.com/wp-content/uploads/2016/03/wa_uncover_secrets-120x120.png" alt="Uncover Secrets Logo" width="110" height="110" /></p>
<p style="width: 110px; margin-top: -15px;"><img class="aligncenter size-full wp-image-1166" src="http://wreckingsite.siterubix.com/wp-content/uploads/2016/03/wa_like_to_earn-120x120.jpg" alt="Like To Earn Logo " width="110" height="110" /></p>
<p style="width: 110px; margin-top: -15px;"><img class="aligncenter size-full wp-image-1184" src="http://wreckingsite.siterubix.com/wp-content/uploads/2016/03/WA-Black-Friday-Banner.png" alt="Black Friday Logo" width="110" height="110" /></p>
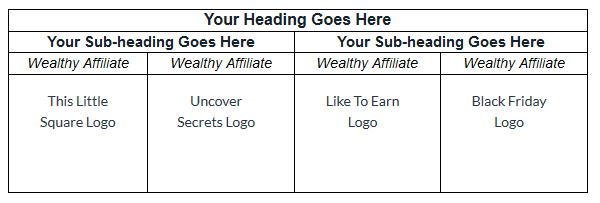
Preview and you should see this:

Tables baffle a lot of people - I've seen a lot of questions here about them - and without a plugin, going into HTML for some people can be very daunting.You've clearly explained tables in a very easy way to understand.
If I could add one thing, where you have "width: 123px;" - that can be changed to a percentage - so your table becomes a little bit responsive. eg. "width: 40%;" - then the table will adapt as much as possible to the size of screen it's being viewed on.
All the best, Mark


