Step 5: Adding and Optimizing Images within a GALLERY
Have your pencil and paper ready, you will again be jotting down notes
Add / Edit GALLERY IMAGES on Pages and Posts
1. Locate the Page(s) or Post(s) on your website of the image(s) you want to change.
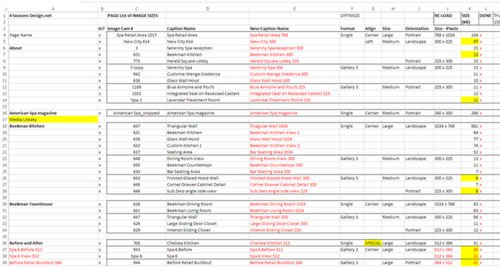
Since you accomplished the earlier step correctly, this information can be found in your “Image List” of your spreadsheet.
2. In the far left column of your WordPress dashboard, click on PAGES > ALL PAGES
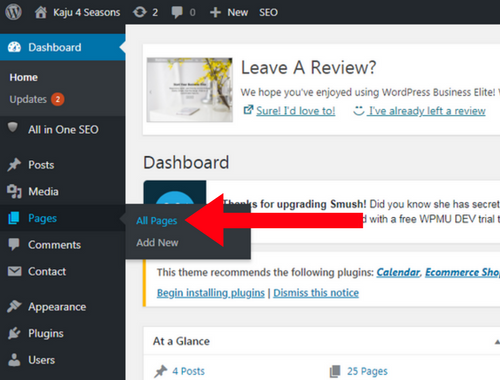
Alternatively, you can also start by clicking Posts > All Posts
This displays All Pages (or posts) of your site
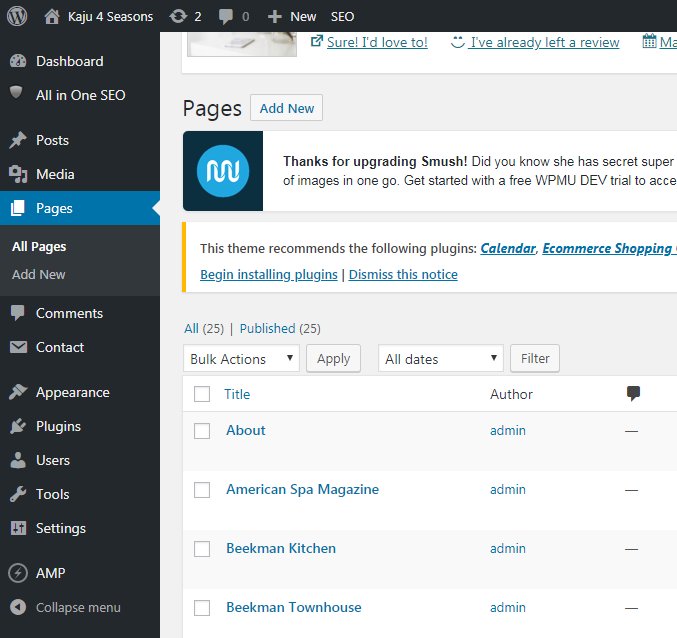
3. Go to the Page you want to “EDIT PAGE” by clicking “EDIT” next to the Page Name
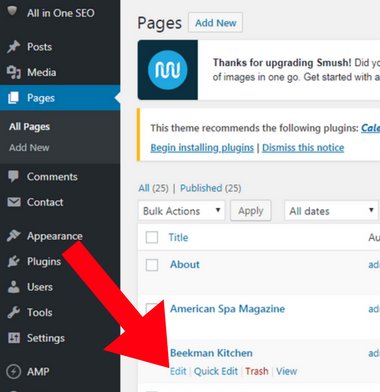
For example, once again this takes us to the “Beekman Kitchen” Page
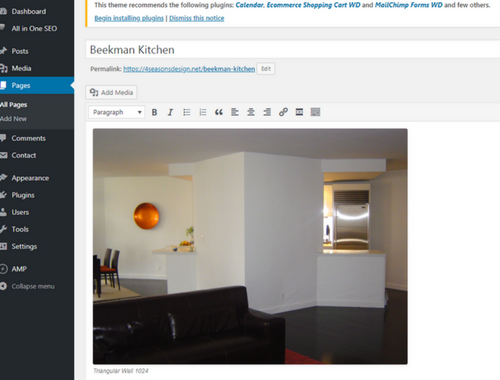
Now here is where it changes from Part 1. Instead of clicking on the “Beekman Kitchen” image, let’s scroll further down the page.
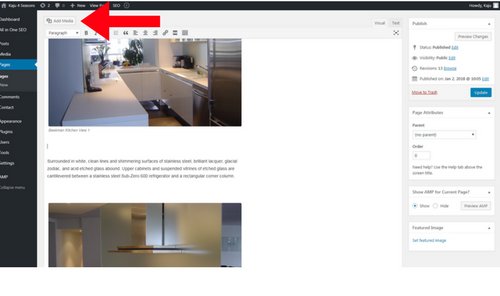
Let’s stop between the 2nd image and 2nd paragraph to add a Gallery. A Gallery is a group of between 2 to 9 images that runs horizontally across your page or post. Each one of those Gallery images will need to be optimized to get our site running “to maximum speed.”
Then you will need to record ALL of that data in your spreadsheet, and make later updates to your spreadsheet after completing any subsequent revisions to your images.
Finally, you will need to visually re-check your complete Media Library and DELETE PERMANENTLY all of your unused (meaning not even in ONE instance on your website) that are duplicated in different sizes.
ADDING MEDIA to a NEW Gallery:
4. Click “ADD MEDIA” after placing your cursor at the position were you want your image to be.. This takes us to our Media Library
5. Select an image either from “MEDIA GALLERY” or your computer “UPLOAD IMAGES”.
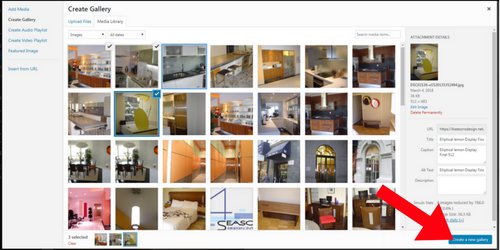
We’ve selected our Top Left image “Spa Display Slideshow” as our first Gallery image in our Media Library.
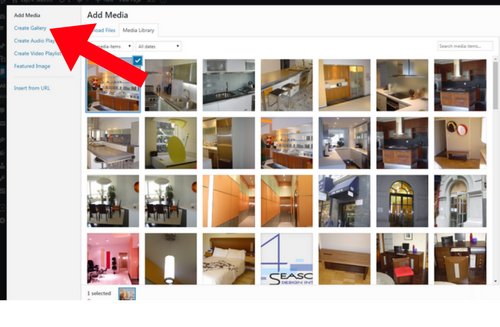
6. Click “CREATE GALLERY” in the upper left column
7. Select up to 8 additional images from Media Library for your Gallery.
Here we’ve selected a total of 3.
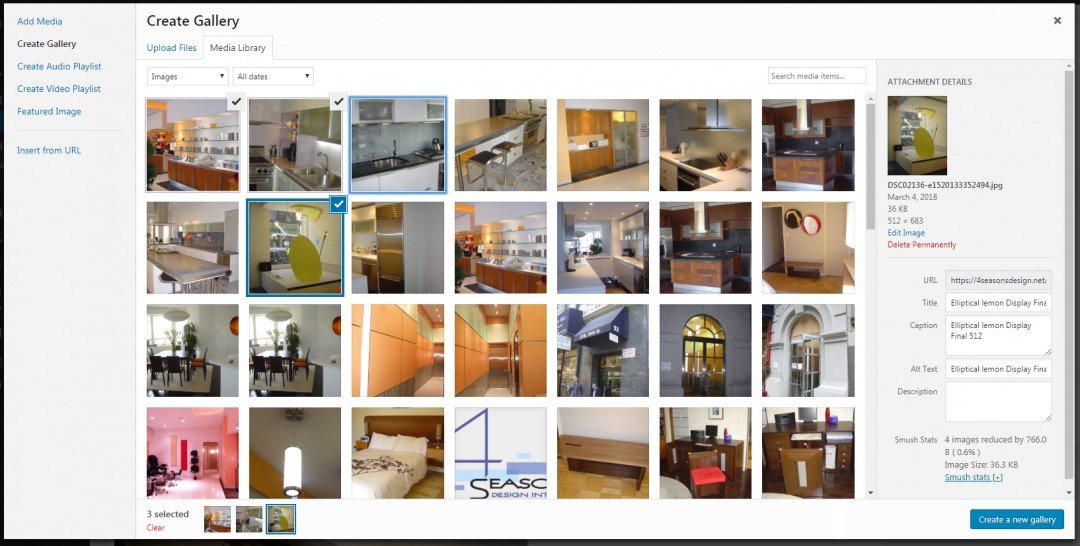
8. Click on “CREATE A NEW GALLERY” on the far bottom right.
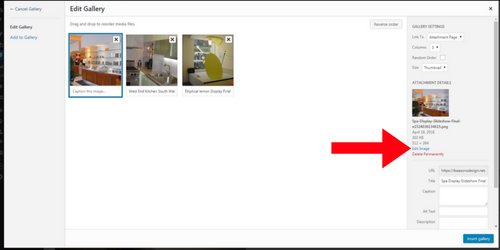
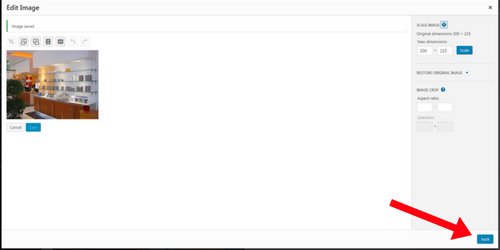
9. Select our image(s) and click “EDIT IMAGE” on the far right of our “EDIT GALLERY” screen
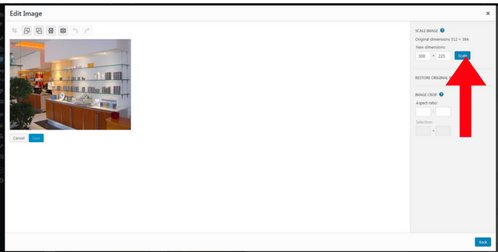
10. Change dimension and click “SCALE”
Experiment with this. Try cutting this dimension by approximately i.e., ½ or by 1/3 ( 512 x 384 or 300 x 225) and click on “Scale”.
This is a great tool as it renders all dimensions proportional with only one change
(screenshot of 16cccc – Change dimension Click SCALE)
Important Note: Jot down the important “images data notes” i.e., image URL, file size, dimensions from “Attachment Details” on the right on a piece of paper while you are going through these steps, particularly noting the “before data” prior to clicking “Scale” and the “after data” following when the image is resized.
After the image is resized, it will also now have a different image URL i.e., “Spa-Display-Slideshow-Final-e1524401710803.png”.
Both the image’s prior URL and final URL should be noted under the “Images to Optimize” tab.
Then record ALL the old and new data written on your sheet of paper to your spreadsheet both in your “Image List” and “Images to Optimize” tabs. Whenever revisions occur, ALWAYS update your spreadsheet entries as they occur.
11. Image is now SAVED (top left), on bottom right click “BACK”
(screenshot of 16ccccc – Image SAVED Click BACK)
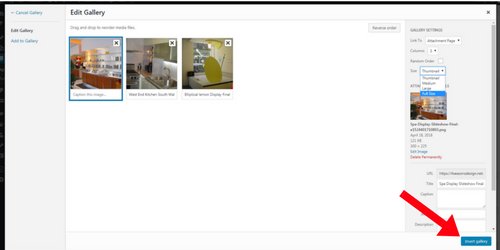
12. On top right in “Gallery Settings”, keep “Link to” as is (Attachment Page), enter your Columns (number of gallery images across), keep “Random” unchecked, and select FULL SIZE.
On the Bottom, enter your Title, Caption, Alt text, and Description (I usually leave Description blank).
Then click “INSERT GALLERY”
13. Review and see that 3rd Gallery Image is Too Large.
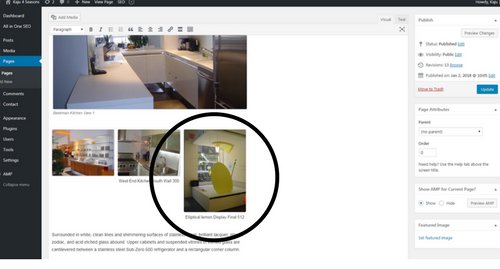
14. Click on Gallery and then “PENCIL ICON” to Re-edit

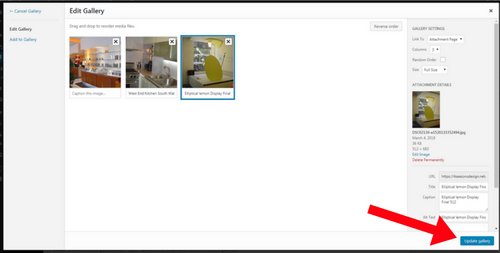
15. Edit the 3rd Image (or all your other images) to the correct size dimensions, and click UPDATE GALLERY
16. When you feel you are satisfied, Click UPDATE
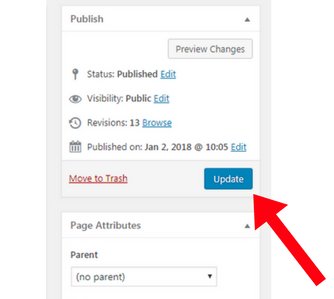
17. Click VIEW PAGE to check your work
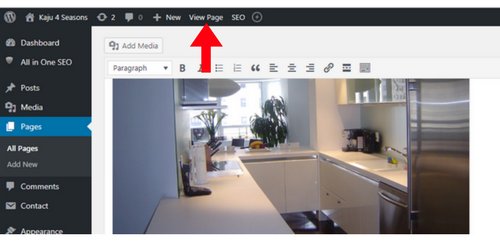
Click “View Page” to compare the previous image size with the new image size. Alternately, you can click ”Preview Changes” on the top right, but I don’t like this as much (more below).
Important Note: After viewing Page, if not satisfied with the resulting size of the image continue to REPEAT Steps 10-17. Try cutting the image dimension by approximately i.e., ½. 1/3, ¼ (300 x 225) and then click on “Scale”. Keep monitoring your image size until the image is optimized and you also feel it looks right.
After doing this repeatedly for a while, you will acquire a “feel” for how to scale your images without losing noticeable visible size.
I PERSONALLY PREFER to click “View Page” rather than “Preview Changes” to check my work because I can get my editing done faster; every time you click “Preview Changes” then go back you lose your most recent work. Often when viewing my Gallery in the workspace, I already have a good “feel” this will look right on the website, so I click “Update” and most of time no further changes are necessary.
18. Go to Media Library to visually locate ALL duplicate images.
Click on the image to open it in “Attachment Details” screen.
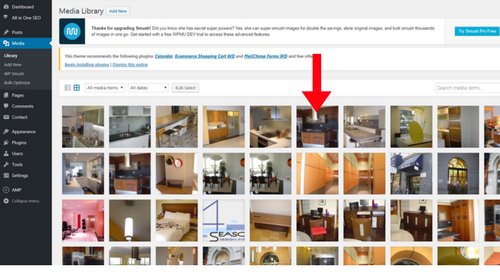
19. Click “Delete Permanently” in Attachment Details screen for ALL duplicate images in unused different sizes from your Media Library.
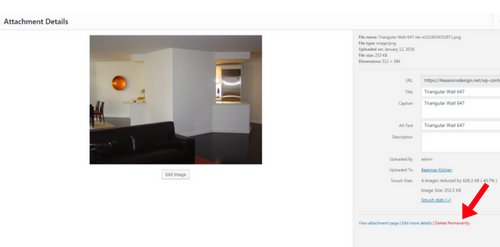
Repeat this “Delete Permanently” for all duplicate images in their unneeded sizes.
Only keep the size(s) of the images you are using. Make sure all extra images are deleted in this manner from your Media Library, and that you note every revised deletion or addition and all of the revised detailed information in your spreadsheet. I also have an old “Caption” name, and a new “Caption” name. Referring to your spreadsheet will help you keep track of all this detailed information.
Now click “Next Page” and let’s revise EXISITING GALLERY images inStep 6.


Saving this.:)