You will want to go to Aweber.com and sign up for your $1 account. Yes, only $1 for the first 30 days.
I am going to walk you through setting up your account once you get your email with your password. I had a bit of trouble getting my password email. On their main page, there is a button you can hit to chat with someone live. This person couldn't help me get the password, but they stayed in chat with me while they got a person to call me. That person verifies your information and then sets your password. So, don't worry if you don't get the email, just chat with them :) They have awesome customer service!
Once you log into Aweber for the first time, you will walk through a set of steps that will get your first list going. The first bit of information they ask for is your personal information. Most of it you have already given to them. Just verify what is on that page and hit next. Here is what that page will look like:
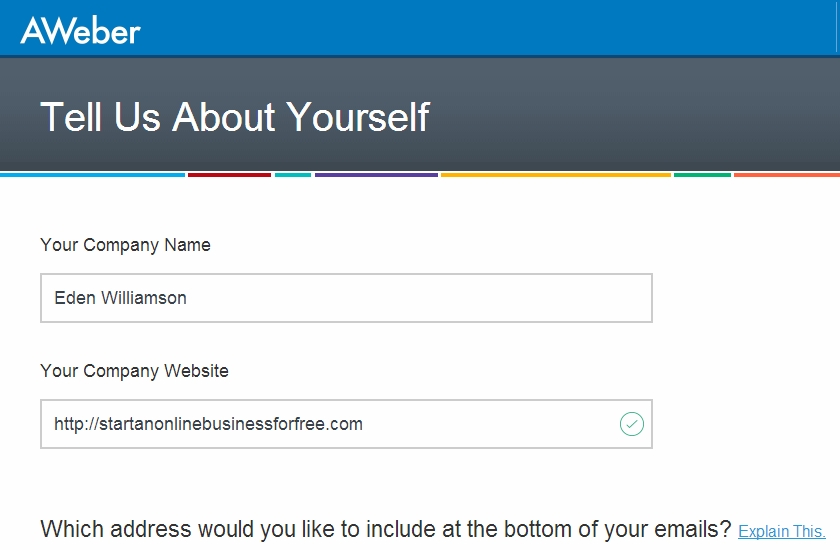
I intentionally cut off the bottom of the page because it has some personal information I do not want to share :)
When you hit next, you will be taken to a screen that asks you to set up your first list. It looks like this:
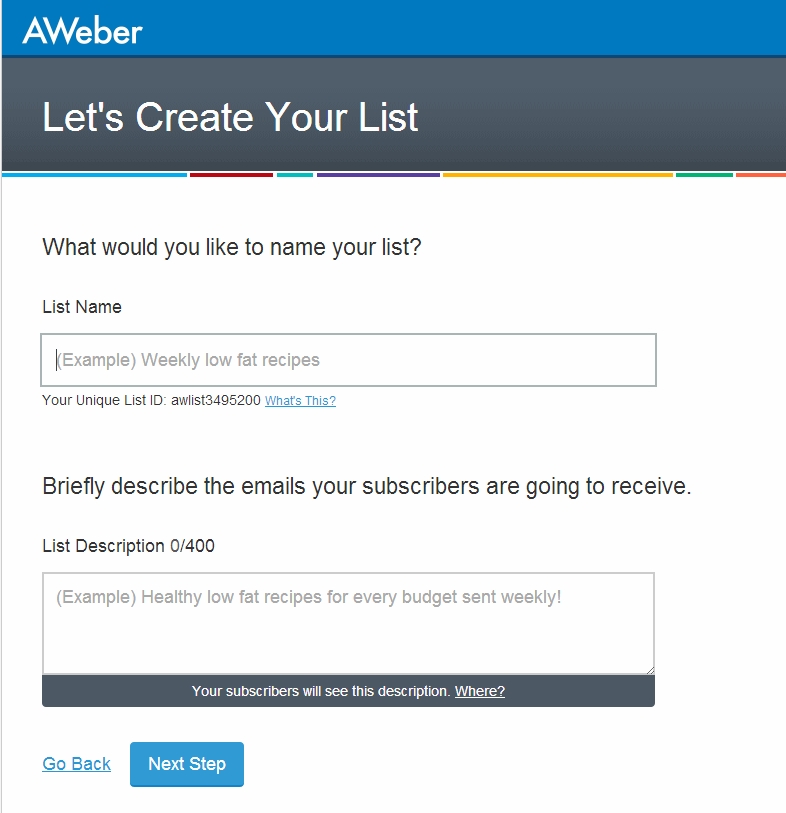
A list is your subscriber list. These are the people who will be signing up for your email mini course. You can use your theme name for your list name to help differentiate it from other lists you may create later.
Here is how my page looked once I entered the information they wanted:
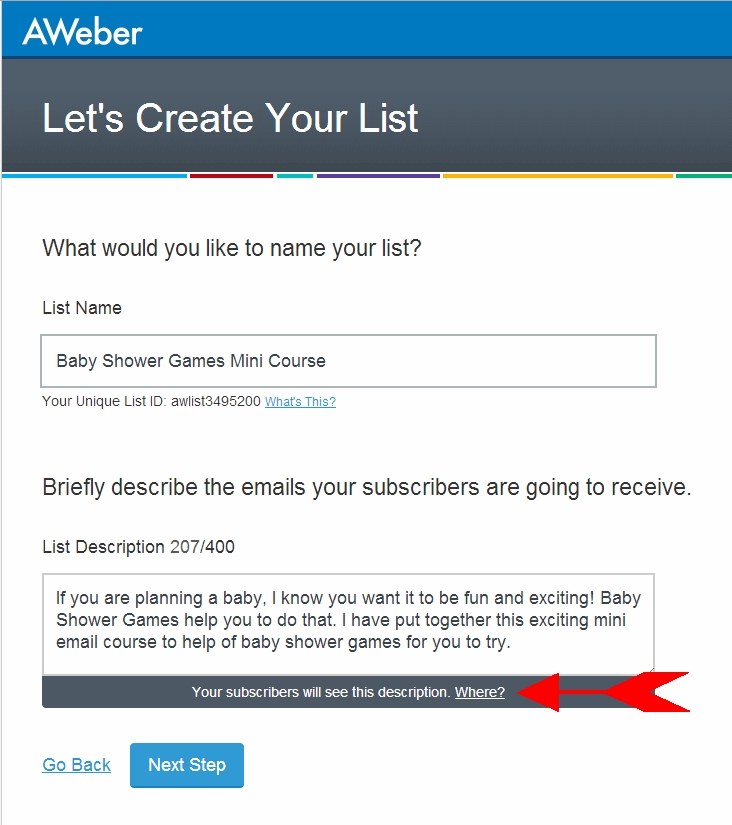
P.S. noticed a typo in my description! :/
I put a big red arrow pointing to a little note below the description. It is very important that you make your list description so that your visitor will want to sign up. They will see this description.
Once you have your description set, hit next step.
The next screen you will see is the email confirmation setup. This is the email the subscriber will get after signing up for your email course (opt-in).
Here is what the confirmation setup page looks like:
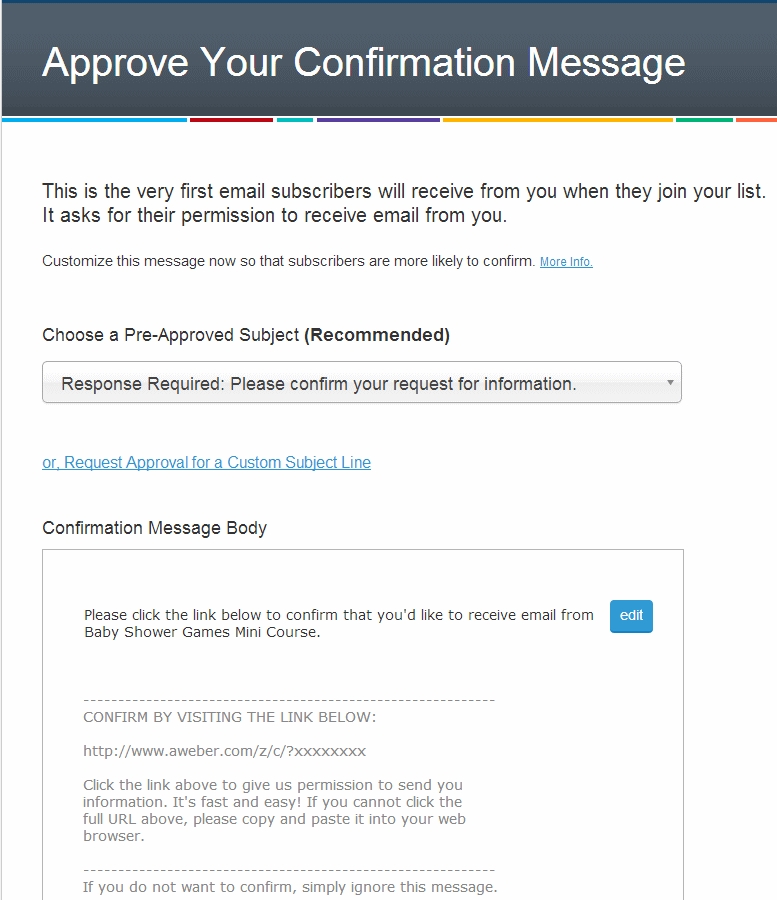
You can select the drop-down and pick how you would like your Response to appear. There are several options. I missed getting a screen shot of that sorry :(
Next, you want to hit Edit next to "Please click the link below." You can edit that wordage to be anything you want. Here is how I made mine look:
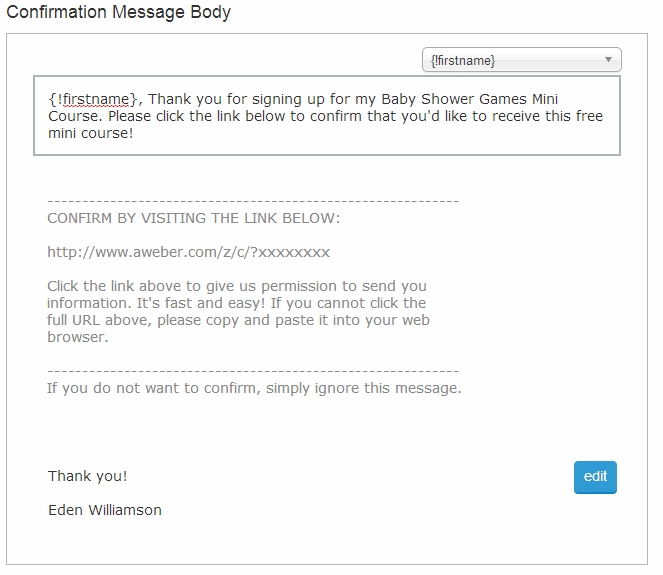
The only other thing that you may edit on this page is your thank you at the bottom and your signature.
Once you are done editing this screen, hit Approve Message & Create List.
You will be taken to a screen that looks like this:
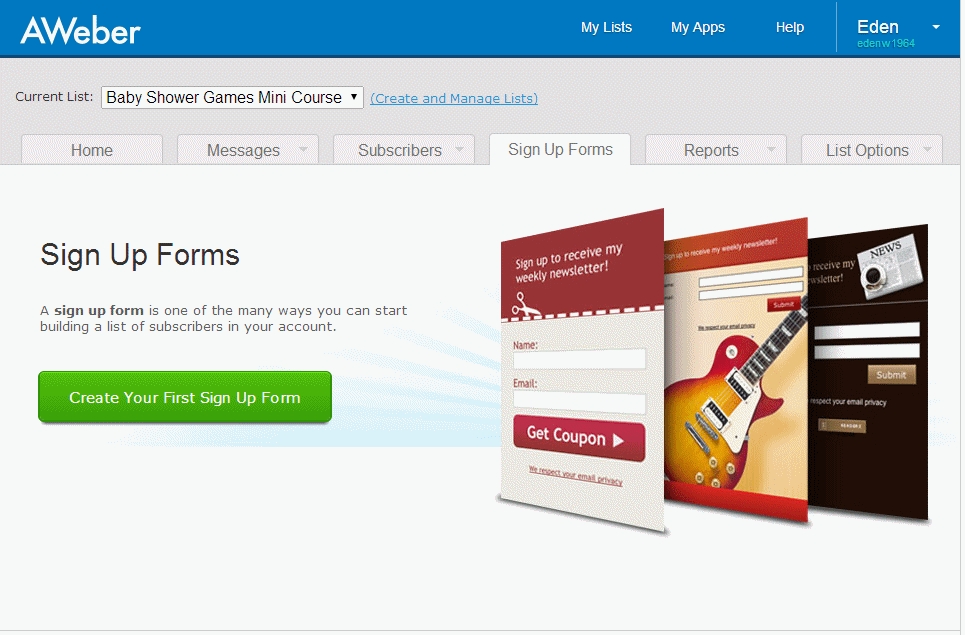
Now, you have your first list set up and your ready to start building your email mini course in Aweber.
On the next page, we will create your web form and put the emails into the auto-responder.