Layer 1
Okay, so now we have the base image which is also referred to as layer 1:

NOTE: Using Layers when creating images can be confusing at first. But, think of it in three dimensions. We are going to "layer" images on top of each other and then "flatten" all of them to create the resulting single image. Each "layer" can be manipulated separately, sized and moved around which makes this VERY powerful. Work through this a few times, practice and practice. If you can master layers with image creation, you'll never pay for graphic design again!!!
Okay, so you have the base layer. Now, let's add the FUN stuff!
Layer 2: Add a Photo as a layer
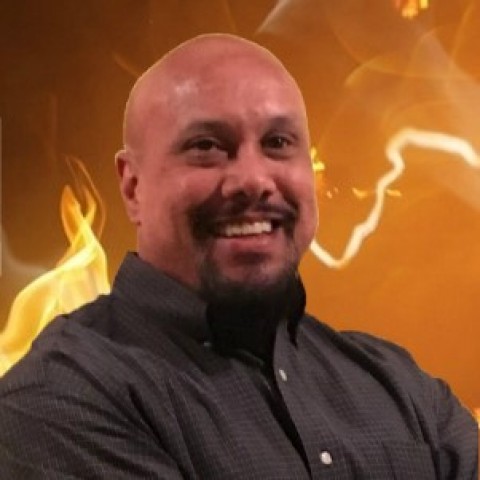
Okay, so let's go and get my ugly mug! My profile photo..... BUT..... we want to add this in as a workable LAYER.
So, click the Layer Menu Pull-down and select Open As layer as shown below:
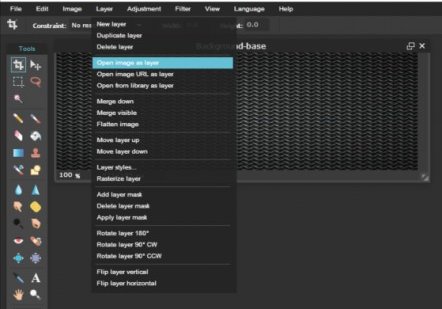
Again, browse your computer, find your folders and select your profile image, click Open to add it into Pixlr as layer 2:

Excellent! Now, lets move the image around and make room for the text image and other components.