
Open PowerPoint and ensure that the Office Mix Add-In is loading, see image above.

2/ Make sure that the window/s of the applications are open, BEFORE you click on ScreenShot, it will by default, automatically select that open application screen, or your desktop, if you don't have any application open.
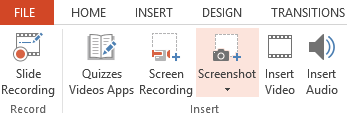
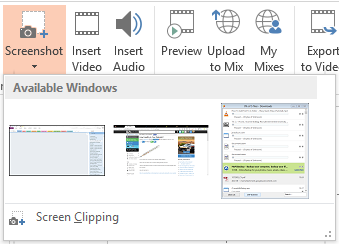
3/ Click on the ScreenShot icon, this will automatically show the available screens in a drop-down box, now in this box, click on the screen of the application you want to capture.


- Colour
- Artistic Effect - Texturizer
- Picture Style - Bevel Perspective
- Picture Border - 4.5 Thick
- Picture Effects - Glow
- Crop To Scroll - Horizontal
- Adjusted Width - To Fit Slide
You can play around with all of these different features, and there are some I haven't mentioned. So work your way from the left of the Ribbon Menu to the end, and see what artistic pieces you come up with! Have fun!
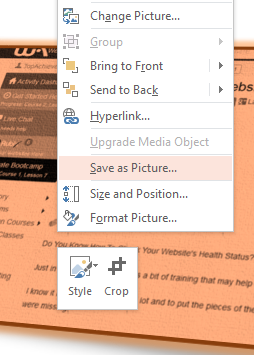

8/ If you wish to Crop the Screen Clipping, click on the Crop Icon top right of the Ribbon Menu and crop it according to your specifications.The finished product looks like this, saved as a picture. It can also be copied for immediate use to paste elsewhere.
Now that we know how to Create A ScreenShot, let's move on to Create A Screen Recording


I haven't been able to digest this entire tutorial, but I look forward to drilling down on this because its one aspect of my website development that I want to explore.
Thanks for taking time to create this. I will come back.