Once your markers are in place, whether the cursor or you MARKER WORD for HTML, you can place your image.
Follow the prompts once you click on the Media button. To place an image in Visual mode, the image must be downloaded from your hard drive. A copied block of html code from an affiliate site or somewhere else on the internet, is need if the image will be added to your page or post through the Text Mode.
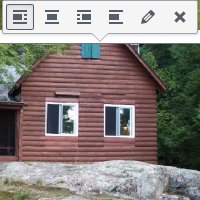
When placed from a picture dowloaded your hard drive, your image will look like this initially. The location boxes place the image on the page or post related to text.
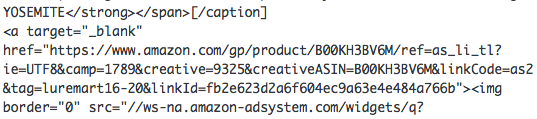
As you paste image html into the text, you will immediately see the addition of the text block. Notice my marker word. The image html begins with <a.
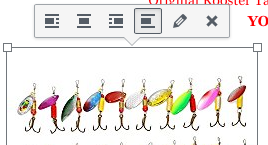
When I switch back to visual mode, I see the actual image, with the position boxes, placed in the content of my page. You can see the beginning of my marker word at the top right.
Once the image is oriented on the page. I remove the position boxes.
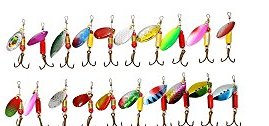
If I position the images properly, I can have 2 or 3 columns of images depending on the image size.
Placing images on a page or post is not the end to the process of adding images. You may want to identify images. Images can link to content or affiliates. Images also play a part in the correct ratio of keywords in your content.