In the center of the identification window, are the display settings. Here you can alter the position of your image related to the content around it.
In some cases, you can alter the image size. There are given 3 sizes from which to choose: thumbnail, medium and full size. If you have sized your image before placing it, you may have only the option closest to your sizing.
If you have downloaded an image from your hard drive, it is likely that the "Link To" box will be empty.
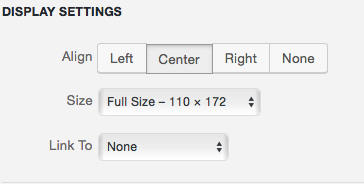
You have 3 choices in the "Link to" drop-down menu.
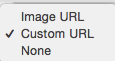
"None" provides no url attached to the image.
"Image URL" would display the url of the webpage from which an image was taken.
"Custom URL" links the picture to a site of your choosing.
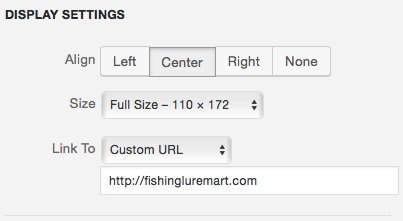
I have linked this particular image to my fishing lure site. The "Custom URL" box is a great place to add an affiliate link. For example, you WA affiliate link could be added in this box. When someone clicks on the image, they will see the WA registration invitation. Many affiliate product images will have the affiliate link embedded in the html code.
It is important to remind site visitors that they can click on images and links for additional information.
Images are an important part of your website content. Adding and manipulating images can be complicated.
Developing your personal style for the use of images will make visiting your websites like returning to a familiar grocery store. Visitors will understand how your site is laid out and what they can find, where.