How to use tables in your pages and posts


I recently exchanged messages with a successful, experienced WAer that didn't know how to use tables. No surprise there...you would never really know how to do this unless you have experience with HTML or web design. So I thought I would share for the good of all!
In this blog, I'm going to show you how to use tables in your pages and posts.
Step 1 - Use the text editor
You're going to want to use the text editor. In your page or post composer, look for the "Text" tab. The default your probably used to is "Visual."
This image shows what you're used to:
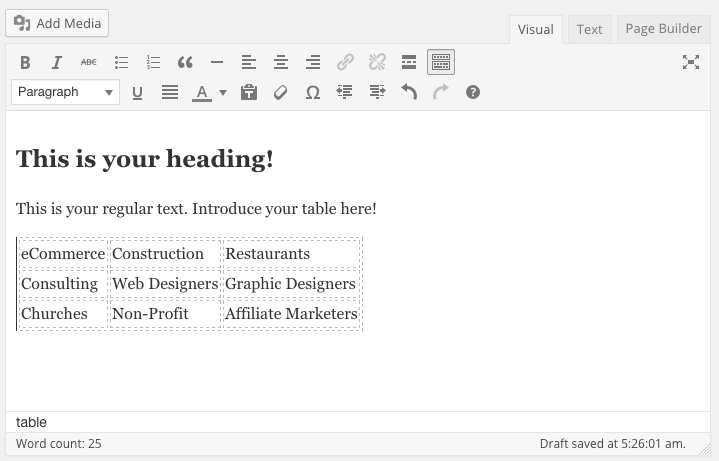
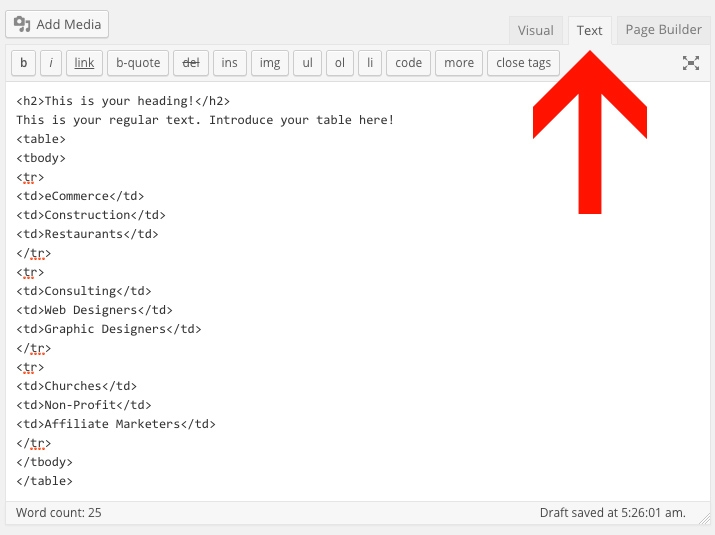
But you will want to click "Text" in the top right hand corner. Once you do that, you'll see the content you've already created, but in HTML format.
Step 2 - Insert the Table HTML
Once you find the location you would like to see your table, copy and paste the following code. Don't mind the placeholder content.
<table>
<tbody>
<tr>
<td>eCommerce</td>
<td>Construction</td>
<td>Restaurants</td>
</tr>
<tr>
<td>Consulting</td>
<td>Web Designers</td>
<td>Graphic Designers</td>
</tr>
<tr>
<td>Churches</td>
<td>Non-Profit</td>
<td>Affiliate Marketers</td>
</tr>
</tbody>
</table>
As you can see in the following image, here's what mine looks like now.
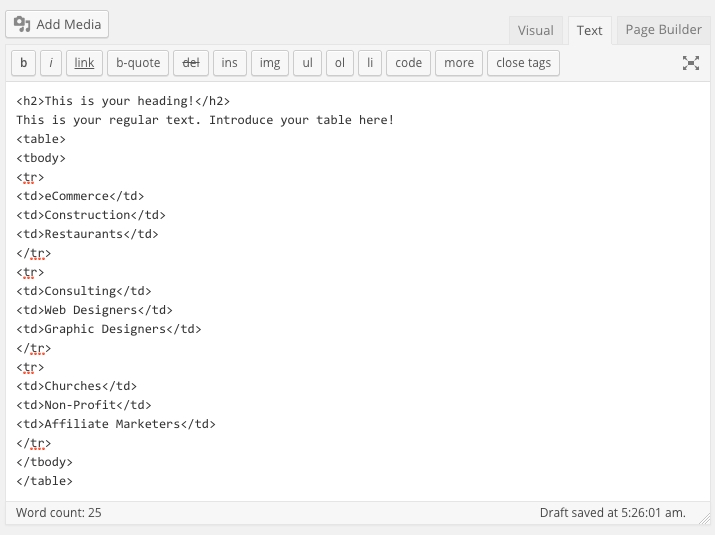
And here's what it looks like when you go back to "Visual" mode:

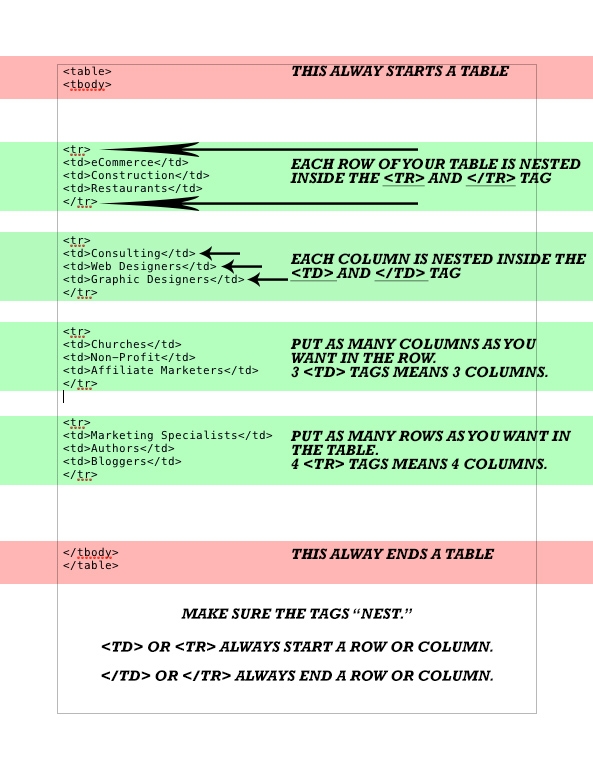
Step 3 - Adding/Removing Columns and Rows
Rows are indicated by the
<TR>
tag. At the end of a row, you need to make sure a
</TR>
tag exists.
Columns are indicated by the
<TD>
tag. At the end of each column, you need to make sure a
</TD>
tag exists.
The following image should help clear up any confusion:
Step 4 - Fit to Suit
Once you have all your columns and rows in place, fill in your content. You can do this in the "Text" mode or the "Visual" mode.
Make sure all your column tags are nested within your row tags! Good HTML always look well organized and symmetrical.
Step 5 - Preview it BEFORE Publishing
You can test your table out by clicking the "Preview." If you've got your tags entered correctly, you will see a pretty plain looking table.
If any of your tags are misplaced, God knows what you table will like. Haha!
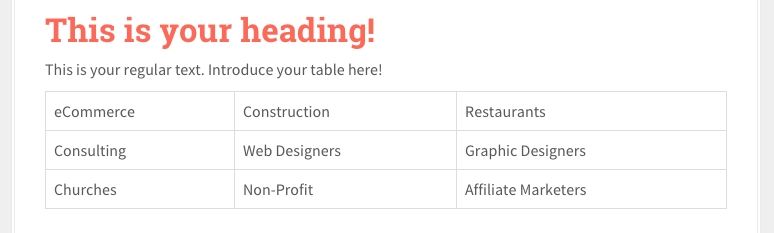
Our sample table looks like this in my theme:
*Pro Tip*
I like to "select all" and "copy" all my page or post content (in Text mode) before clicking "Preview" or "Publish." The reason being that if something happens to your internet connection, or your hosting servers, or your computer, when you click either of those buttons, you could lose all your content!
I have saved hours of content creation time using this technique.
That's it!
You've got a simple table! You can use any text, headings, images, etc., in your table as long as they're nested by the column and row tags correctly.
Of course, styling tables, and editing width and height, is more complicated. If requested a lot, I might create a walkthrough for that as well!
Cheers! Feel free to seek clarification or ask any questions below!
Join FREE & Launch Your Business!
Exclusive Bonus - Offer Ends at Midnight Today
00
Hours
:
00
Minutes
:
00
Seconds
2,000 AI Credits Worth $10 USD
Build a Logo + Website That Attracts Customers
400 Credits
Discover Hot Niches with AI Market Research
100 Credits
Create SEO Content That Ranks & Converts
800 Credits
Find Affiliate Offers Up to $500/Sale
10 Credits
Access a Community of 2.9M+ Members
Recent Comments
13


Thank you. This is extremely helpful. In general, I'm finding my knowledge of HTMl, something I thought I'd never need, comes in handy.


See more comments
Join FREE & Launch Your Business!
Exclusive Bonus - Offer Ends at Midnight Today
00
Hours
:
00
Minutes
:
00
Seconds
2,000 AI Credits Worth $10 USD
Build a Logo + Website That Attracts Customers
400 Credits
Discover Hot Niches with AI Market Research
100 Credits
Create SEO Content That Ranks & Converts
800 Credits
Find Affiliate Offers Up to $500/Sale
10 Credits
Access a Community of 2.9M+ Members
OMG!!! That is the best post ever!!! THANK YOU!!!!