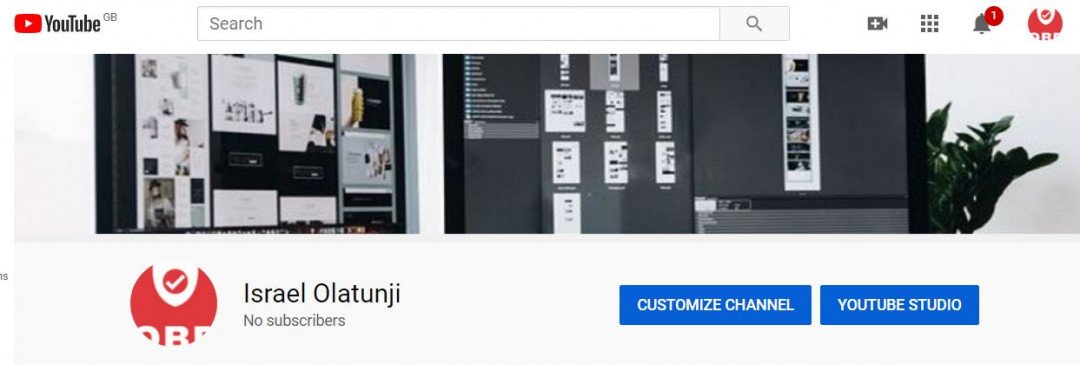
Step 4: Channel Heading
Next, you’ll make a beautiful design for your YouTube channel. To make a design, hit the "Add channel art" tab.
Channel Art/Design

Being the image that will be used as the design (header) of your YouTube channel, you can choose any picture or photo that you create yourself or you took from the YouTube gallery. The recommended size for the image is 2560 by 1440 pixels and file size is 6 MB max.
Step 5: Page Views
Now go to the view settings. To configure the channel to your preference, hover down to the gear, which is next to the subscribe button; now you’ll be able to see the amount of page views you have.
Step 6: Description
By going to the section "About the channel", you can make a description of your channel, add an e-mail for commercial requests, links to your website or social networks. A maximum of 5 links can be added.
Step 7: How to Make a Channel Closed and Open
If for whatever reason you want limited access to the videos posted on your YouTube channel, then making these videos private or available by reference or by direct link will be the right option.
Hover down to the page of your channel and go to the video manager.
Next to the video you want to hide, click the "Change/edit" button
After opening the page with the video below, toggle your mouse to the right-hand side of the video itself.
Select your most preferred option to restrict access to the video:
- Available at the link
- Limited access (by e-mail)
- Limited access to YouTube videos; in the same way, you can block access to other videos or playlists
Questions:
1) Do I need a paid software for editing purpose or can I use the free once?
2) What is normally the length for the video?
thank you so much for the informative training. All the best to your future endeavors.
Lucky
Thank you.
Jeff


