Changing Image sizes "on the fly" for better page loads.


Okay, apparently I have one more day or two before I'm allowed to produce actual training, bummer!
I'm developing a WordPress optimization training course to help speed up your websites and gain more "Google Love". But, for now, here is another tip about optimization of your images when you're in a hurry and perhaps don't have time to resize the image in a photo editor program. Yes, you can do it right within WordPress.
Here's the thing if you haven't read my previous blog posts. On-Page SEO is important to help ranking your overall website in the major search engines. How fast a page or post loads in a visitors web browser is key.
So, you don't wanna upload a 2 or 3 MB image. It will take the website visitor some time for their browser to download and display the image. While it will eventually look rich and vivid, it comes at a cost - speed.
So, here is an example of a client's website.
She sent me the images via iPhone. Believe it or not, the iPhone can take some really good high definition images these days. With the right lighting and angle, they can appear quite professional as you will see.
Additionally, she texted me the content to post for her. Let's take a peek at the first image:
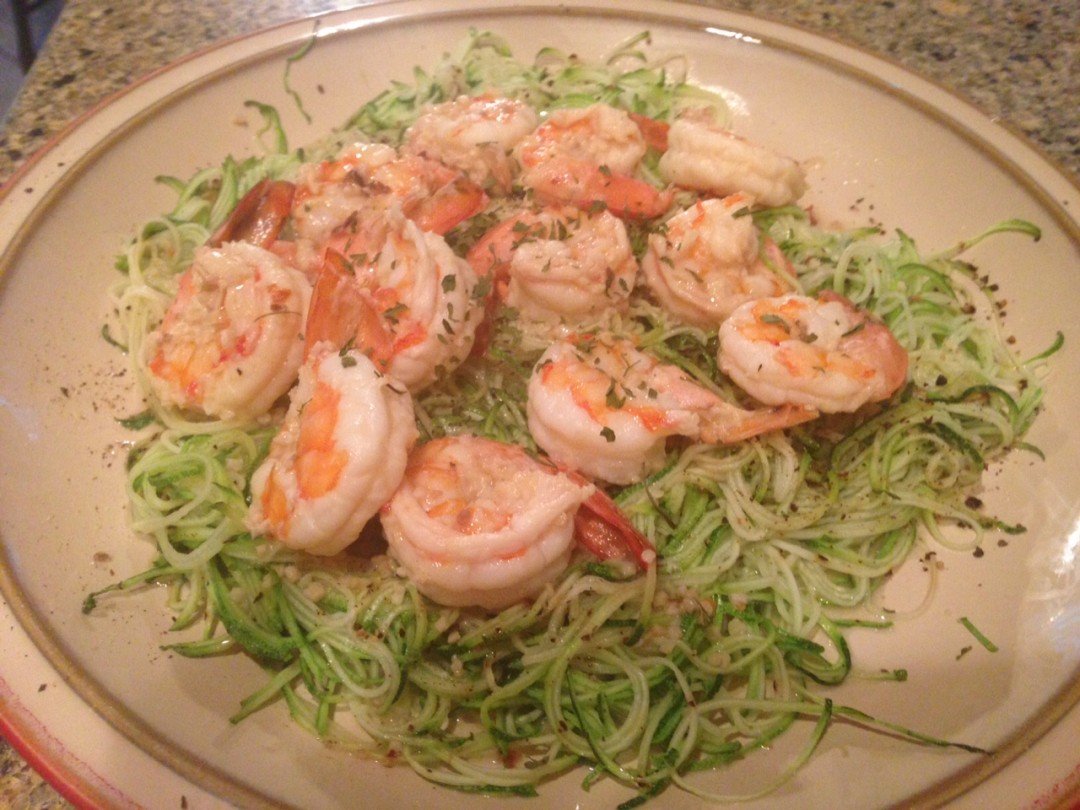
Yea, it's shrimp scampi on a bed of zucchini noodles. Are you hungry yet? I am.
She is a chef, but also all about healthy eating. Anyway, this image was way too large, but I didn't want to load up Adobe Illustrator or run over to one of the free photo editors. I was in a bit of a hurry.
So, I hopped into WordPress and clicked the New Post link and popped in a title and some preliminary text she sent me. Then, clicked the Insert Media link and browsed to this image on my computer.
Here is what you'll first be presented with as I'm sure you're used to seeing:
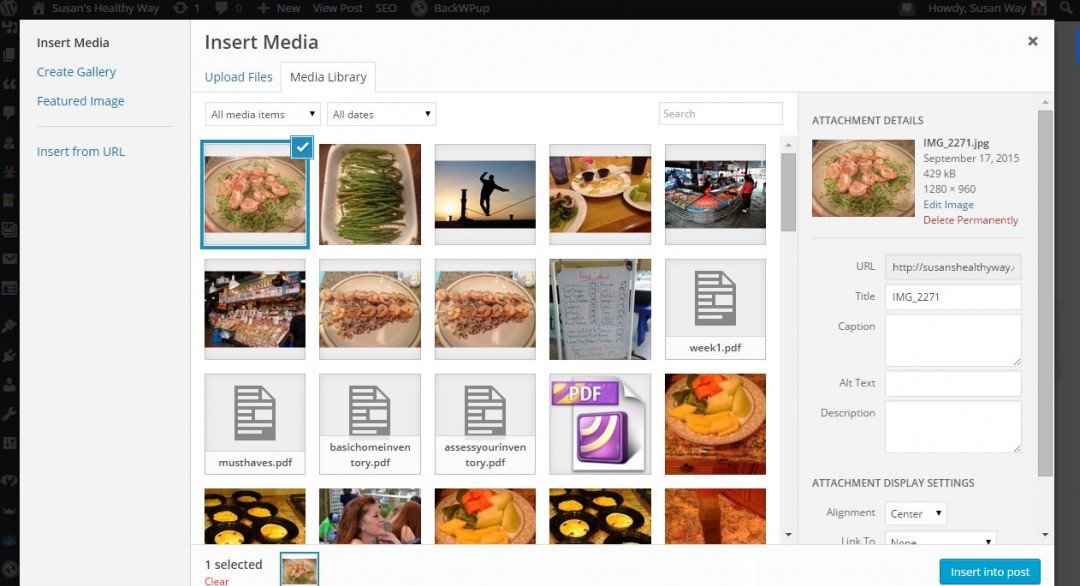
As you'll see in the upper-right of this photo, it's 1200 pixels wide. That's much too large and will take several seconds (at best) to display for a website visitor.
So, here's the trick.....
Click the Edit Image link just below where it shows the image size
This will take you to the following edit screen:
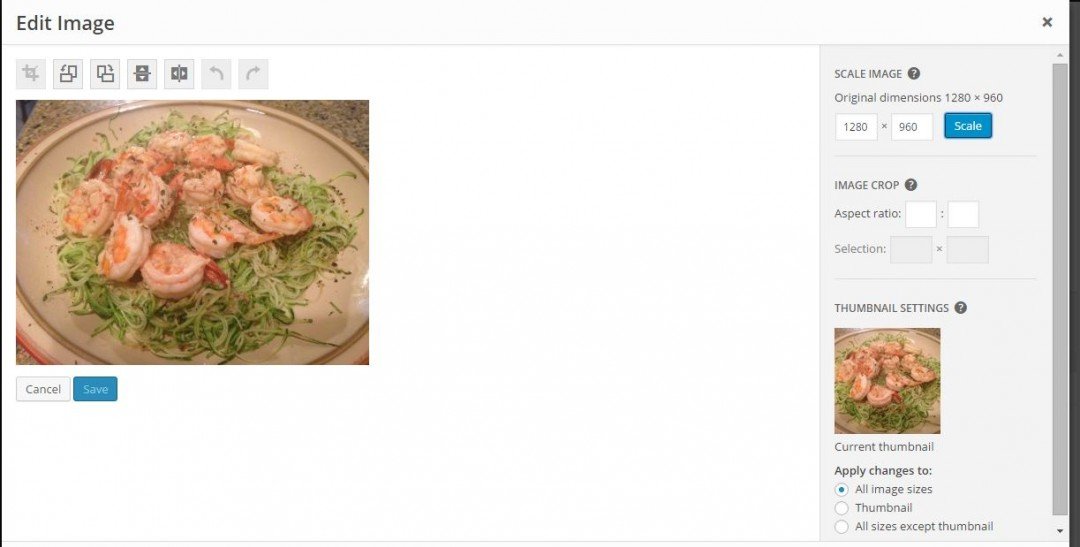
In the Edit Image screen, you could rotate the image (sometimes they upload in portrait mode when you wanted landscape or vice versa).
But, what I'm after is the Scale option in the upper right.
In the photo, the default pixel sizes reveal what you actually uploaded the image as. The original size. In this case, 1280 x 960 (in pixels).
Generally, your posts are no more than 600 to 750 pixels wide and you don't wanna take up the entire width of your post or page. So, I like to pick something in the medium range, about 350 to 450 pixels wide.
Now, you're gonna ask, "Peej, if you select 450 wide, how do you know the vertical size?"
Don't worry, this wee "Scale" option will find the vertical for you.
Just back out or replace the numbers in the first box. The Scale option will automagically determine how tall the image needs to be (vertical pixels) without messing up the image and creating distortion:

So, I just added 450 in the first box and it automagically set the vertical to 338 pixels tall.
I just click the Back button (lower right) to bring me back to the Insert Media page.
(Leave all other options alone)
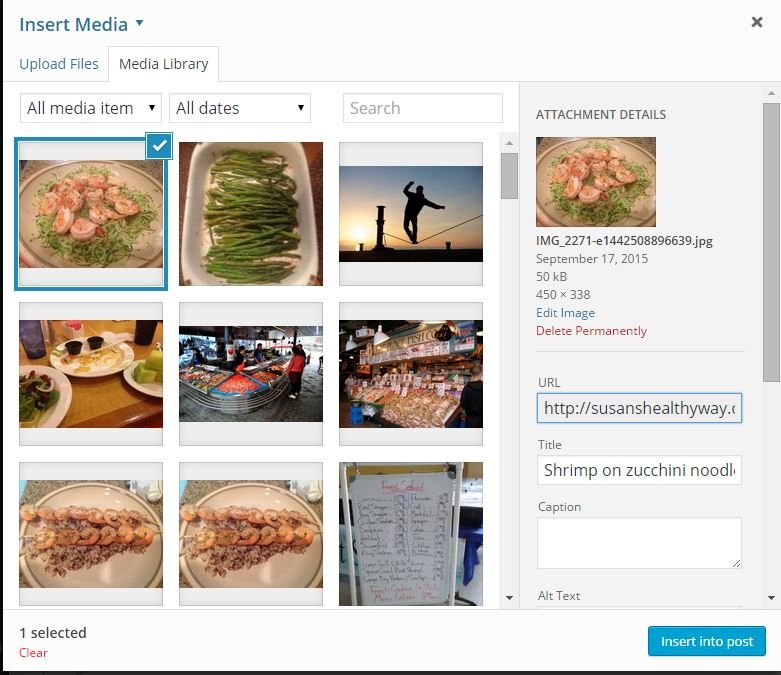
Then, of course, I edit the title for SEO and the ALT tag, again for SEO and then insert it into the post.
Voila !
You have then successfully uploaded and optimized an image for speed.
Later, in a training course, I will show you how to further optimize images using compression techniques.
But, this trick works when you're in a rush or don't know how to use other image editors programs.
Don't load up those HUGE images. It will hurt your website's performance and Google, Bing and Yahoo will notice how slow your pages are loading.
Hope this helps!
Pj
Join FREE & Launch Your Business!
Exclusive Bonus - Offer Ends at Midnight Today
00
Hours
:
00
Minutes
:
00
Seconds
2,000 AI Credits Worth $10 USD
Build a Logo + Website That Attracts Customers
400 Credits
Discover Hot Niches with AI Market Research
100 Credits
Create SEO Content That Ranks & Converts
800 Credits
Find Affiliate Offers Up to $500/Sale
10 Credits
Access a Community of 2.9M+ Members
Recent Comments
88


Perfect! Thank you!
When I am on a site that takes forever to open pages, I usually just leave.
Yeah, maybe I am a little impatient, but
I don't want that happening on my sites :-)


Thanks Peej,I must be catching on because I could follow your explanation LOL.I look forward to your trainings.
Marty:)


Great post and I look forward to the actual training you are planning especially because you have been able to do such a great job already. Counting down the hours with you!

Thanks for sharing this! I've tried to get this right on numerous occasions and knew it could work, but couldn't get it to stay on those pixels. I think I know now how to solve the problem! Thanks once again PJ! ;-)


See more comments
Join FREE & Launch Your Business!
Exclusive Bonus - Offer Ends at Midnight Today
00
Hours
:
00
Minutes
:
00
Seconds
2,000 AI Credits Worth $10 USD
Build a Logo + Website That Attracts Customers
400 Credits
Discover Hot Niches with AI Market Research
100 Credits
Create SEO Content That Ranks & Converts
800 Credits
Find Affiliate Offers Up to $500/Sale
10 Credits
Access a Community of 2.9M+ Members
thank you.....very good info
Much appreciated!