First of all, after choosing your image, open it in Paint. To do this right mouse click on the image and select ‘Open With’ and then select ‘Paint’ on the drop down menu.
For those who haven’t used Paint here is a quick (hopefully) lesson.
When ‘Paint’ opens you get a blank drawing sheet like this. (Not the arrows. I drew the them after opening it.)
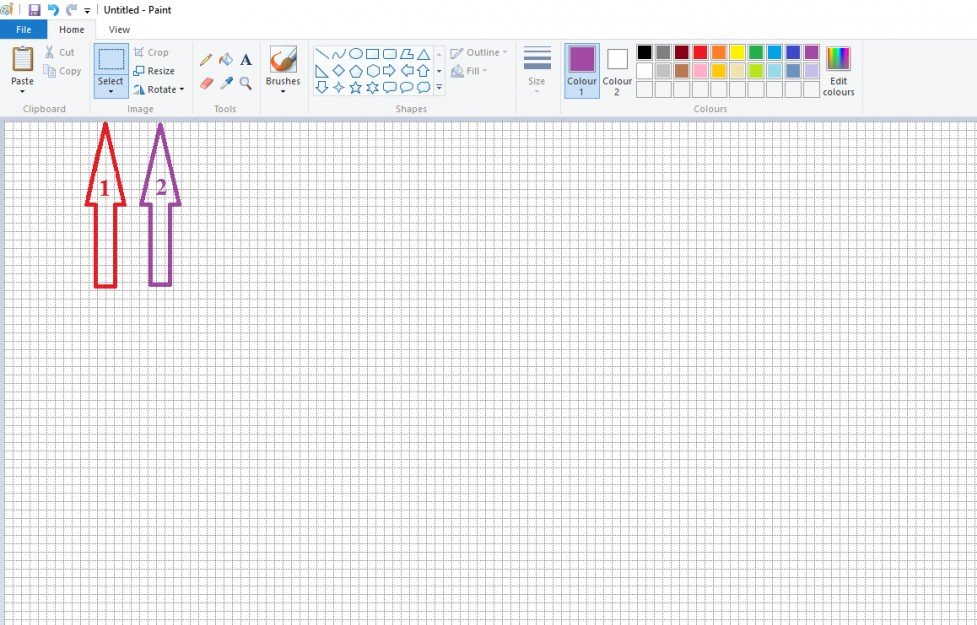
The red arrow points to the ‘Select Button’ and the purple one points to the ‘Resize and Rotate’ buttons. These are the three buttons to use if you are only positioning your image.
Firstly go to ‘Paste’ to copy your image onto the ‘drawing board’. For a single image you shouldn’t need to resize it. I only use this if I am doing multiple images so I can get more on the board. HOWEVER sometimes the image fills the whole board plus more so if it does DO NOT click anywhere yet.
For example here is a cute Tassie Devil. The first image is when I paste it. The second is when I resize it to 25 % and the third is when I expand the board to work on it. NOTE 25% is arbitrary and is in fact too large. Use what ever you need to.
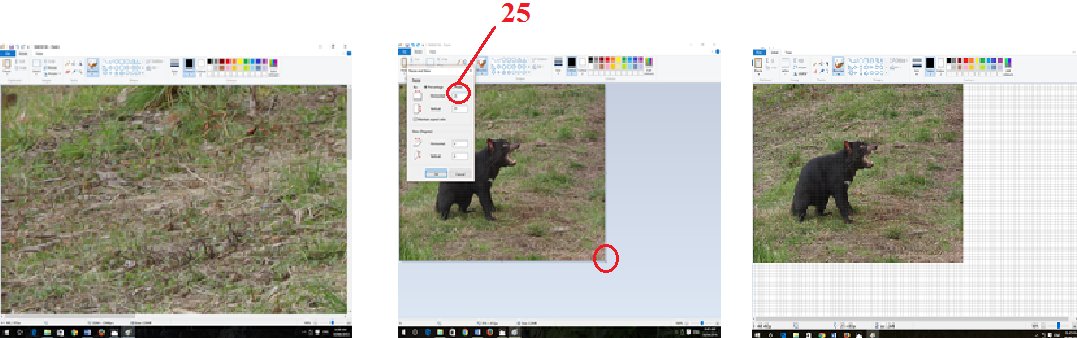
So Image 1 shows only the top left corner of the picture. Image two shows the ‘Resize’ box (you only need to put it in the top box as the bottom defaults to the same number) and the reduced picture. Image two also has a red circle where the ‘handle’ of the frame is. Click on this and drag it to the bottom right of the board to give the full drawing board. Image three shows the same size picture but also the grid lines on the extended drawing area. (If you can’t see grid lines go to ‘View’ and click on Grid lines. (You don’t need to use these but they are a good guide.)


Lesley


We can also use the WP editor on our site to create a draft post, add images as we normally do at our site, then come here and copy/paste it. It will retain its formatting because WA blogs are built on the WordPress platform.
Excellent tutorial and always good to have options.
~Jude