So now your image is on ‘Paint’ let’s get learning, folks.
I am going to show you now the outcome of what you can do. Then I will show you them on the ‘Paint’ work board
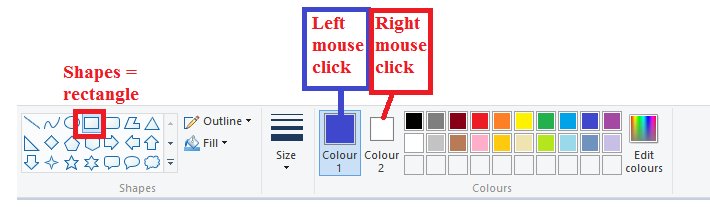
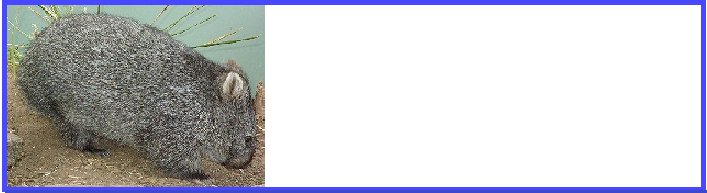
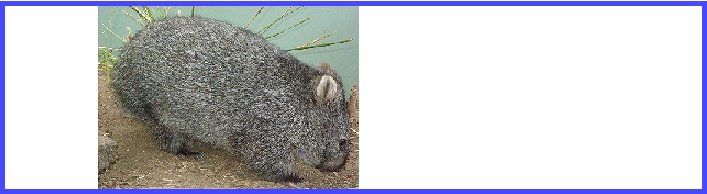
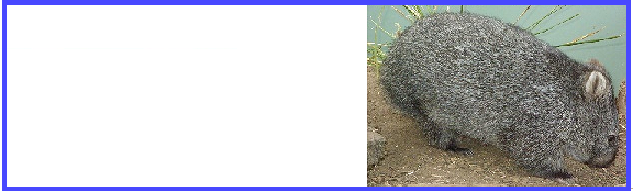
First of all, the blue line is only to show the area I have selected. I did this by selecting the rectangular shape and making it blue. You have two colour boxes chosen from the palette. Depending on how your mouse is set up, if you draw using the left button then in this example you get blue. If you draw with the right button you get white. This is an aside to the lesson and you don’t need to use it unless you want a border. Just make it to suit your image.
Using the Select button (on the left end of the tool bar as shown in a previous image) select the area to make the alignment how you want it then hit Copy. To ensure you only get the size you want, first of all Paste it into a Word document. Then right mouse click on it and save it as a a picture. (Make sure you can find where you save it to so you can upload it to your blog!)

Now to see how this looks on ‘Paint’.
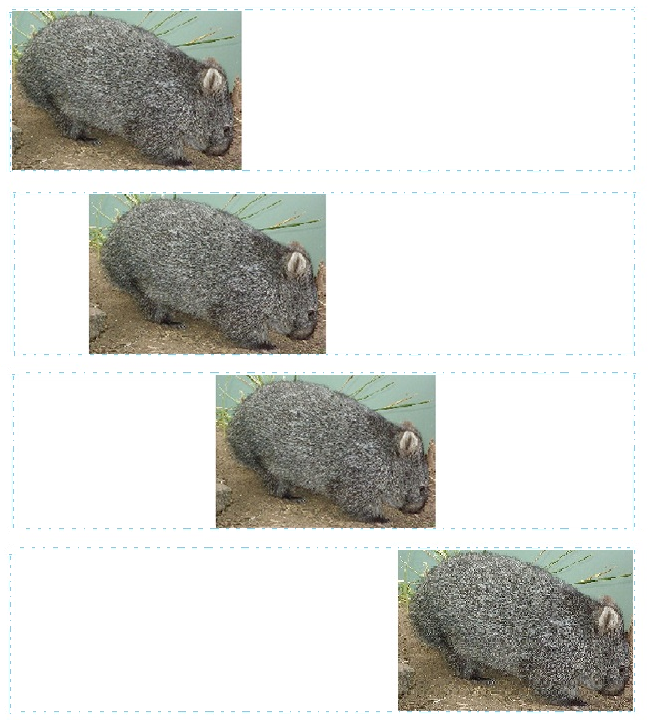
The light blue dotted lines show the edge of the Selected area and, in actuality don't show once you copy them to Word.
Once these are saved as images and uploaded onto your blog you can see here that the white areas don't show and they position the image where you want it.


Lesley


We can also use the WP editor on our site to create a draft post, add images as we normally do at our site, then come here and copy/paste it. It will retain its formatting because WA blogs are built on the WordPress platform.
Excellent tutorial and always good to have options.
~Jude