Suppose you don't have your Pinterest Account Ready. Then, wait before you continue this tutorial.
Step 1: Setup your board list and group boards together.
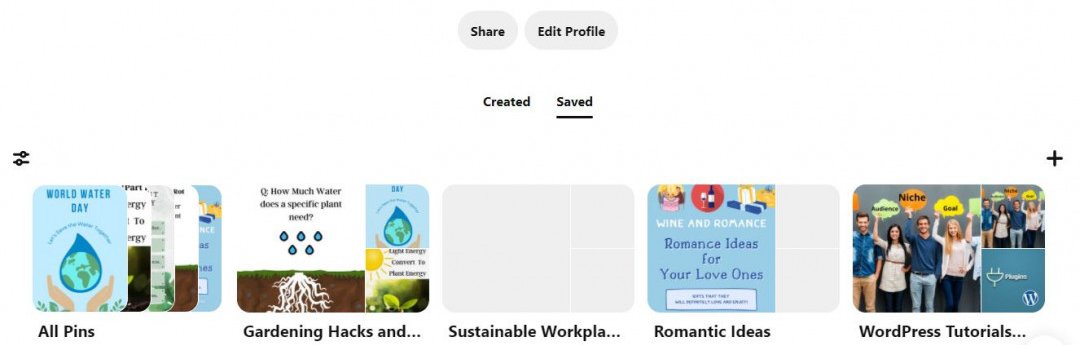
Example: You have your Blogging Board ready. What type of content are you presenting on social media? Set your content in the same list together. If you are a food blogger, put your Holiday Foods, Dessert Dishes, Soups, etc. Get your board list step up, so you are not searching or trying to remember what boards you have on your profile.
Step 2: Set up your schedule
Depending on how much content or how many products you're trying to promote, this will vary for you.
I recommend 1 pin should be posted per day. It's faster to create content than writing 10 blogs per week. Unfortunately, it's just crazy writing 10 blog articles, and I don't have time for that route.
Step 3: Look At your Content and Determine what will be popular in the next 90 Days.
For example: Watch and look at the next 90 days of content coming up in your business. Your holidays and events in the next 90 days also correspond with how people search for things online.
The start of this blog was posted on Feb 2022 and the next upcoming holidays in the USA are St. Patricks Day, Easter, etc.
If you were reading this blog today. Then these are the things you would be planning for.
Review your content and see what you have on your schedule coming up.
Step 4: Research You Keyword Research on Pinterest
Spend an hour reviewing keywords around the trend that correlates to your content's coming out. What is your viewer getting out of your content? Consider writing down five phrases and five keywords. Write down your description for each pin. You will be using this information to put on your Pinterest images.
Step 5: Make Pins in Canva using your Main Key Words
Canva is an amazing tool to create your own templates. The free version provides many easy images or considers using the pro account. You will acquire high-quality images. Your time is valuable to pay a small monthly fee to deliver amazing images and pins.
Once you complete writing down your keywords to make your pins, you should be ready to go or whatever floats your boat. I want this tutorial to be as easy and as painless as possible for you. If you can continuously do this, create 7 pins per week. It will get easier, and you will get faster over time.
Step 6: Pin your image to Pinterest
There are multiple ways to pin your image to Pinterest. On Pinterest, you can schedule your post. This makes the whole process so much faster because not only you've done all your research in advance. You've created your Pinterest images in bulk to display on your dashboard. You don't need to be present once you set the date when the post will be present to pin online through Pinterest.
