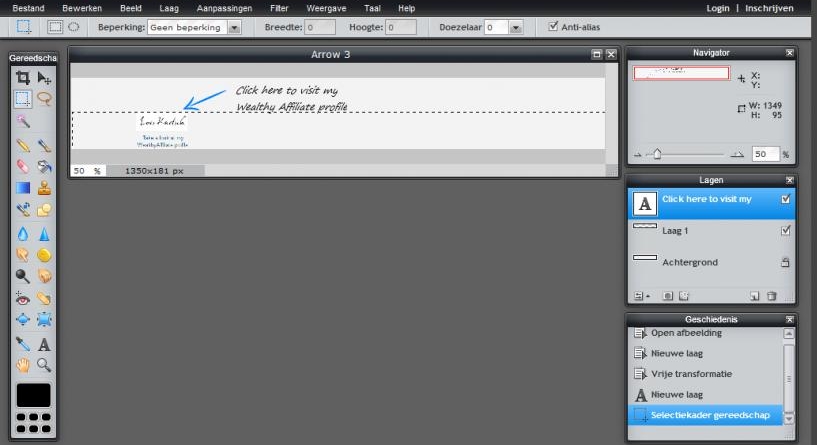
And now we are going to select the upper half (without name banner, or your button) and cut it.
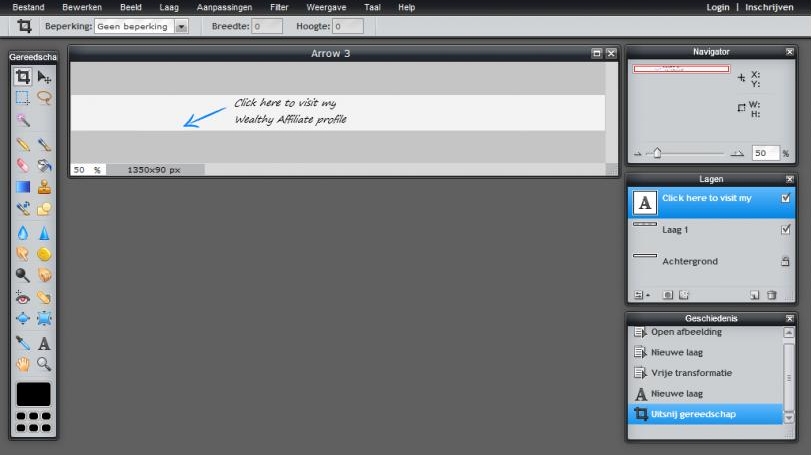
We are just going to safe the arrow and the text I put next to it.
And this picture, with exactly the same background as my website, I am going to past just above my name button.

You can add any arrow everywhere you want on your website this way.
Here you can see the arrow on mywebsite scroll all the way down:)
If you liked this tutorial, please leave a comment and hit the "LIKE" button,
I would appreciate that very much.

Join the Discussion


boomergp08
Premium
Awesome Loes! I like that stylish arrow and that you can display it on an angle instead of the default 90 degree positions. Cool!

TheOldSilly
Premium
Sweet training, Loes! I've always been dissatisfied with my "arrows" in my posts, trainings, etc. This will help a bunch, Thanks!