This works just like creating and adding the code for the link with a slight difference and that is simply personal preference.
You can jump to a specific text, in my example it’s the “Third Sub-Heading”. I can “page jump” directly to this text line and it works fine. However, if I include the header title into the code, it will jump slightly underneath it. This means, the header title won’t be visible after the page jump and starts right underneath with the first sentence.
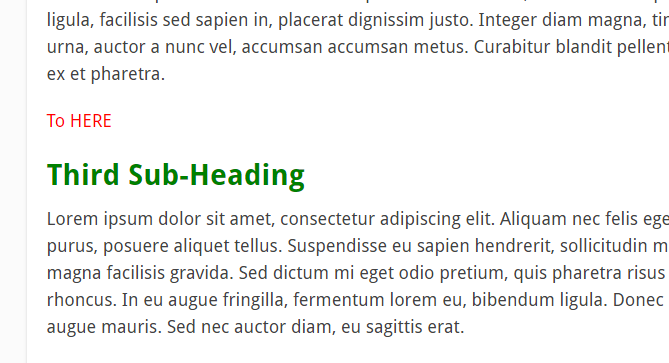
This is not crucial for the page jump to work, I just prefer that the header title is the starting point after the page jump.
To do that, we don’t add the header title to the code place the code right above the title. But before we do that, we have to customize the code for the target from page 1 of this tutorial.
Notice a slight difference in both codes? The target code has “name” instead of “href”. Codes with “href” are links, as we used for the link. The target itself is not a link, so we don’t create a link. We create the “landing spot” for the jump. That’s where the ID comes in.
We set the ID in the link using a hashtag (#) format. Just like you see on Twitter. In the target code, we add the ID without the hashtag (#). This tells WordPress where the landing spot is.
ID with hashtag (#) = Starting point, link from
ID without hashtag (#) = Landing point, not linking from
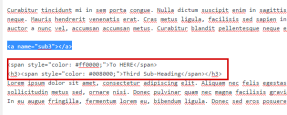
I want the page jump to land right above the sub-heading. That’s why I won’t include the header title. I don’t need the part saying “Target Text” and shorten the code to this:

In this code, I need to replace with the ID I set in the link code. I gave it the ID "#sub3". We remember, no hashtag (#) for the target. ONLY for the link. So, adding the ID, my code for the landing spot looks now like this:

Once you’ve added the ID and if you want the text/header of the landing spot, save it to a notepad/text file for easy copy and paste later.
1) If not already, click on the “Text” tab to switch into HTML mode again. Remember, you can simply go back to the “Visual” tab and add a few XXXX before, after or before and after the text you want to jump to.
2) Copy the code snippet you’ve saved on a notepad/text file. Highlight the code snippet, right mouse click and then “copy”.
3) Since I want it slightly above the title, I put a space between the last word of the paragraph before the sub-heading and the sub-heading. To do so, simply put the mouse cursor at the end of the paragraph and hit enter.
4) Find the spot (look for XXXX if you added those) you want as a landing point, click to add the mouse cursor, right mouse click and “paste” the code in there.
5) Click “Save Draft” or “Update”, if the post/page is already published.
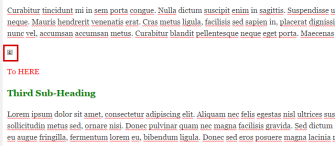
6) Go back to “Visual” to check if the code has been placed correctly. If the landing spot is set correctly, you’ll notice a little anchor symbol. This is invisible at the frontend and only for you to know that you’ve created a “page jump” aka “Anchor Text” in this article. It tells you, that a “page jump” has been added correctly.
7) Delete “XXXX” or any other stuff you’ve added to help you find the right spot. It’s not needed anymore. Click “Save Draft” or “Update” again.
Now you need to preview the post/page. Do that by clicking on “Preview” and check, if the page jump works. Click on the link you’ve set first on page 2 of this tutorial. If created and added the codes correctly, you’ll notice a quick “jump” to the spot on your article you’ve defined as landing spot with an ID.
In my example, it looks like this after the jump:
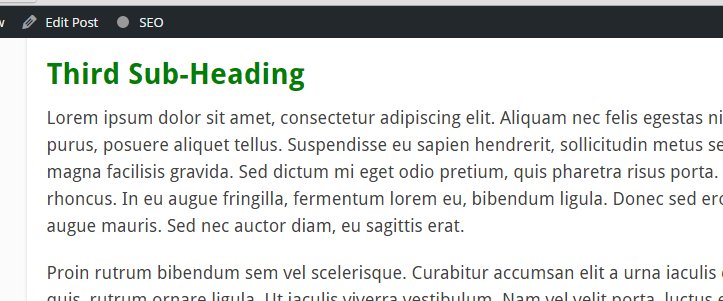
Works? Congratulations! You’ve successfully created and added a page jump in WordPress.


Hopefully once I do a few, I'll get more confidence in doing page jumps. There is so much value added to a website (better experience for both human and Google spider visitors) by them.
I'm considering the WP Plugin, but want to wait until I'm sort of caught up on my site. Taking care of business as we go probably makes the task a lot simpler.


Alejandra.