Alright, now we are ready to remove the background from our picture.
We want to remove the background step by step starting from the outer part far from our face, then going closer and closer to the edge of our face.
To do this, we are going to use the eraser tool.
- Pay attention to the "overlay option window". There are two tabs: basic and eraser. Now go to Eraser tab.

On the eraser size, drag the slider to create a big eraser, you would see how big it is, as shown in the picture below.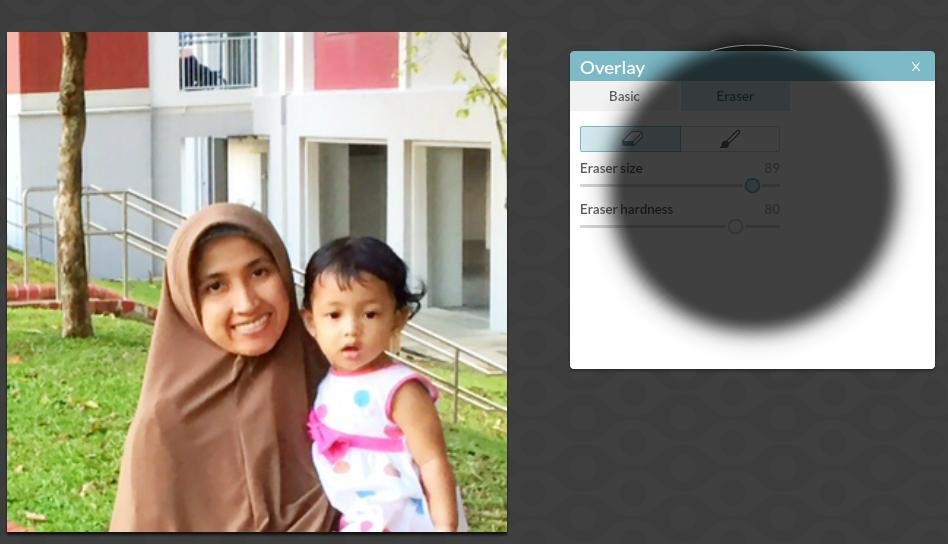
- Start erasing from the corner of your canvas. Here's how it looks like:
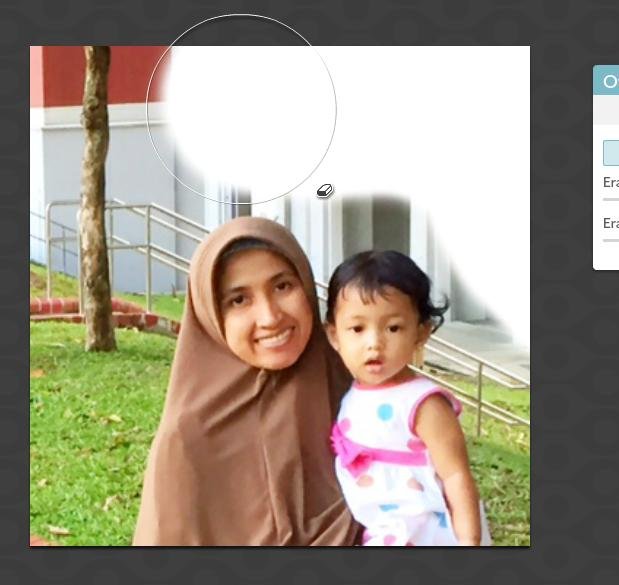
- After cleaning almost all the background

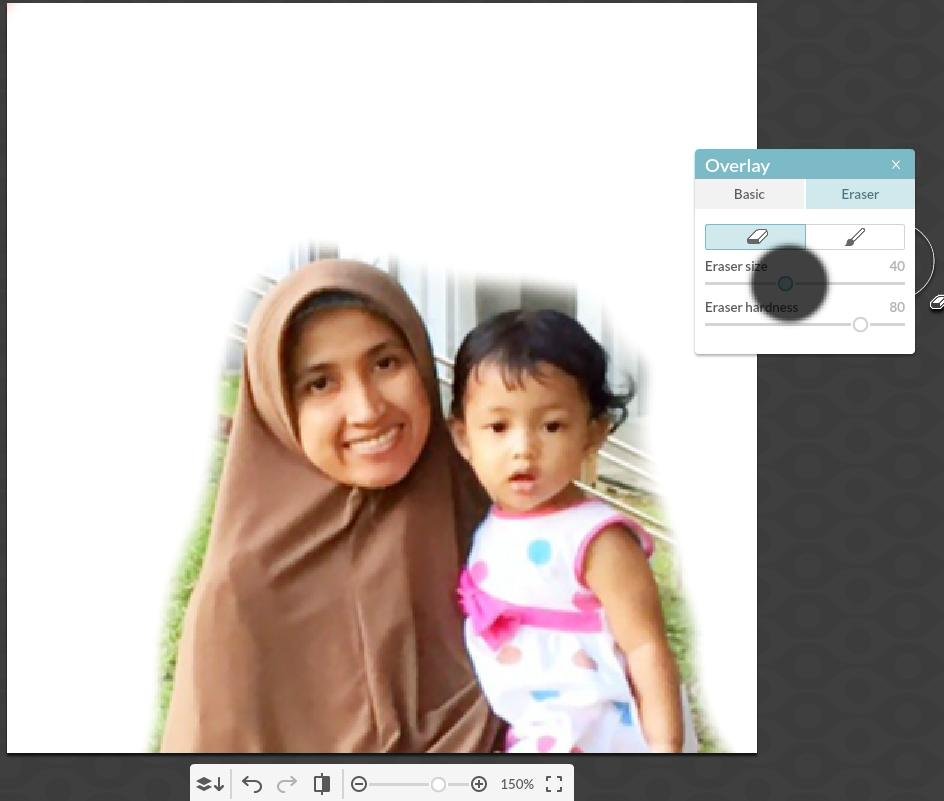
- Now, use a smaller eraser size, and slowly work on those background near the face. Notice that I use a smaller eraser size at 40. Also, I zoomed in the image to 150% so that it is easier to work with.
- The final picture without background

Go to the next page to add a custom background to your profile picture
Join the Discussion