Connect ActiveCampaign to My WordPress Site
As I've previously stated, I use the Thrive Suite in all of my websites.
It makes connecting an autoresponder to a website very easy.
Get Your Autoresponder's API Key
Your API Key is a string of letters and numbers that you get from your autoresponder and enter at your website.
I've logged in to my account with Active Campaign. There's a menu in the left sidebar.
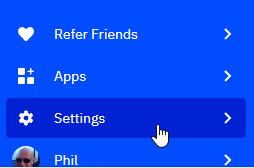
Click on the gear icon (Settings) to display the Settings menu.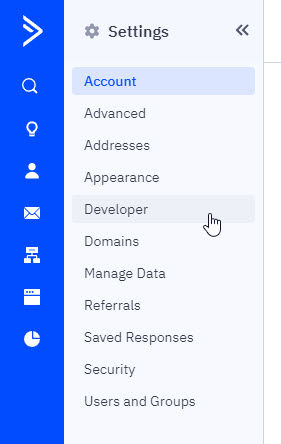
If the Settings menu doesn't display immediately, click the Expansion icon at the top left.
Click Developer from the Settings menu.
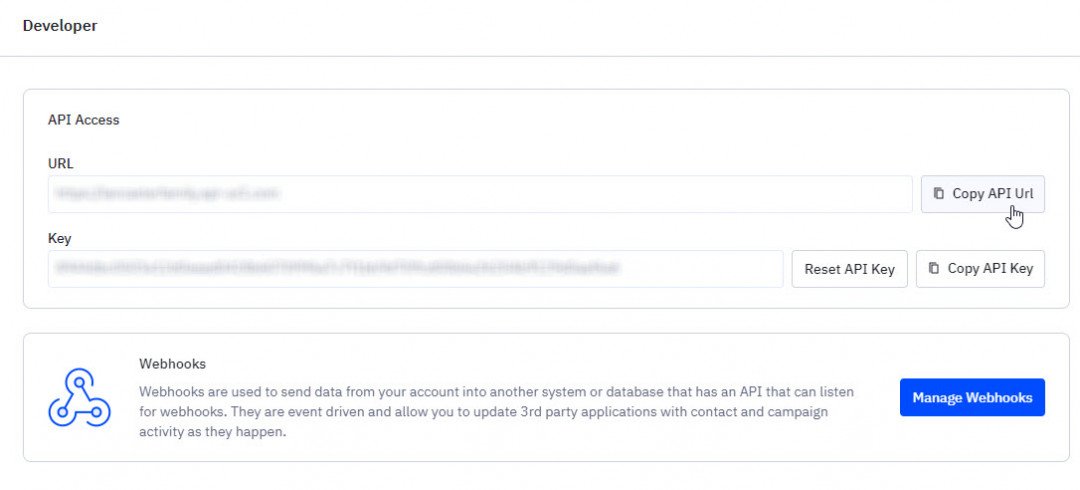
This displays the two fields that you need to copy to your website in order to connect it to your website. You can copy and paste (one at a time) by clicking the Copy button and then in your website using Ctrl+V to paste.
Log in to Your Website
Log in to the Administration area of your website and click on Thrive Dashboard in the left sidebar menu.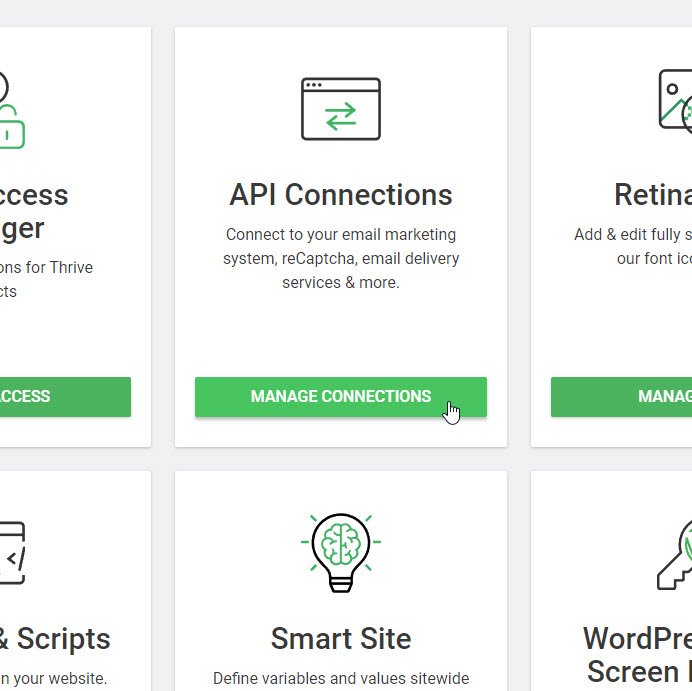
We are adding a new API connection so go to the API Connections section and click the Manage Connections button.
This will display any active connections and allow you to add a new one.
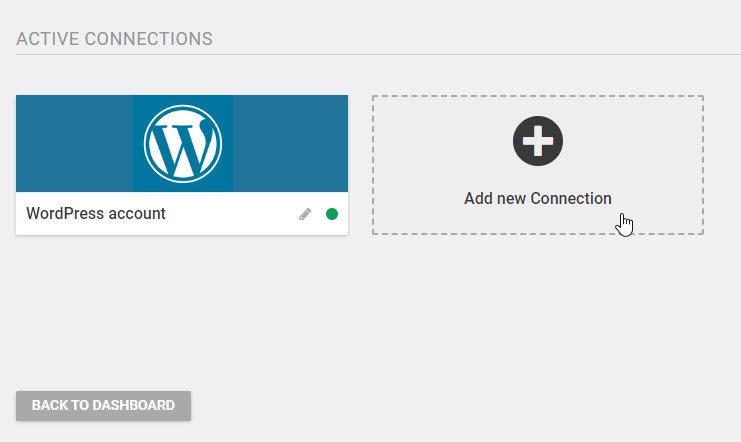
Click the Add New Connection button.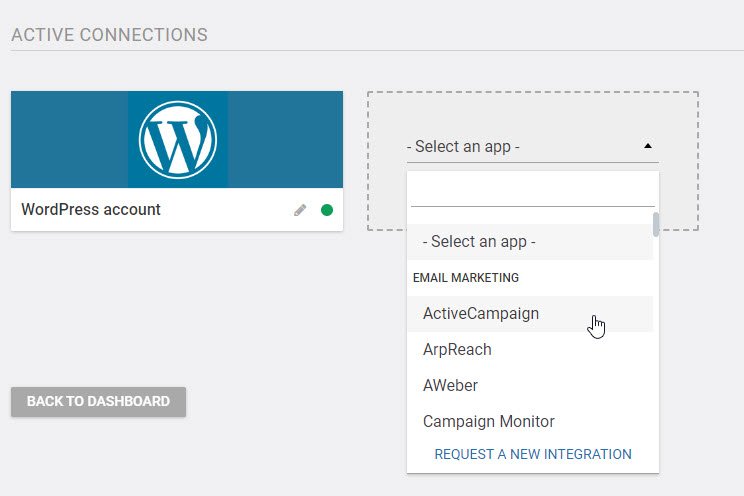
Select your autoresponder from the drop-down list.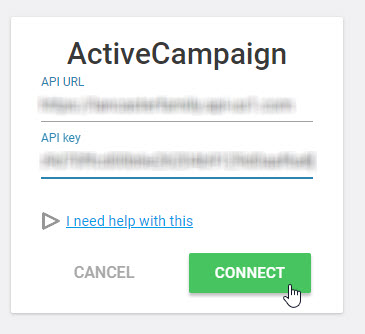
Copy the two fields API URL and API Key from the autoresponder site as described previously and click the Connect button. After a few seconds, you should see a big green confirmation message.
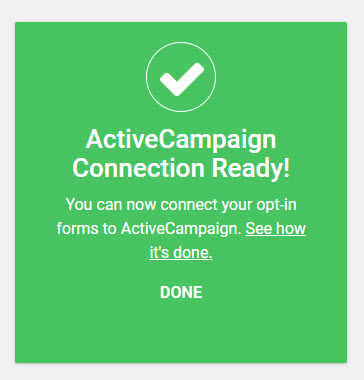
And that's it! Your website and your autoresponder are now connected.
In the previous lesson, I described how to create a giveaway that your visitors could opt in to receive. I'll cover how to use your autoresponder to collect your visitor's name and email address when they opt-in to get your giveaway in the next lesson.
Jeff


