Now that I had the image I wanted, it was time to move onto the text that I needed to go along with it.
Creating Your Text In MS Word
So for my header I wanted text stating a couple of different things, such as:
- Millison Agency
- Quality Insurance Products For Your Auto, Home & More
- Come stop by and let our friendly staff help you with your insurance needs
- Call For A Quote Today & Our Phone Number
The Nice part about using word here is that you can change the font style, size, and color as you see fit. As you can see in the image below there are all kinds of different options (note that different versions or Word will vary in appearance).

One by one I typed in the different phrases that I wanted and made them the sizes, colors, and fonts that worked for me. Then all you have to do is copy the text and paste it into your Paint Image.
Pasting Your Word Into Paint
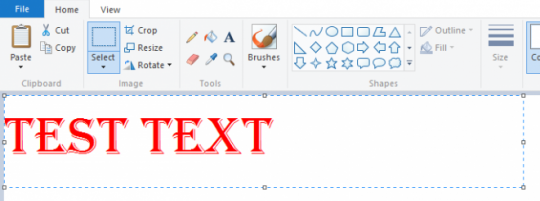
When you copy your text over to Paint it will drop it off in the upper left hand corner with a box around it. If you hover the mouse over top of the text box you will get the four way arrow indicating that you can grab and drag the box to where you want it.

Grab the text box and move it down to an open space. Be careful here as the box will cover up other imagery already in place. This is part of why you want to make sure that you have a big area within paint to work with. Once you have the box somewhere safe click elsewhere in paint to place the image there.
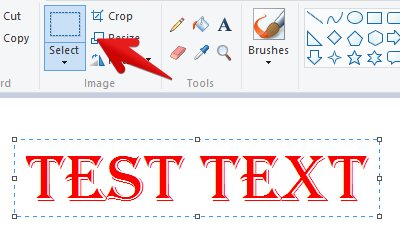
Now you can grab the select feature and draw a box around the text more precisely as shown here:

Now as you can see, I have the text box wrapped much closer to the actual text and this will allow for easier placement without covering up other things with the extra space. If you click on the drop down arrow on the select tool, you can also choose a freehand selection if you really need to get closer. Typically with text though that is not a concern.
Once you have all of your text copied over and your image there, it is time to arrange everything as needed.


