Once you have configured the Site Layout, you will need to go back to the Customize screen and click the Layout link.
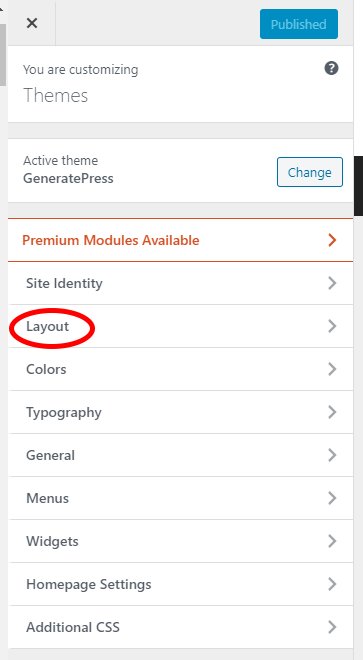
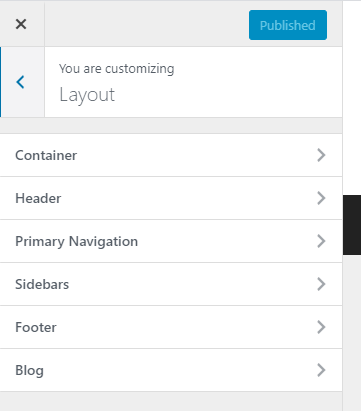
There you will see various links, as shown in the image below.
Each of these areas allows you to change your layout, in various means.
They all work similar to one another, so I will explain using the Container link first so that you can understand better how to go about changing the look and design of your site.
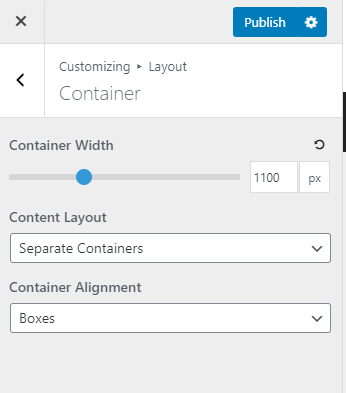
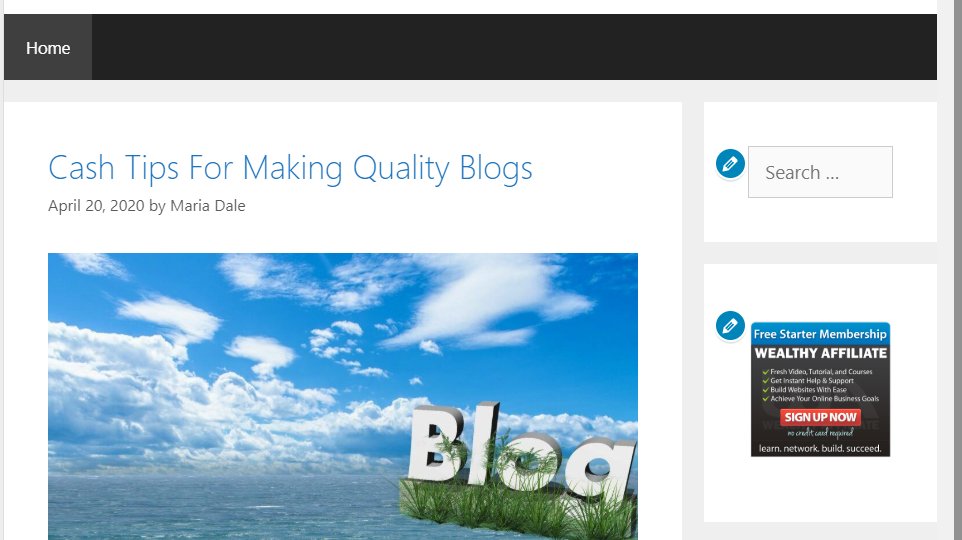
The container is the area that surrounds your sidebar and page content. By default, the container area is separated into individual containers.
The image below shows how each element of the page, is in it's own separate box or "container".
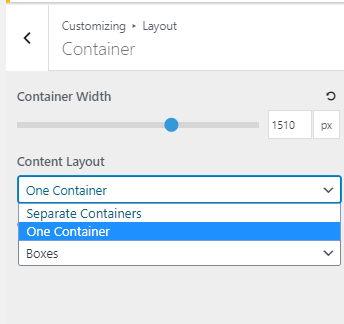
You can choose to have all of the content placed in one single box, under the Content Layout section.
You can also choose to increase or decrease the size of the container, by moving the Container Width slider.
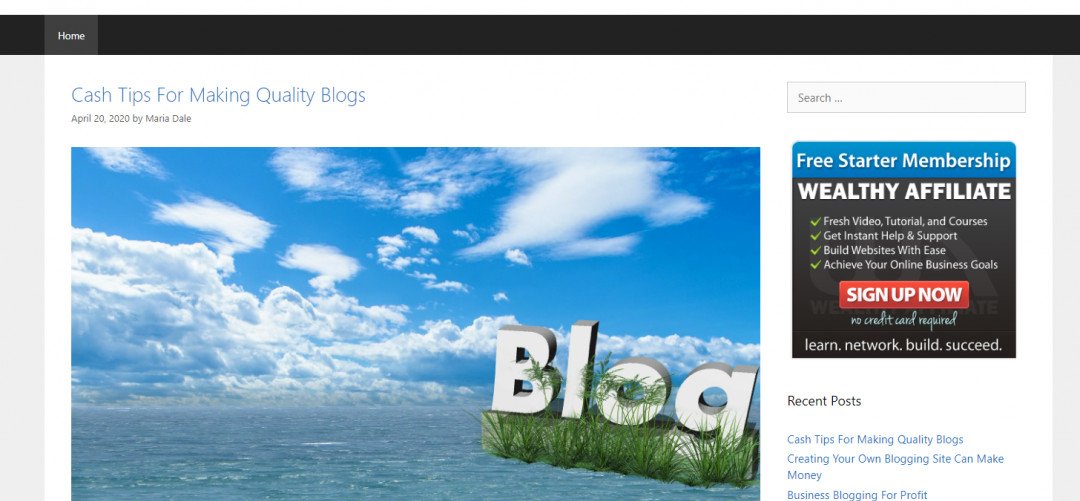
The image below shows how the site appears, once the Container is set to one instead of separate. Everything is now placed in one big box.
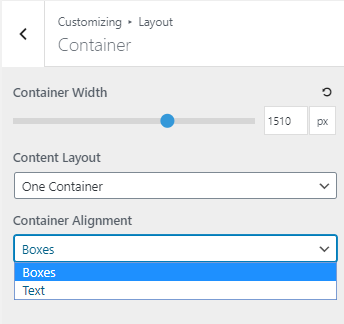
The Container Alignment option let's you change the alignment a bit, the text option will move the container contents a tiny bit to the right, to help separate the content in a more attractive fashion is you choose to use the Separate Container option from above.
Once you have made your Container changes, click the Publish button to save the changes then go back to the Layout page and click the Header link.
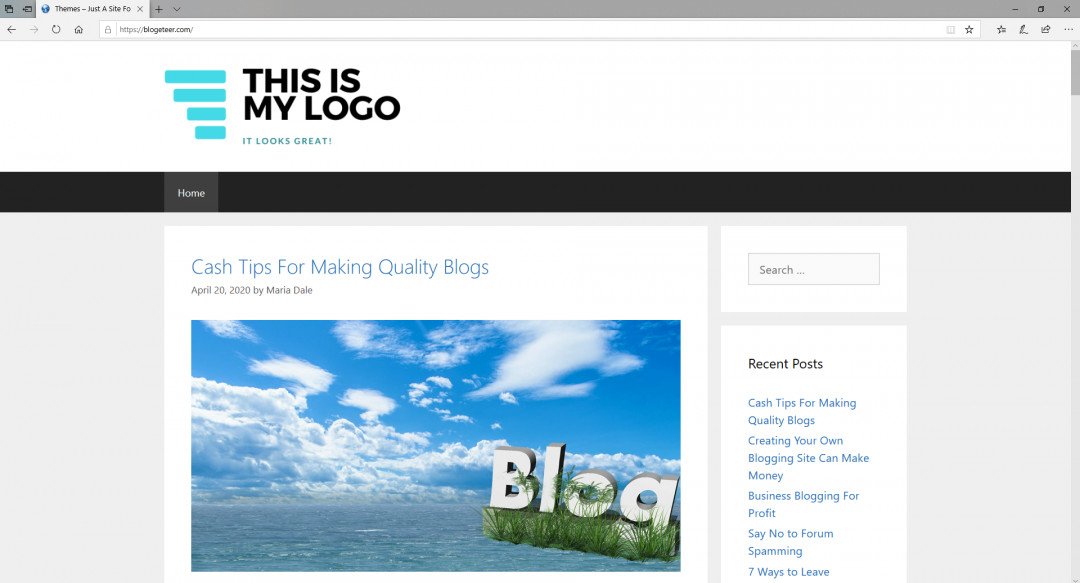
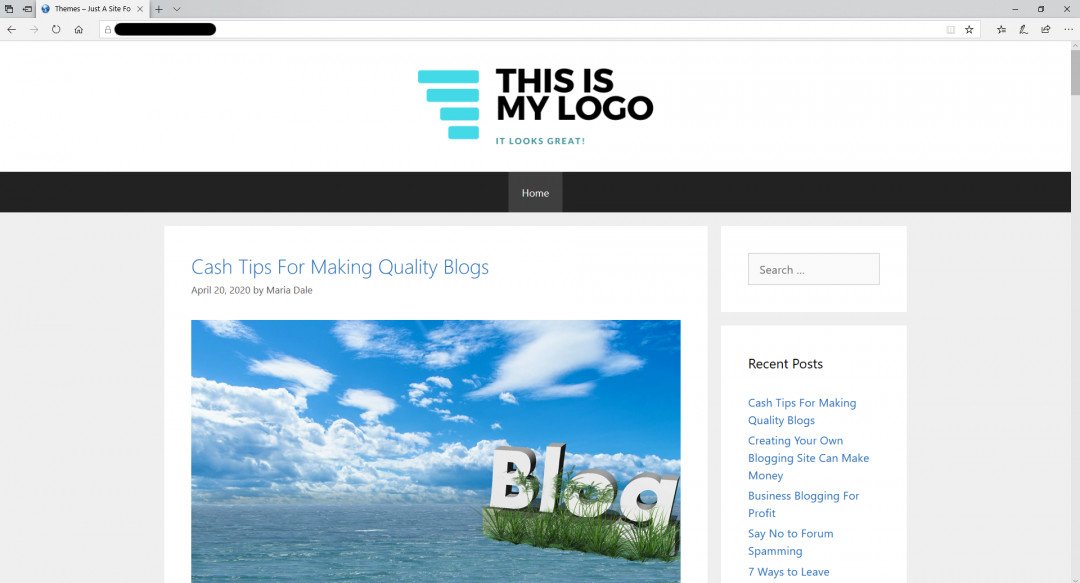
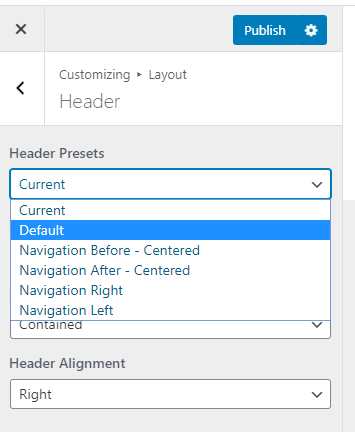
In the Header section, there are a number of Header Presets that you can select, to change the layout of the Header area.
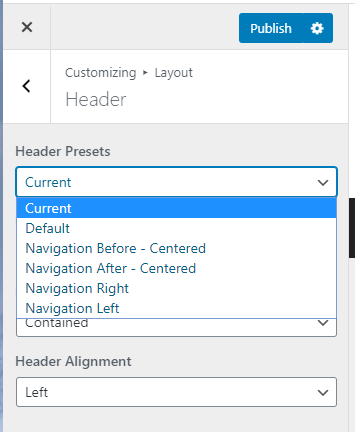
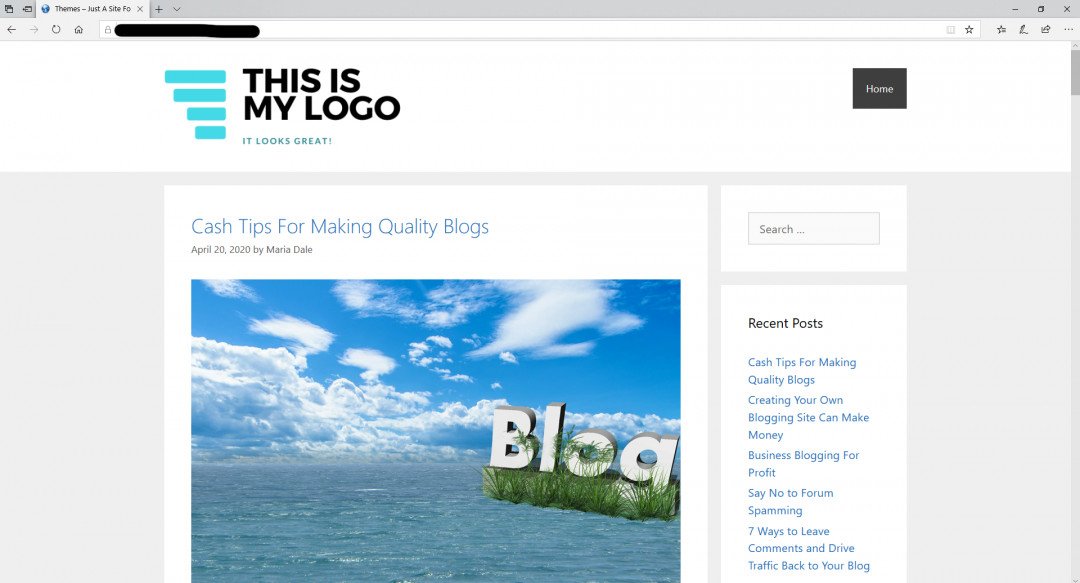
The image below shows how the header section appears by default.
TheNavigation Before - Centered will move the navigation menu and logo to the top of the header, where both are fixed centered in the middle.
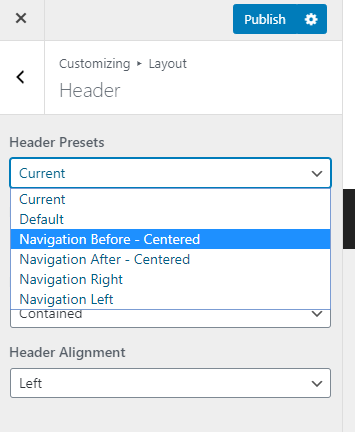
As is shown in the image below.
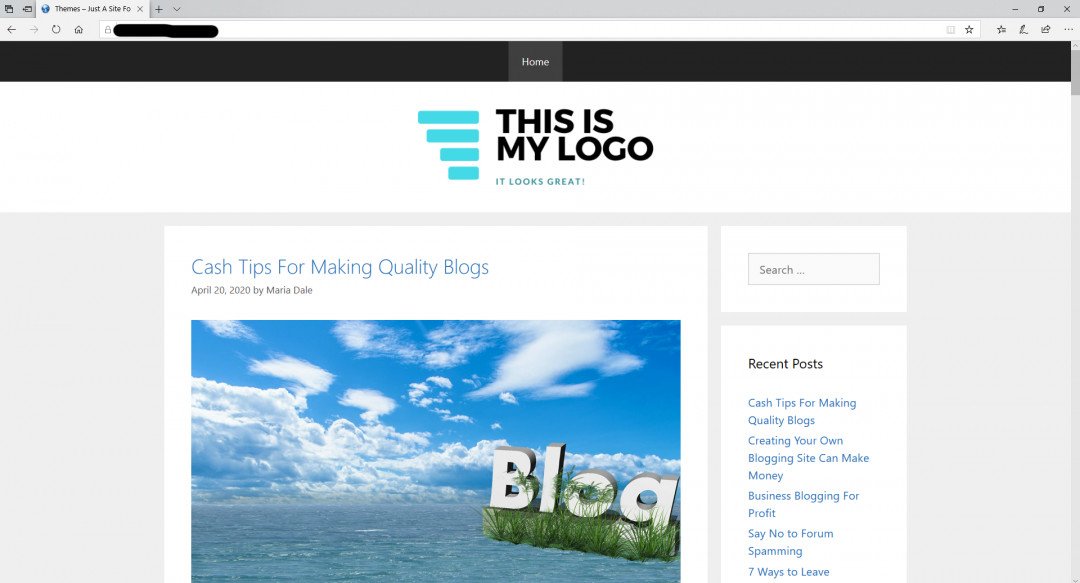
Navigation After - Centered moves the navigation menu after the header, yet still centers it and the logo fixed in the middle.

As shown in the image below.
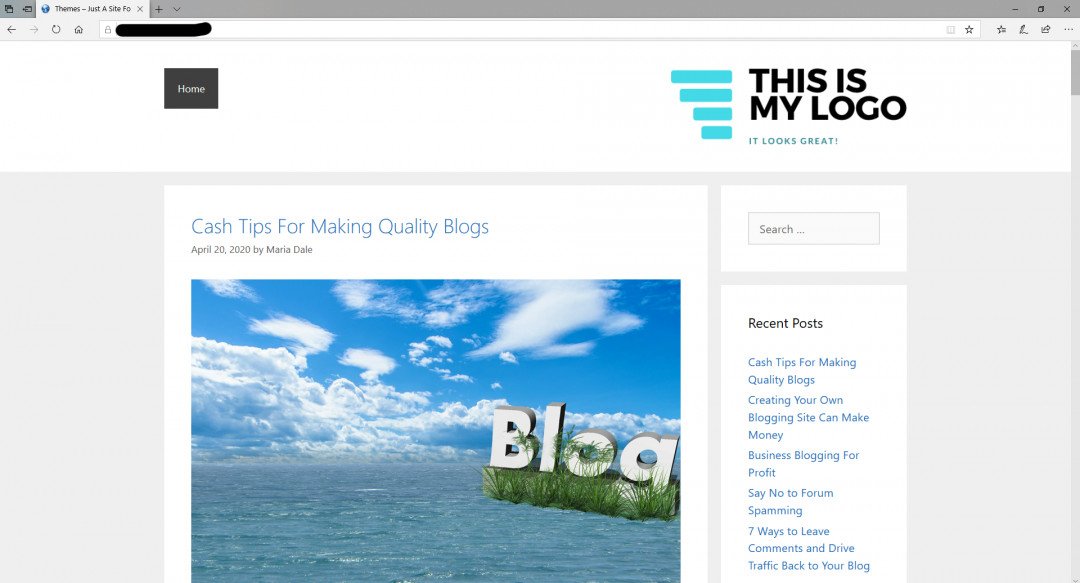
The Navigation Right option, moves the navigation menu to the right of the header.

As shown in the image below.
WhereasNavigation Left moves the navigation menu to the left.
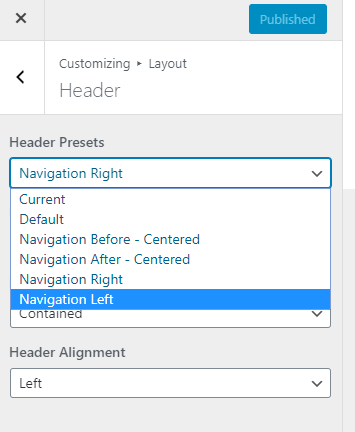
As shown in the image below.
For this tutorial, I am leaving the Header Preset set with the default option.
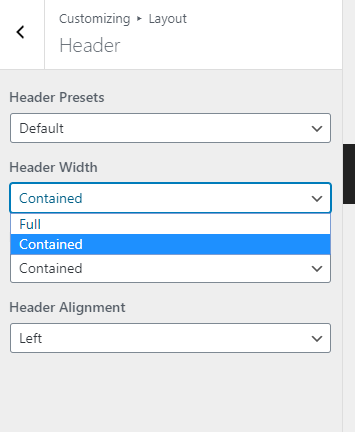
The Header Width option allows you to set the header to be contained within the container, or set to the full width of the screen.
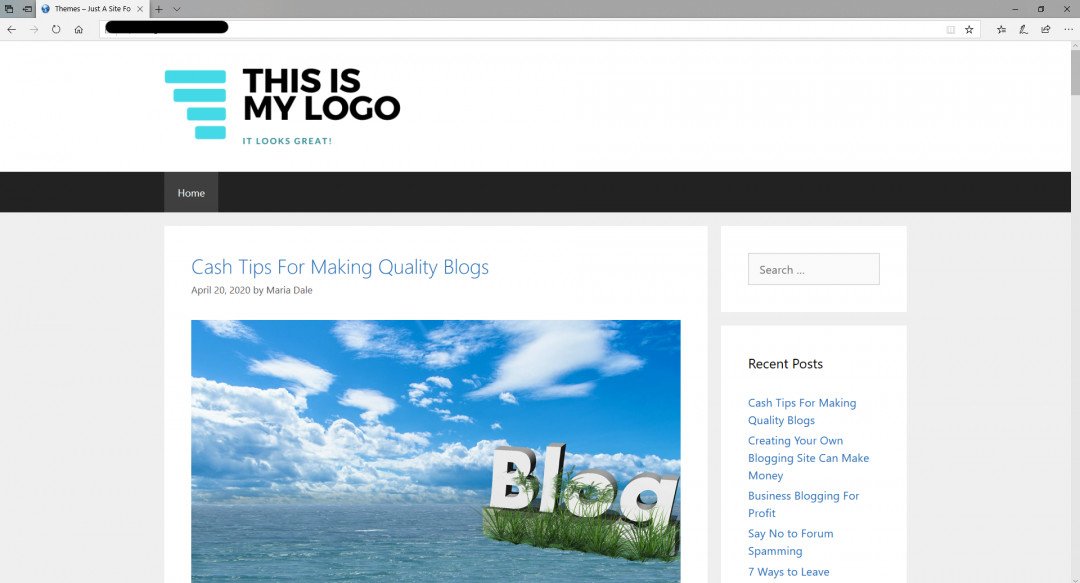
This is how the header will appear when set to full width, notice the white space completely fills the area.
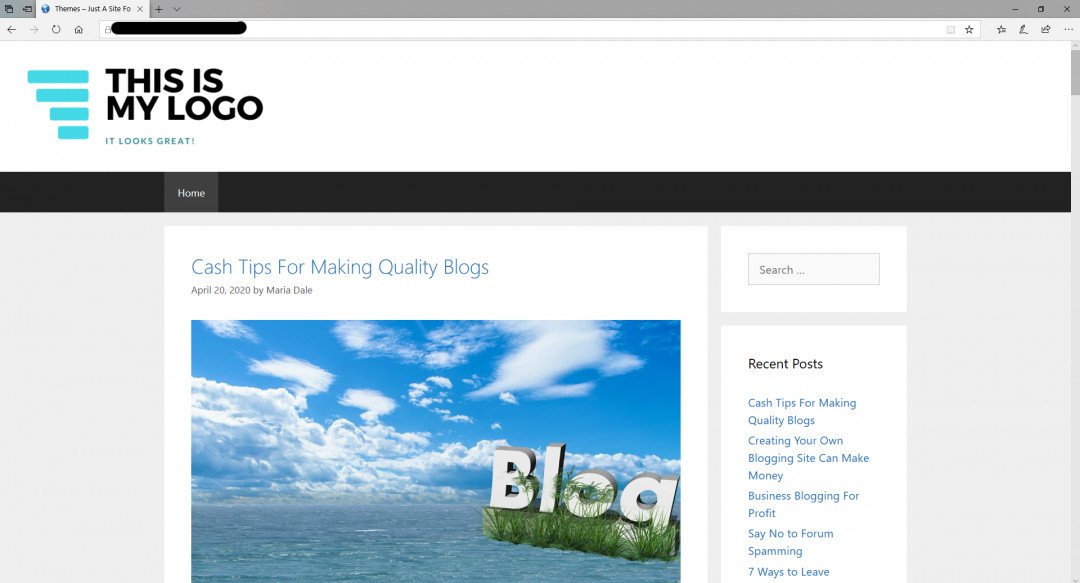
Here is the header set to Contained, it is now in line with the container beneath the navigation menu.

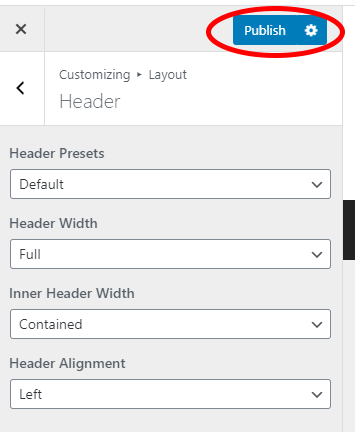
You can also set theInner Header Width to Full, Contained or Left

Here it is set to Left, as you can see, that moves the logo to the far left of the header area.
The Header Alignment section allows you to align your logo to the left, center or right of the header.

Once you have set your options, click the Publish button to save your changes.
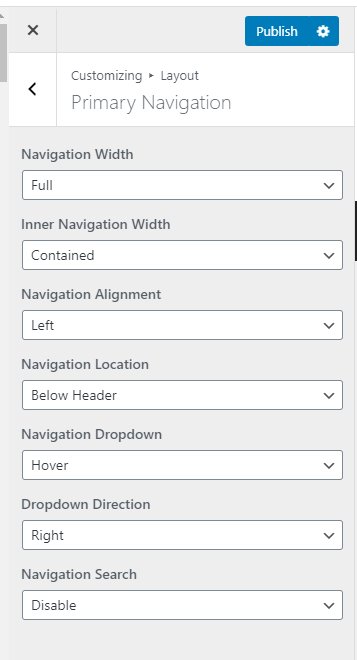
The next area under the Layout section is the Primary Navigation.
This area is configured the same way as the Header options, where you can choose how you wish to navigation menu to be aligned and set on your site.
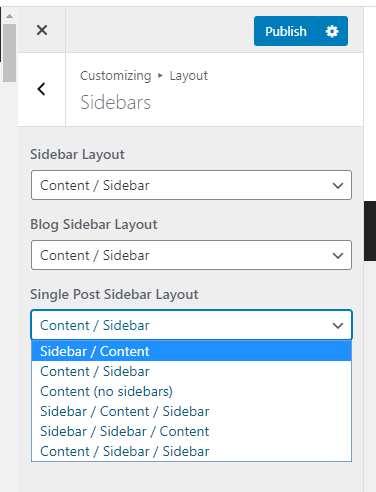
The next area under Layout is your Sidebars options.
You can select your sidebar layout for various areas of your site, where you can display 0, 1 or 2 sidebars arranged in various ways.
I will explain more about this at the end of the tutorial.
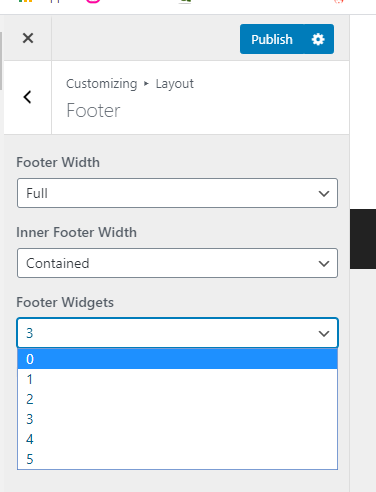
The final option in the Layout area is the Footer option. This is where you will configure the number of widgets you wish to place in your footer, and also alignments and widths of the footer area as you did with the header area.
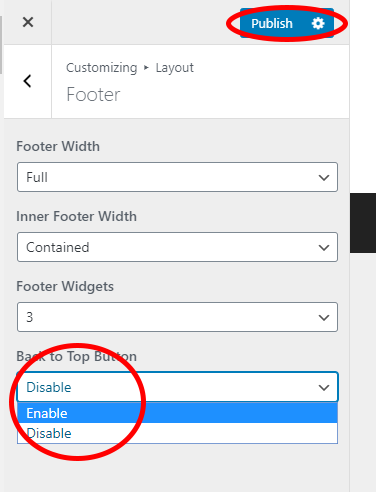
The final option here, is theBack To Top Button. This option will place a small arrow in the bottom right corner of your website if it's enabled.
The arrow is a quick link that a site visitor can click, to move back to the top of your site without the need for scrolling.
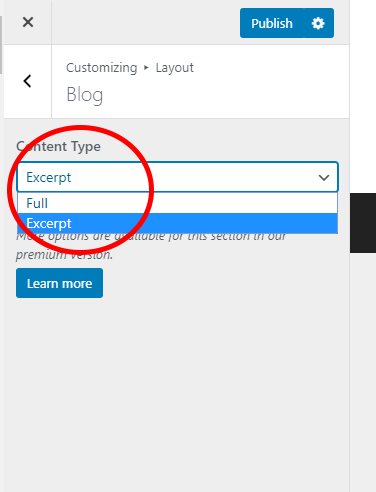
The last option in the Layout area, is theBlog option. This is set to excerpt by default, as this is the most recommended setting.
This allows a small part of your post to be viewed on your blog roll and archives, whereas the Full option will display the full article.

Thanks for the training. I have a question.
Does the free version of GeneratePress have the author box?
Recently, I switched to GeneratePress (free version), and I no longer have the author box on my post.
The theme that I was using before had the author box.
I was informed that it is available in GP, and I was to add a new user (as an author).
I watched the video that was sent to me, and I tried several times, but was unsuccessful.
I am currently using an author box Plug in.
Thanks in advance for your help.
Blessings
Jackie


I have a question: when you select content/sidebar for only one post and then create a widget with ads for the sidebar, would the ad appear only in that post or on any other post with the same format content/sidebar.
Thanks. Marisa

This course is excellent and very easy to follow. Your images explain it all too! Thank you.
2 questions:
Not long ago, I was having trouble with not getting my logo to show up. Members and SiteSupport could see my logo but I couldn't see it at all on my laptop and my friends who live in remote locations also couldn't see it.
It was only after I put my logo in Retina Logo, I was finally able to see my logo and my friends could see it too.
Do you know why that is? I know I should just be content and be thankful my logo can be seen by people outside of WA but I just want to understand why I had to put my logo in Retina Logo.
My other question is, will you be doing a course on the Premium Generate Press?
I want to make my static page a little more elaborate with more helpful information. So I guess, my desire to make this page more diversified and I believe that comes with the design features of this theme.
Thank you, Maria and I look forward to more of your courses.
Have a Blessed day.
Monica