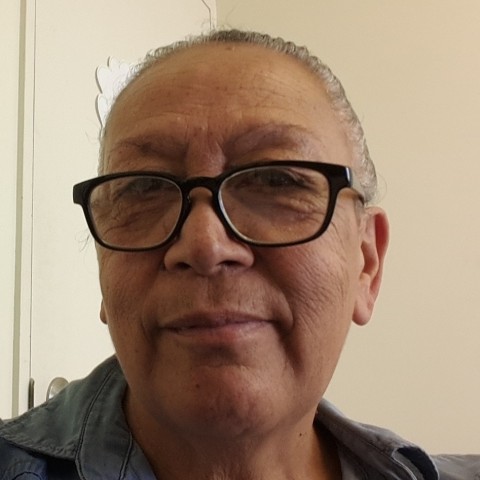
A Feature Image is displayed at the top of a website post/article/review for example. It can include the title of the post/article/review, your logo and photo as in the example I am giving you here. So lets go!
Steps...
1. Use the Blog Banner option in Canva and choose a template.
This is not necessary but I use a custom dimension of 1000 x 350 pixels for my website posts. The custom dimension option is available just under your Canva dashboard to your right of the screen. Click it to enter the custom dimensions you want.
2. Use the menu options such as Elements, Text, Background and any other items you'ld like to use for the featured image. I used Elements, Text (text pairing), Photo and Uploads (a logo which I uploaded to Canva from my hard-drive in this case) to create the following Feature Image. When you open this is what you see at the top of my 'How to Make a Video Facebook Cover in Canva' post.

3. Download (from top right hand corner of the screen) your Feature Image to your hard-drive then upload it to your website post. This feature in the Wordpress editor is to the right side of the post editor screen.
Now that you have made your first Feature Image in Canva, make a copy to use for your next post and edit it as necessary. There's no need to start all over.
Now on to the next tutorial which is Blog Page Graphics Made in Canva.
Great job on the Canva training! Very informative and step by step for each type of graphic needed on a blog. Thanks for sharing!
Best wishes :) ~ Sherry
Again thank you and happy new year!


