Adding Places to Google Maps


Published on March 7, 2020
Published on Wealthy Affiliate — a platform for building real online businesses with modern training and AI.

Google Maps is a tremendous tool for our sites. In my case, it helps illustrate my travel site. You can also benefit from it. Did you know that you can create personalized maps by adding places to them?
For starters, head over to Google Maps and sign in if you haven't done so. Next, click on the three horizontal lines to the left of the search bar.

You will see a long list come up. Go to "Your places" and click on it.

You will see 4 tabs at the top. Click on the last one (Maps) and then go to the bottom and click on "Create map".

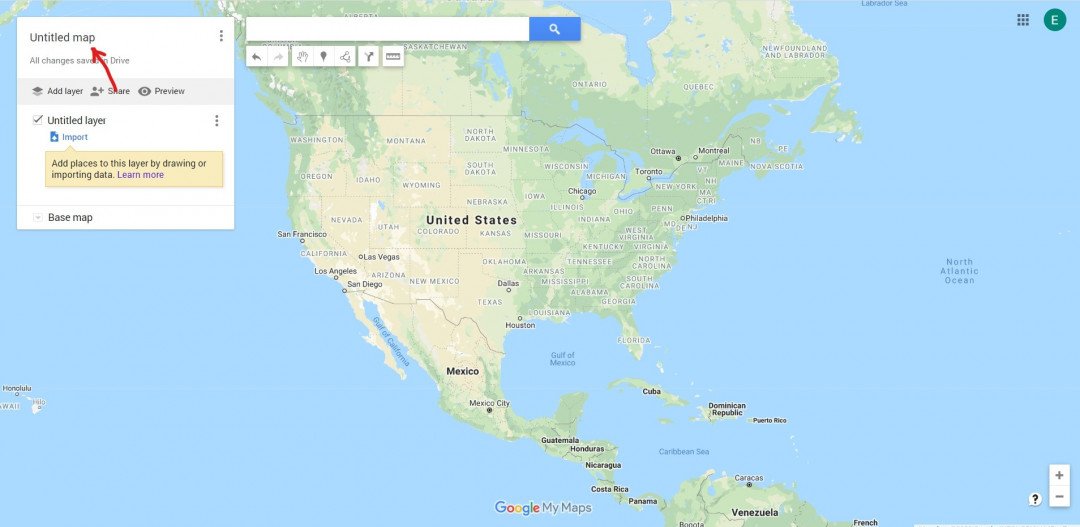
Now comes the fun part. We will start adding layers to our map. But first, let's name our map. To do that, click on "Untitled map". A box will open up. Enter the name you want. I also recommend adding a description to give your readers a better idea about the purpose of the map. Save changes.
By default, you will see a layer added already. To rename it, click on the three dots to the right. Click on "Rename this layer". In this case, I will name it Southeastern Beaches. Save changes.

Let's start adding places now. To do that, enter the first place on the search bar. You will see a drop-down list. Select the place you want. In this case, I chose Cancun. Click on "Add to map".

You will have to repeat the same process with all the other places you want to add to your layer.
Ready to put this into action?
Start your free journey today — no credit card required.
To add more layers to your map, click on "Add layer" at the top.

To add places to your other layers, just follow the steps mentioned above.
One more thing! You can and should color code your map. Just hover over a destination for the paint bucket to appear. Click on it and pick a color.
As you can see, I picked three different colors for my places.

Finally, we have to embed the map on our site. But how do we do that?
Once your map is finished, click on the three vertical dots to your upper right. Then click on "Embed on my site".

You will probably see a warning saying that you can't embed your map because it's not public. To fix that, click on the share icon at the top.

Now, under Who has access, change the setting from private to public. Click on change and then select the first option at the top. Save changes.


Make sure the "Can view" option is selected, unless you want your readers to make changes to your map.
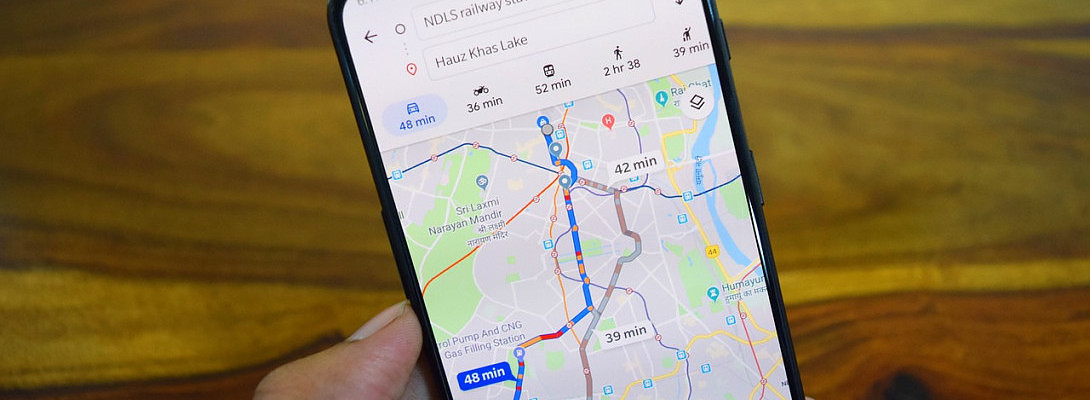
We can now embed our map. Refer to the first image at the top of this page.
Finally, copy the code and paste it in Wordpress using Text mode.


And there you have it. Your own personalized map. Hope you found this helpful.
Share this insight
This conversation is happening inside the community.
Join free to continue it.The Internet Changed. Now It Is Time to Build Differently.
If this article resonated, the next step is learning how to apply it. Inside Wealthy Affiliate, we break this down into practical steps you can use to build a real online business.
No credit card. Instant access.