So ...
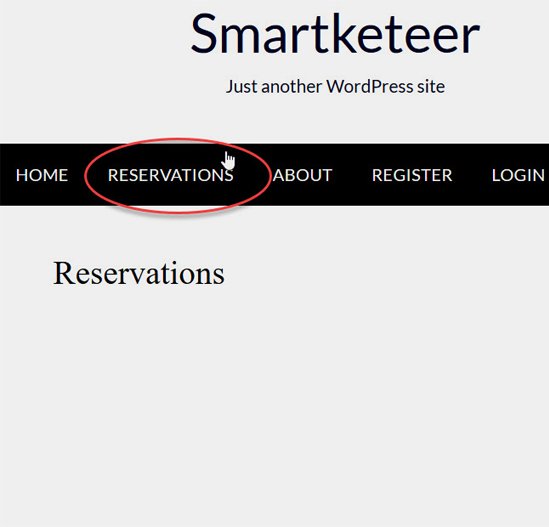
Before anything else, you'll have to create and publish a new standalone page that will handle your bookings. You can use any title you want, but you'll have to leave the content area empty. And most likely you'll want to add it to your main menu:
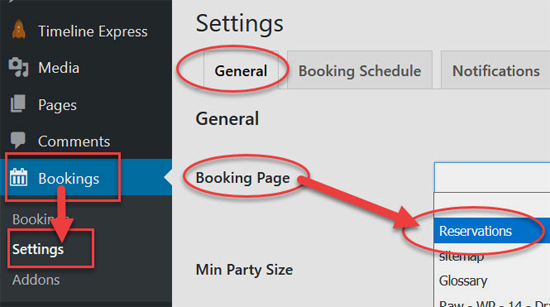
Now you can visit the newly added Bookings => Settings menu item to configure the plugin. You'll see three tabs ... The "General" tab will allow you to select the booking page created earlier. Also, you'll be able to define the minimum and maximum party size your restaurant can handle, to add a custom success message, to customize the privacy settings, etc:
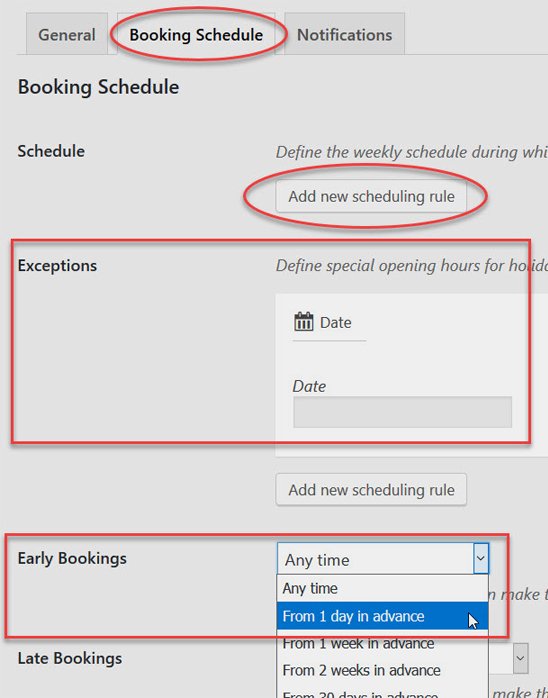
The "Booking Schedule" tab will help you to schedule your working hours allowing users to make their reservations accordingly. You can add even exceptions and special booking rules for events, holidays, etc:
Restaurant Reservations comes with a built-in notification system which sends email alerts to customers and administrators about bookings.
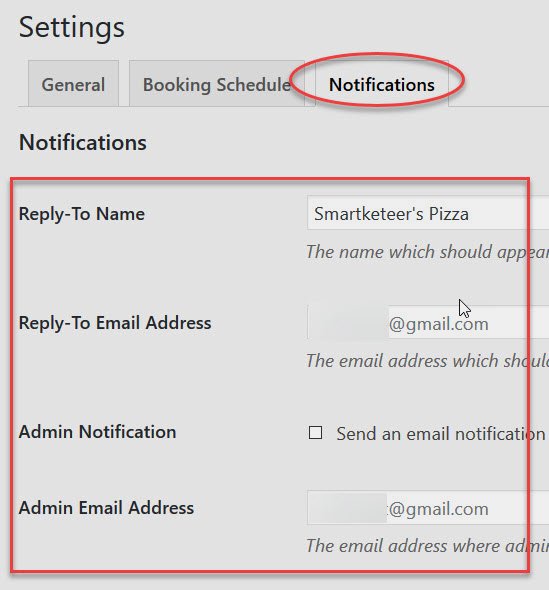
Finally, the "Notifications" tab will allow you to customize the automatic email notifications sent to customers and administrators. Enter a reply-to name and define the email addresses according to your needs:
Below (on the same tab), you'll see a bunch of useful email template tags that you can use in order to customize your outgoing email templates:
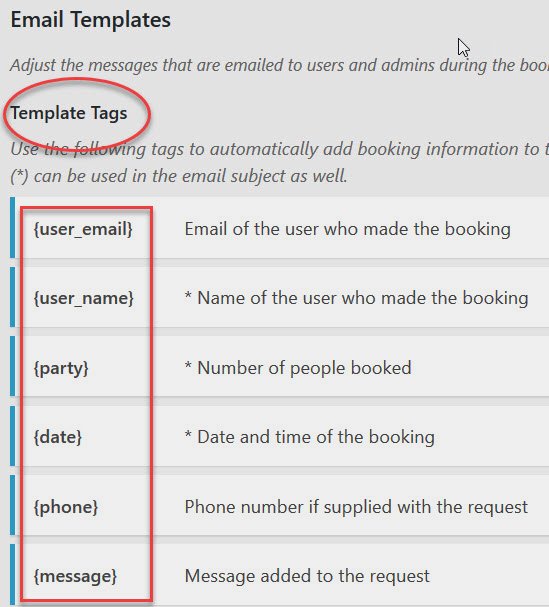
Each tag will automatically insert and display a piece of given information. For example, the {user_name} tag will display the name of the user who placed the booking.
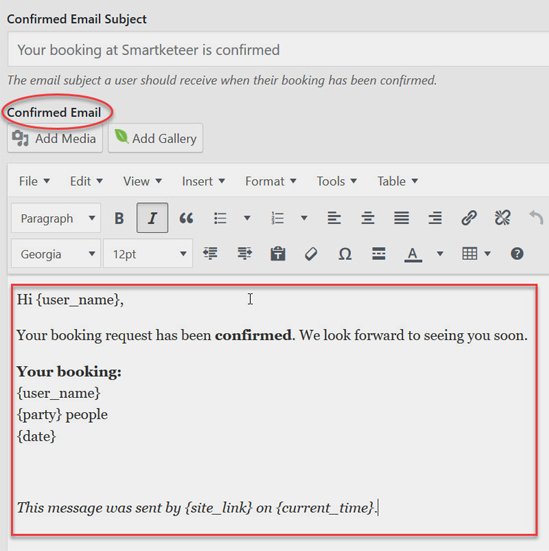
At the bottom, you'll see various default email messages (templates) including Admin Notification Email, New Request Email, Confirmed Email, and Rejected Email. You can easily customize each message using the aforementioned tags:
OK. Now let's see the magic ...
Thanks for this training module.


