Following the same guidelines as adding your picture to the sidebar, you would do the same when creating a promotional widget. So what exactly is a promotional widget? Basically it is any kind of widget that is either promoting another page on your website, an affiliate link, or an ad for someone else you may be selling ad space for.

USING A WIDGET FOR PROMOTION

In my last training tutorial I introduced all of you to a free online photo editor called BeFunky, and in that training I was creating an image to use on my website. I had found an image on Pixabay that said FREE and I added text to the image so that it read, Start an Online Business Free Click Here! See below image.

I placed this in my sidebar and attached a link to it so that when someone clicks on it, they will be taken to a recent post I had written that explains how anyone can start an online business for free here at WA. I will explain how to make a widget clickable on the next page of this training.

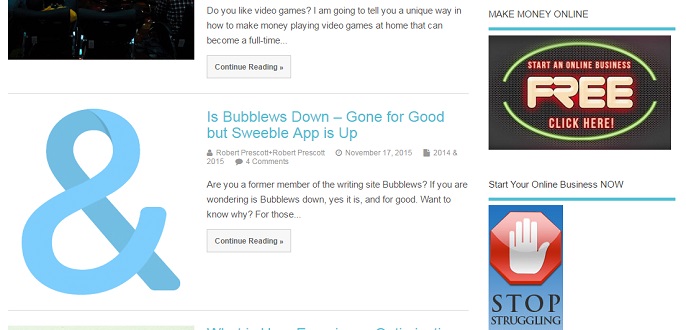
As you can see above the free image I got from Pixabay that I had customized on BeFunky, is now a clickable widget on my website in the right sidebar. I could have easily made this widget into an affiliate link and send people to WA, and I may just do that in the near future, all I have to do is change the embedded link within the widget.

NEXT UP = The easy process to create a clickable widget


Join the Discussion
Write something…
Recent messages
Chrissies Premium
That sounds great, but i have never seen the html for any of my photos, where would `i find it do you think?
Reply
boomergp08 Premium
Do exactly what I explain above. Open a new blank page in WordPress, upload an image to the blank page, click on the Text tab, and there will be the html code for the image.
Reply
BobBarr Premium
If you want to see the raw HTML code for any of your pages, open the page in wordpress for editing. In the upper right corner of the editing window, click on the tab labeled "Text". Doing that will switch the display from the visual editor to the HTML editor. Your photos will be enclosed within a tag that starts with the characters "<img".
Reply
Chrissies Premium
Thank you so much Bob. I have learned so many things today!! :)
Reply
Tirolith Premium
Well done.
Reply
boomergp08 Premium
Thank you.
Reply
Mike-Writes Premium
Thanks for the great tutorial, Robert.
Reply
boomergp08 Premium
You are welcome Mike. I am glad you liked it.
Reply
Debs3 Premium
Thank you, Robert!
:)
Reply
boomergp08 Premium
You are welcome Deb.
Reply
LenaMiglena Premium
Another great training! I actually knew how to do this but you outlined it very well and I am sure it will be of a help to many people. Thank you for your time to share with us!
Reply
boomergp08 Premium
You are welcome Miglena. It was my pleasure sharing with the WA community.
Reply
Top