After you have inserted your image into your WordPress post, you can align it however you wish. You can also resize the image to fit your post.
In the previous example the image that I added to the post was a little bit too big. Resizing the image couldn't be easier in WordPress.
Simply click the image once and you will see that 4 small boxes appear around the edge of the image. Click and hold on one of the boxes and move your mouse in or out to resize the image in question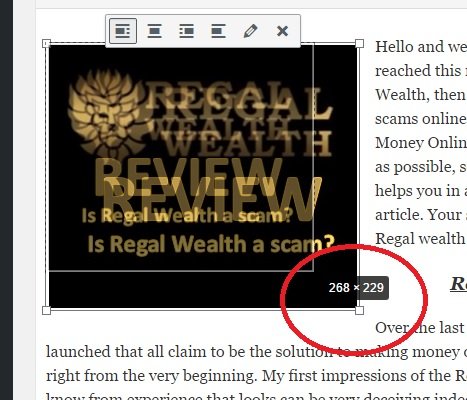
To check how your article is looking just click the preview button on the top right of your WordPress editor.
Once you have finished adding your images, you might also want to check that the post looks good on a mobile device too. More and more people are turning to mobile devices for browsing the web, so it makes sense to cater for them.
Sometimes if an image is too big it can crush the text on a mobile device, which doesn't look so great.

You can get around this by either making your images smaller or aligning your images to the center of the post.
Click next to end this tutorial...


Johan