Now select the type of licensing/usage rights category that you wish to search within, which will best suit your purposes. Choose from these offered categories (Obviously, the top category is off limits for all our intents and purposes):

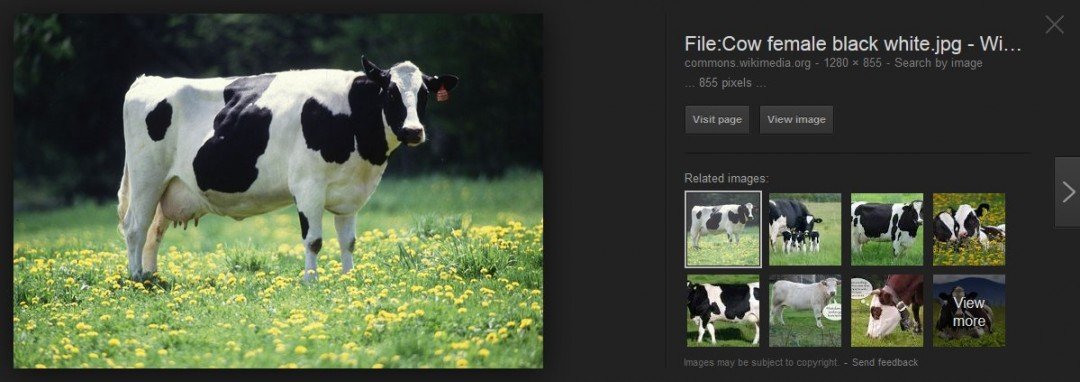
For the sake of example, I selected this image, found in the category "Labeled for Reuse":

Okay. Once you have chosen the image you want, and one that was from a category that fits your needs, you should be perfectly and legit to use it in your post, page, blog, or whatever,
But let's make absolutely sure!
That's the whole point of this follow-up training ... so far, what we've done is what was already published, just updated as per recent improvements on Google.
On the next page we will get into some extra steps to ensure that the image you have selected may be used without any licensing or copyright infringements, and whether or not attribution is required and, if so, how to go about it.
"So, as long as you use the image exactly as it is, without modifying it in any way, you are free to do so."
Does that include the name of the picture and it's extension? If so, what if I need to change it to a .png or .jpg or .gif or .bmp?
You advise the learner to do a Google Search, if this is indeed where you want the search to start, they will not be able to follow the rest of the tutorial as you are assuming that they know the difference between a Google Search Bar and a Google IMAGE Search Bar.
The latter is the one you are referring to and is the image/screenshot you are alluding to.
So, either you need to change the wording to Google Image Search, or you need to put an extra step in the tutorial to advise them to do a Google Images Search, this will then give them the a list of websites, and then they click on Google Images which will THEN render the Google Image Search bar.
Hope this makes sense.


