Once on your blog, go to the Pretty Links section of your Admin Area

Open the tab up and you will see a page which asks you to Add Title and Target URL
In the box calledADD Title, you can name this whatever you want to, because its is just for your reference in with your pretty links
In the Target URL box, you paste or put the hoplink
Click the update button and you now have a Pretty Link generated for your hoplink
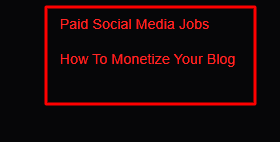
You will then see this in your Pretty Links as show below

The title is on the Left hand side and the Pretty link is on the right in the red box
This is the link you are going to add to the footer section wdget of your blog
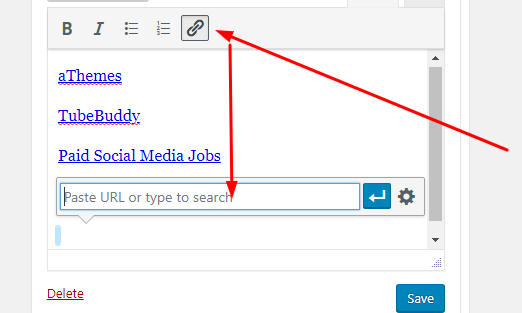
To do this, go to the Widget Section of your Blog and click on the Footer Widget you are going to use, as seen below

To do this, you open the Widget Box up, and place your cursor at the bottom or the links already in the box.
You will see the Paste Url Box open up. Put Your Pretty Link in that box.
Then Click on the Gear Icon, seen at the far right of the box
That opens up some text option, which will make the link clickable when it is saved
in the Text Option box, write what you want to put in there, then click save
Your Blog Footer Widget Section will look like the picture below when done
To test the links out, either open your blog in a new tab, or in an incognito Window

And that is how you add clickbank hoplinks to pretty links and make them clickable.
Exactly the same process appplies to any Clickbank Social Media Hoplinks
Please feel free to Like, comment and share as appropriate


