How To Add Images To A WordPress Blog


Here's a step-by-step tutorial on how to add an image to your page or post on your WordPress website.
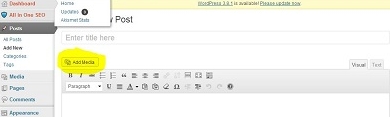
Step 1
From the post or page inside your dashboard you will use the ‘Add Media’ button.
Click on the button to insert an image.
Note: wherever your cursor is resting when you click the Add Media button is where the image will insert. You can align you image within the text or situate the image independently of the text.
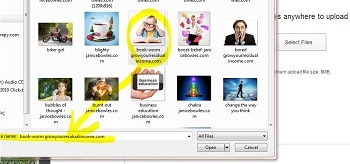
Step 2: click on ‘Upload Files’

Step 3: Click on 'Select Files'.

Step 4: Left click your chosen image and Click 'Open' OR double click the image to upload the image file.
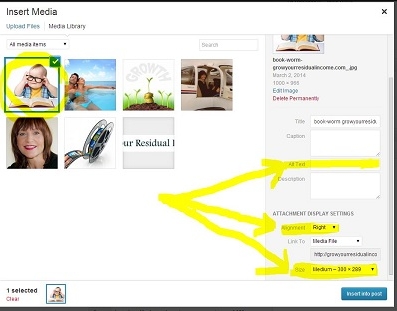
Step 5:
In the Alt Text box, add your Alt Text: This is usually your keyword for the post or page.
Choose the desired Alignment by clicking the arrow drop down button
Choose the desired size of your image by clicking the arrow drop down button
You may also add a link here if you wish – although it can be added later.
Click ‘Insert into post’
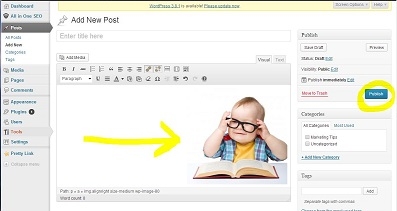
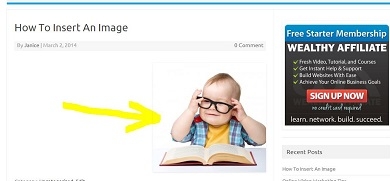
Here is the image...
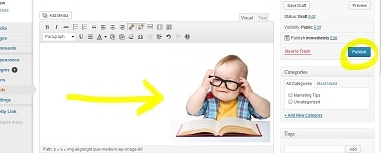
Select ‘Publish’
Preview your post/page.
Step 6
You can change the size and position of your image. Go back to your WorPress dashboard post or page. Left click on the image and select the left ‘picture’ image button.
Here (pic. below) you can choose size percentage if you wish to reduce the size.
Select a new position for your image.
Add a URL Link in the box. Click 'Update'

To open a link in a new Tab click 'Advanced Settings'

Then scroll down to the bottom of the page...
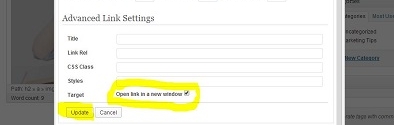
Tick 'Open link in a new window' and click 'Update.
View your website...
You now know how to add images to your WordPress pages or posts.
You can get more training on topics such as this from The #1 Ranked Affiliate Community In The World!
Janice.


Recent Comments
25


Brilliant! Let me know if there's anything else you want to know as I love doing these lessons when I have a bit of spare time :)


Came from joyfuljudy discussion to get here. Glad I did. I love visual, compact help. Thank you! ^_~


Thanks a lot Janice, I'm sure I'll open this over and over for my ref. It's really easy to follow, I like it!

See more comments
Thanks. Great lesson.
You're most welcome and I'm pleased it has helped you. I'm now following you! :)