Creating Great Featured Images for WordPress Blog Posts


Published on September 28, 2026
Published on Wealthy Affiliate — a platform for building real online businesses with modern training and AI.

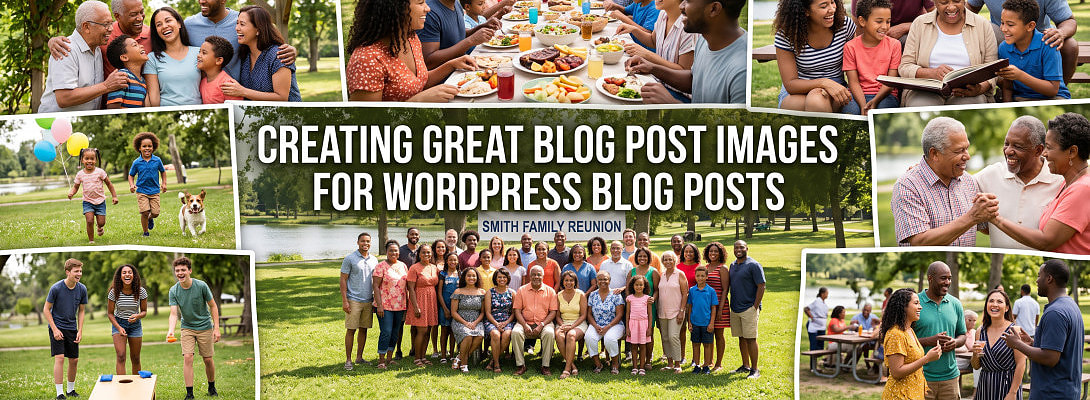
You can write a helpful post and still lose a reader's attention before they reach the first sentence. Featured images give people a quick sense of the topic, make your blog archive easier to scan, and help a link look polished when shared.
I like to think of the image as a promise to the reader: this is what the post is about. Let's make that promise clear, then get the sizing, optimization, and WordPress setup right.
How to Create Great Featured Images for WordPress Blog Posts
Start with the post itself. If you're writing about growing tomatoes in containers, a close-up of a healthy container garden tells readers more than a generic gardening graphic. A good image supports the subject rather than filling an empty space.
Choose a clear subject and simple layout
Pick one focal point that someone can recognize at a glance. Give it room around the edges, because your theme may crop the image into a smaller thumbnail. Strong contrast between the subject and background helps when that thumbnail appears beside several other posts.
If you add words to the image, keep them short and away from the edges. I usually leave out text unless it adds context the picture can't provide. A long headline is hard to read on a phone and may disappear when the image is cropped.
Pick a design tool and use images you have permission to publish
Canva and basic image editors are enough to start. Choose a few consistent colors and a repeatable layout so readers begin to recognize your posts. You don't need a different design for every article.
Your own photos are an option, as are stock images with a license that covers your intended use. Check the terms before publishing, especially if your blog supports a business. Images found through a search engine aren't automatically free to use. Save the source and license details so you can check them later.
Choose a Featured Image Size That Fits Your WordPress Theme
There's no single ideal size for every WordPress site. Your theme decides how an image appears in the post and in archive thumbnails, and those spaces may have different shapes. Check your theme's image recommendations before you settle on a template.
Ready to put this into action?
Start your free journey today — no credit card required.
Start with enough pixels for sharp display and flexible cropping
Pixel dimensions describe an image's width and height. File size describes how much storage it uses. You need enough pixels for a sharp display, but an oversized file can add unnecessary weight to the page.
As one starting point, this featured image size recommendation suggests 1200 x 628 pixels. Treat that as a reference, not a rule for your theme. Keep a larger source image if you need room to adjust the crop, then export a version suited to where it will appear.
Check how the image looks on mobile and in social previews
Preview the post on a phone and a desktop. Look at the main subject in the article and in your blog archive. If a crop cuts off a face, product, or important detail, reposition the subject or choose another image.
Check a share preview, too. Social platforms may use a separate sharing-image setting supplied by a plugin or platform, so changing the featured image won't always change the preview. Keep any text within a safe central area, and confirm what appears before sharing the link.
Optimize Featured Images Without Making Them Blurry
Image optimization can feel like a trade-off when you're starting out. You want the page to load comfortably, but you don't want a soft, muddy thumbnail. The practical test is simple: compare the exported file with your original at the size visitors will see.
Choose a suitable format and compress carefully
JPEG works well for photos. PNG is useful when a graphic needs transparency. WebP can provide efficient delivery where your site and visitors' browsers support it. Choose the format that preserves the details your image needs.
Resize the image to suitable dimensions before compressing it. Then open the exported file and inspect edges, faces, and any small text. If they look smeared, use a gentler compression setting. Keep your original file rather than repeatedly editing and saving a compressed copy. For a broader starting point, see Feast Design Co.'s image optimization guidance.
Use clear file names and useful alt text
Name the file for what it shows, such as tomatoes-in-patio-containers.jpg, rather than leaving a camera's default filename. Keep the name short and descriptive.
Alt text should tell someone using a screen reader what matters about the image in this context. For that tomato post, "Tomato plants growing in containers on a sunny patio" is more useful than a string of search terms. A genuinely decorative image can have empty alt text when appropriate. You can enter alt text in the WordPress Media Library; Providence's WordPress alt-text instructions explain how that field carries into the editor.
Set the Featured Image in WordPress and Check the Final Result
Once your file is ready, open the post in the WordPress editor. In the post settings sidebar, find Featured image and choose the option to set one. Upload your file or select an image already in the Media Library. Add its alt text, then save the draft or update the post.
Before you publish, use the preview to catch an awkward crop or fuzzy details. After publishing, open the live page and the blog archive on both desktop and mobile. Confirm that the image appears where your theme places it and loads clearly. If you're still getting comfortable with the editor, this WordPress blog post publishing guide walks through the wider posting process.
A featured image may appear above the title, below it, or only in archive views, depending on the theme. Check the actual page instead of relying on how it looked in the editor. That last visit is where you'll spot the problems readers would otherwise see first.
Make Your Next Image Easier to Create
A strong image starts with a relevant subject. Size it for your theme, compress it without losing clarity, and check the published result wherever readers will see it.
Once you find a layout that works, save it as a starting point for future posts. Consistency makes the next image quicker to create and gives your growing blog a more familiar look.
Share this insight
This conversation is happening inside the community.
Join free to continue it.The Internet Changed. Now It Is Time to Build Differently.
If this article resonated, the next step is learning how to apply it. Inside Wealthy Affiliate, we break this down into practical steps you can use to build a real online business.
No credit card. Instant access.