How To Enable Rich Pins on Pinterest


Rich pins have additional information about a post, like a website and a description of the post. A regular pin will show only the title and author.
There are four types of rich pins.
- App- apps for download
- Article - used by most bloggers
- Product - eCommerce businesses
- Recipe - food and lifestyle bloggers
Rich pins will be fall under article for most bloggers; hence our focus is on blog post pins.
Benefits Of Rich Pins
- help Pinterest understand your pins and their relevance to your audience.
- It’s more attractive and gets noticed quickly.
- It saves any information you change on your website automatically
- Provides readers with extra information about your article
How To Get Rich Pins
The rich pin is free for business accounts. If you have a personal account, you have to convert it to a business account.
After setting up your account, confirm your website with Pinterest.
Ensure you have enabled Pinterest in your Yoast SEO or All-in SEO as the metadata is pulled directly from your website.
After you have put in all the necessary information, head to the Pinterest developer:
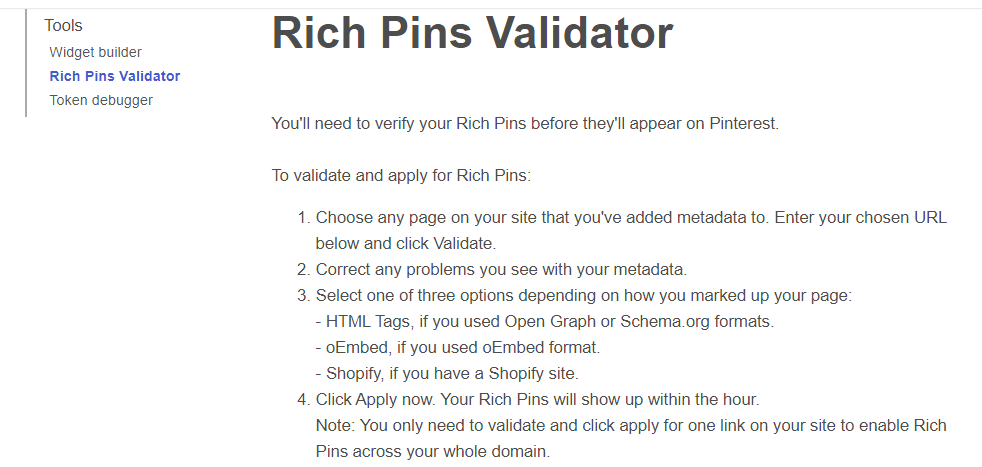
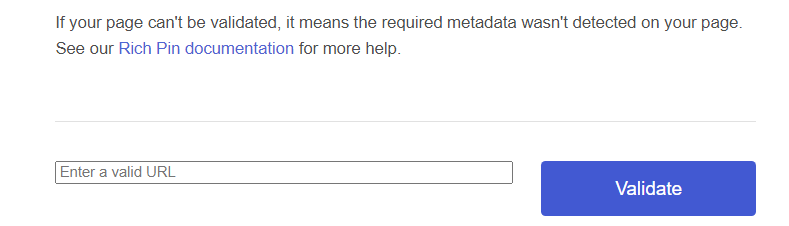
Then add the URL of any one of your blog posts in the validator box.
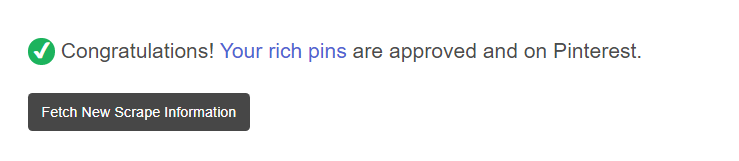
Click on validate.
If everything is fine, you will get a response similar to the one below.
Since your pin will show additional information from your site, write a good meta description. Ensure you don’t leave the box blank.
There you have it, how to enable rich pins on Pinterest.
Like and share your thoughts in the comment.
To your success
Muslimah
Join FREE & Launch Your Business!
Exclusive Bonus - Offer Ends at Midnight Today
00
Hours
:
00
Minutes
:
00
Seconds
2,000 AI Credits Worth $10 USD
Build a Logo + Website That Attracts Customers
400 Credits
Discover Hot Niches with AI Market Research
100 Credits
Create SEO Content That Ranks & Converts
800 Credits
Find Affiliate Offers Up to $500/Sale
10 Credits
Access a Community of 2.9M+ Members
Recent Comments
13


Muslimah, how are you , this is a excellent informative post , I learn something new from it , and will apply it as I go along , nice one keep it up


See more comments
Join FREE & Launch Your Business!
Exclusive Bonus - Offer Ends at Midnight Today
00
Hours
:
00
Minutes
:
00
Seconds
2,000 AI Credits Worth $10 USD
Build a Logo + Website That Attracts Customers
400 Credits
Discover Hot Niches with AI Market Research
100 Credits
Create SEO Content That Ranks & Converts
800 Credits
Find Affiliate Offers Up to $500/Sale
10 Credits
Access a Community of 2.9M+ Members
Thanks for the helpful sharing.