So ...
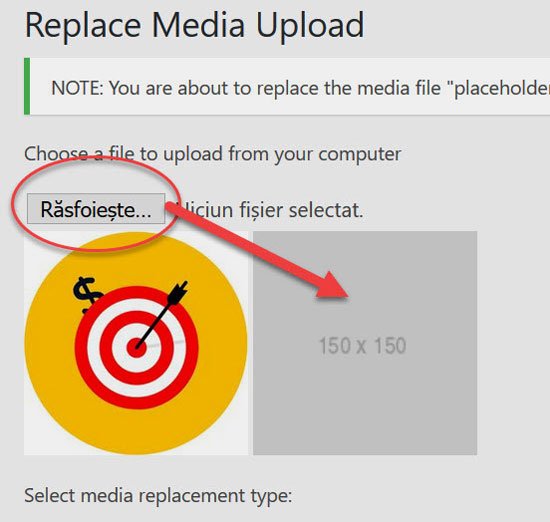
When you click the "Replace media" link, you'll be taken to the "Replace Media Upload" window where you can upload your new file by clicking on the "Choose File" button:

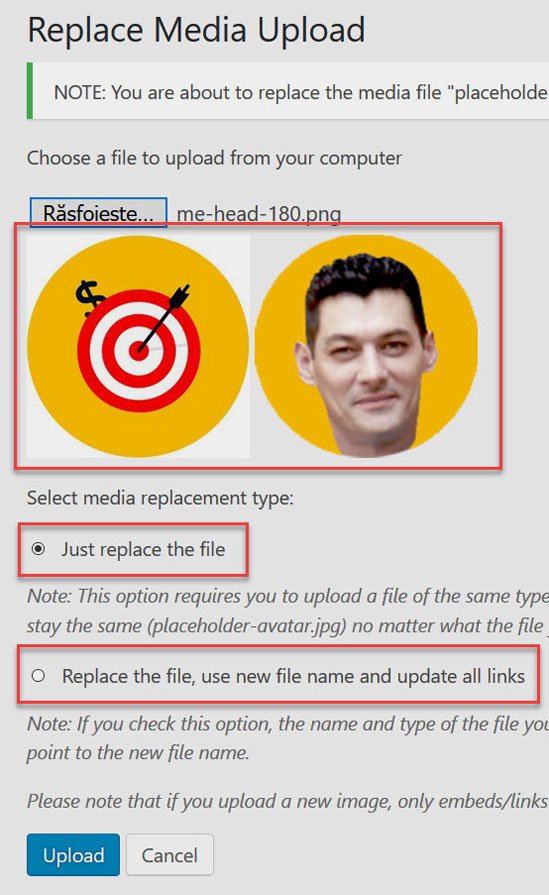
The selected file will be displayed in the "Replace Media Upload Window" ...

... and you'll have two options:
- to just replace the file
- to replace the file, use a new file name and update all links
In the first case, you'll have to upload a file of the same type (format) as the one you are replacing. The name of the attachment will stay the same no matter what the file you upload is called.
In the second case, the name and type of the file you are about to upload will replace the old file. All links pointing to the current file will be updated to point to the new file name.
Finally, press the "Upload" button. Also, if you want, you can define a caption, an ALT text and a description for the newly uploaded image using the automatically displayed "Edit Media" window ...
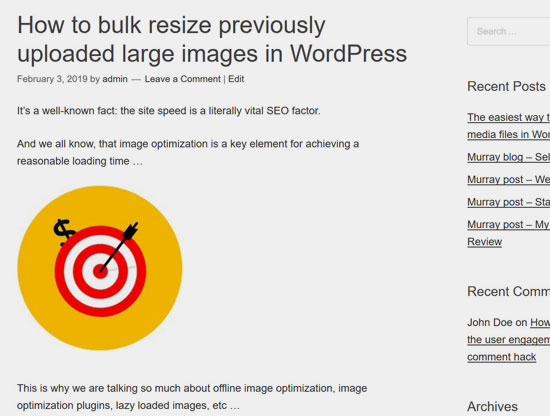
Here's my post with the original image ...

... and here's the same post two seconds later ...

Simple and efficient isn't it?
And that's it my friends!
If you have any comments, further questions or update requests please don't hesitate to react! Like, comment and share!
And don't forget, you can easily come back to this tutorial whenever you want.
All you need to do is to bookmark the categorized, daily updated register of my blogs and training materials. Here it is:
Posts and training by smartketeer
Thanks for your time!


