Once you've selected all your categories and subcategories, it's time to order them in the way you want by using the arrows at the top.

The Up arrow is to move categories and subcategories up.
The Down arrow is to move categories and subcategories down.
The Downward Right Angle arrow is to move categories into a subcategory position and the Upward Right Angle arrow is to move subcategories into a category position.
The Remove button removes any unwanted categories.
I would advise against changing the order of your categories and subcategories because they will automatically be in alphabetical order which will be user friendly for your customers.
Once you've completed your menu set-up click the Continue button at the bottom of the page.
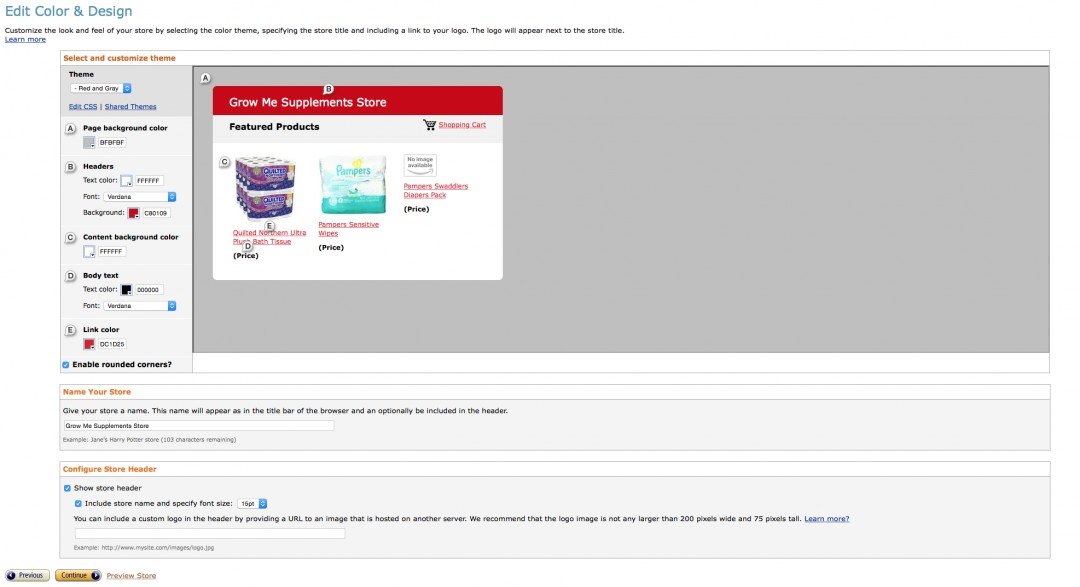
EDIT COLOR AND DESIGN
Now it's time to edit the look of your store with the color, design, font and more.

This section is pretty self explanatory. Just edit your store to your liking with the theme, etc. Be sure to give your store a name and add it to the header. One great thing about this is if you already have a logo for your website, you can implement it into your store. Nice!
Once you are done click the Continue button at the bottom of the page.
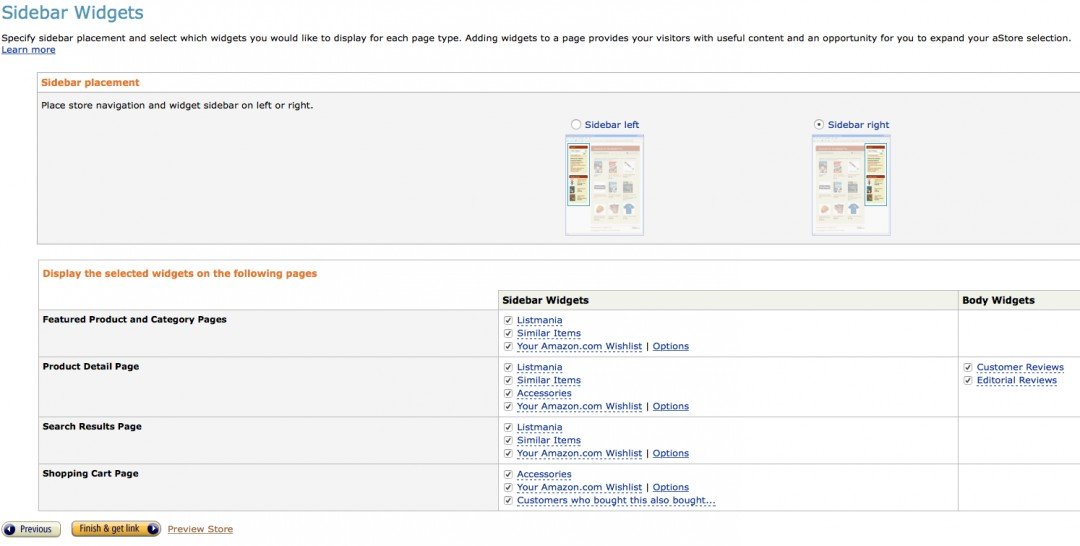
Next is the Side Bar and Widgets page. Just chose where you want the widgets to show up and what side of the page and you are done. Click the Finished and Get Link button at the bottom of the page.

Join me on the next page and we'll continue on. We are nearing the end, Yay!
All the best,
Brandon


