OK. Let's see the next important question ...
How to use and how to customize a WordPress theme to get the most out of it?
Now that you have a newly installed and activated theme on your site, you need to learn a few basic things about the standard WordPress customizer. Originally, the customizer was just a handy tool used to change the basic elements of a given theme, but in the last few years has become a quite complex customization tool that can help you to manage your themes, to create custom menus and to organize your widgets.
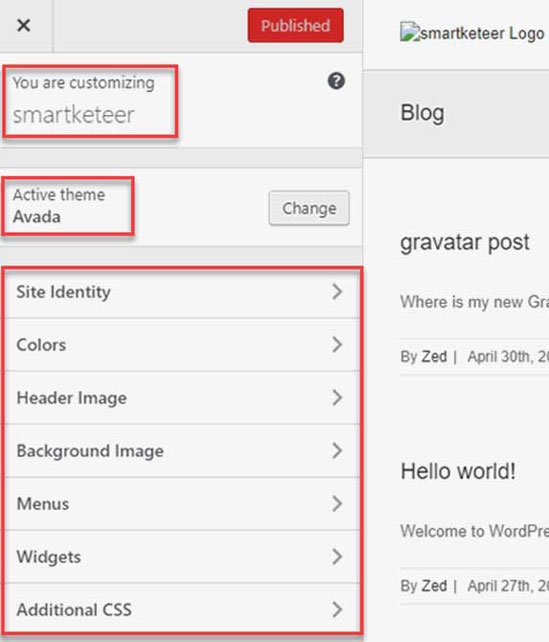
If you click the “Customize” link in the toolbar of your front-end area (or if you select “Appearance -> Customize” from the admin menu) the main customizer window will appear:

First of all, you need to know, that when you are working with the customizer you are the only person who will see those changes. They are generated in your own browser. In order to make them visible on the front-end you’ll have to click the “Save & Publish” button (and to reload the front-end page). In other words: while you are using the customizer, any crazy experiment or apparently stupid idea can be safely tested without affecting the actual live website.
Now let’s see what options do you have when you are using the customizer …
1. Site identity
The first customizer option is the “Site Identity” which can help you to change three things:
- the title of your site
- the tagline of your site
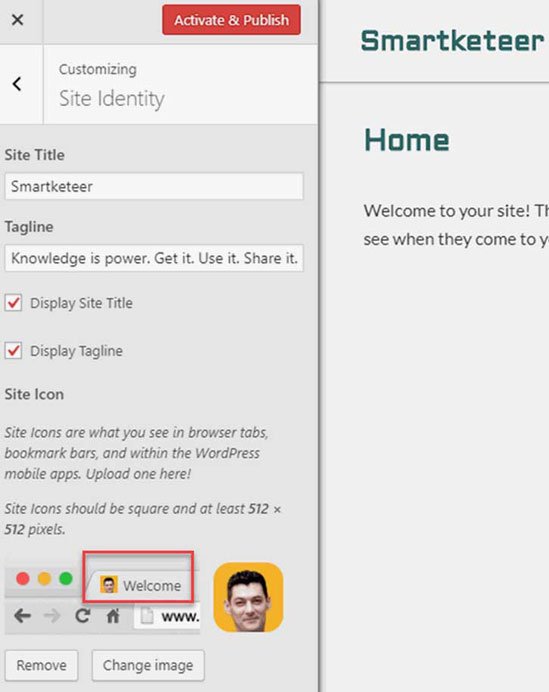
- the site icon (favicon) of your site (that little icon that appears on the browser tabs)
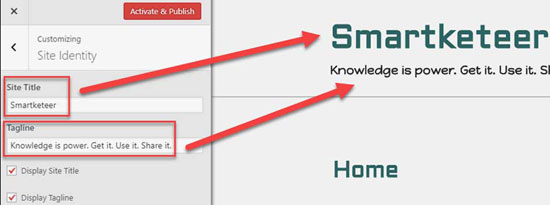
So, if I change the standard title and tagline, my new Guakingo site will look like this:

The favicon section is very straightforward … Once you have uploaded an image, you’ll see the instant favicon preview in the “Site Identity” panel:

2. Colors
Any theme has its own range of options. Some themes will offer you nice color schemes, and some themes will just allow you to change things like the background color or the header text color. Guakingo has only three options: the text color, the background color and the sidebar background color:

3. Header image
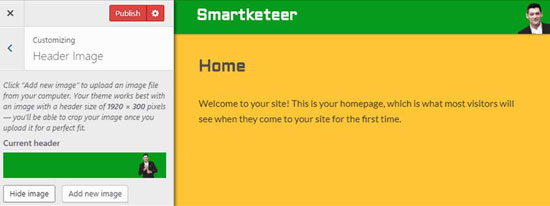
Another theme-specific option … Depending on your theme the header image will be managed in different ways. In most themes the header image will be displayed across the entire top section pushing down the actual content. Other themes will display the header image in the sidebar … And so on …
So, you’ll have to find the perfect solution for your own theme and color scheme. Here’s another Guakingo example:

A noteworthy WordPress option which can be used for any theme: if you upload several header images you can activate the randomization feature in order to display different random header images every time when the page is loaded.
4. Background image
Just like the header image, the background image will also appear differently depending on theme you are using. So, you’ll have to make some tests … However, here are a few things you should know:
- you can use regular images or so-called tiled images which basically, are small graphics that will tile together in order to create a textured background
- you will have different customization options (positioning, scrolling, etc) depending on your theme
- using background images can be a very effective way to create unique visual looks for your site, but you will have to design them specifically for your theme … and your purpose
Here’s a Guakingo example with background image:

These are the most common customizer settings that can be found in any theme.


