Tutorial: Applying Photo Shop to Featured Image - Pages


I wanted to show you how to apply Photo Shop to Featured Image when creating a Page for Word Press. This is step by step instructions.
Word Press
1. Log into Word Press
2. Select - Pages - Add New (make sure "Add New Page" is on a separate tab)
Photo Shop
1. Open Photo Shop
2. Select - File

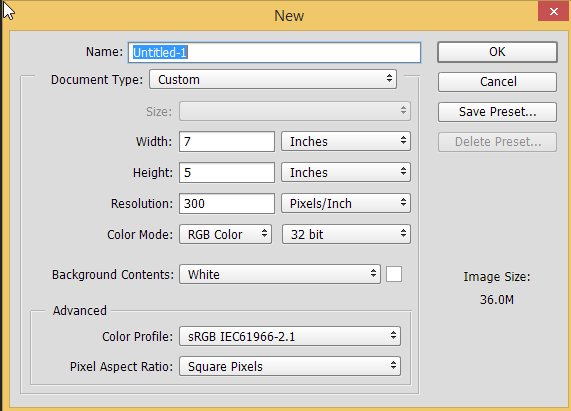
3. Select - New

4. Select - OK
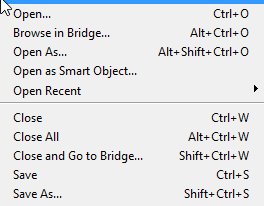
5. Select - File

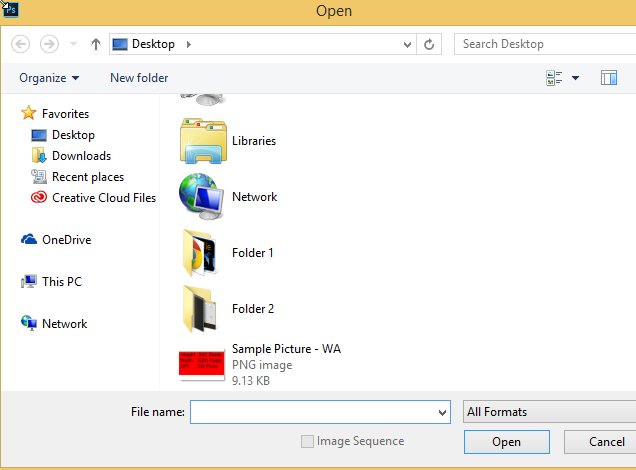
6. Select - Open

7. Find the picture you are searching for and left click or right click 2 times. I have my mouse set to left click because I am left handed.
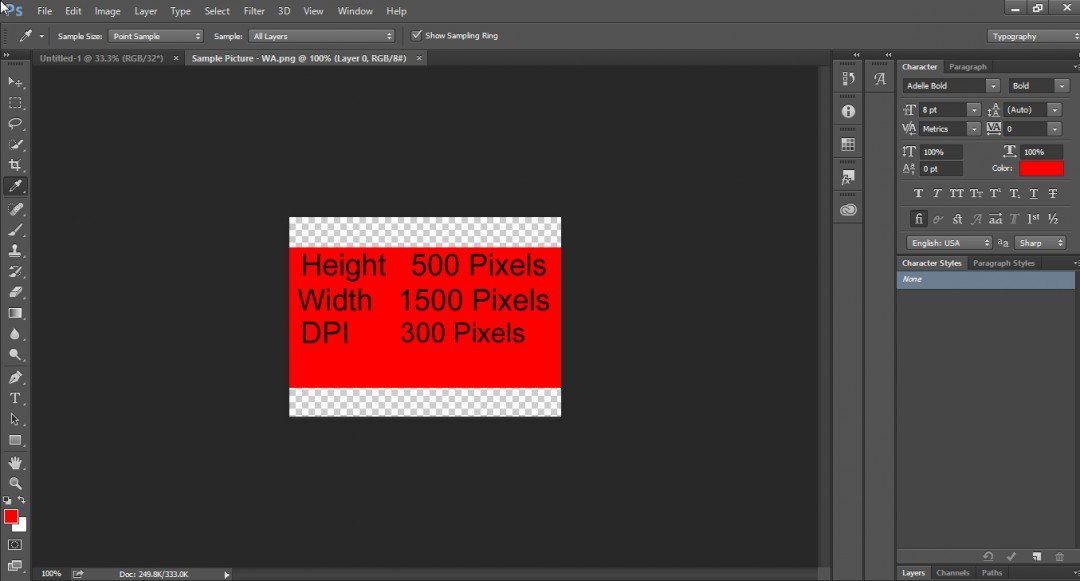
I am going to use the Sample Picture - WA.
When I work on my Word Press pages these are the dimensions that I use for a Featured Image:
I will show you how add dimensions to the picture.
Height, WIdth, DPI
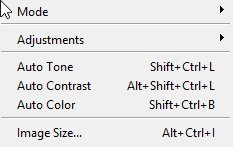
1. Select - Image

2. Select - Image Size
If you read the width, height, and resolution the Image Size is shown as in the picture without adjustments.
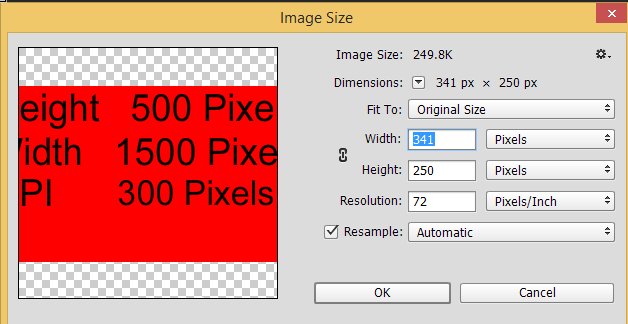
Now I will adjust the image size to the dimensions that is shown in the red box picture.
Adjusting the Height, Width and DPI
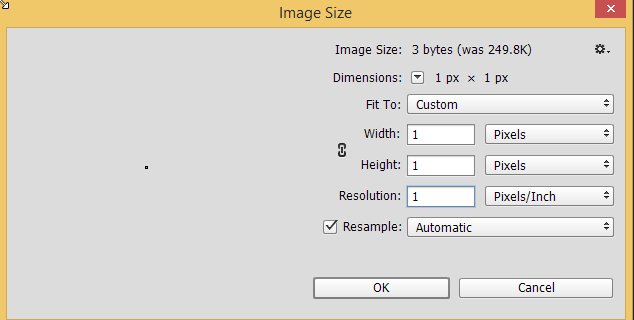
1. Select Width and set the number to 1 (Pixels)
2. Select Height and set the number to 1 (Pixels)
3. Select DPI (Resolution) and set the number to 1 (Pixels/Inch)
4. Resample should be set on Automatic
5. Change Resolution to 300 Pixels/Inch (You must change this first)
6. Change Width to 1500 Pixels
7. Change Height to 500 Pixels
8. Resample should be set on Automatic
9. Select OK
This is this image size of the picture when the dimensions are entered in correctly.
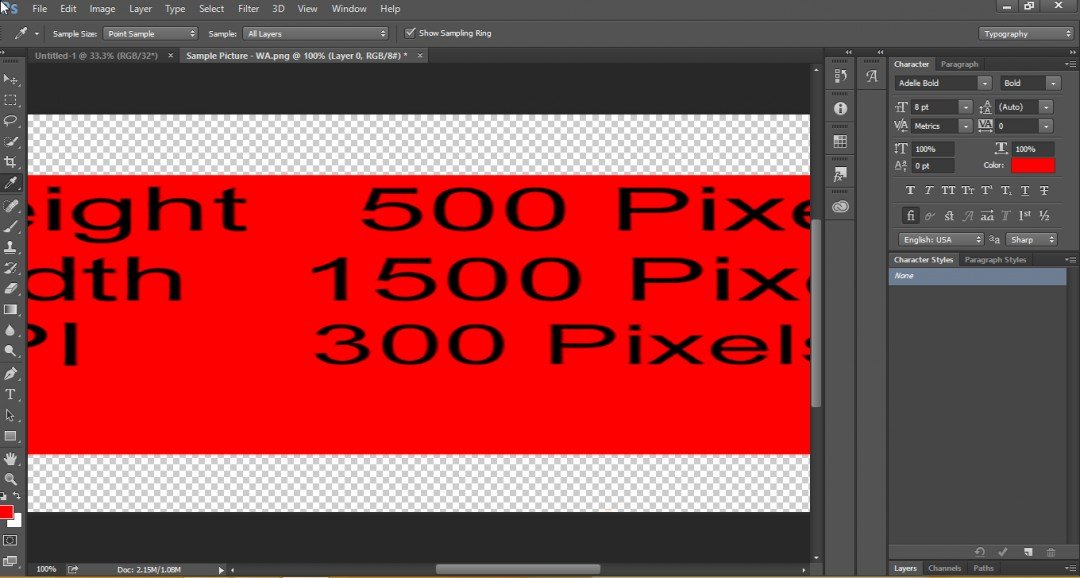
Photo Shop - Saving the Picture
1. Select File

2. Select Save As
3. Then all you have to do is save the picture on your computer. I use PNG.
I will show you the final result of the Page.
1. Go back to Add New Page that is located on the separate tab and if it is not on the separate tab then you will have to go back to open New Page in Word Press.
2. Select Set Featured Image

3. Select Upload Files
4. Select Select Files
Choose the picture from your computer. Click on the picture.
5. I choose to leave the Title blank. It is your choice either to leave it blank or have a title.
6. Select Set Featured Image
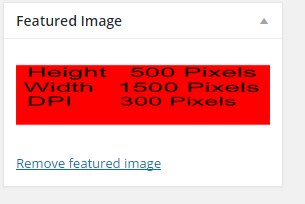
Now I will show you the final result of the Featured Image on my Sample Page.
Preview Page
1. Select Preview
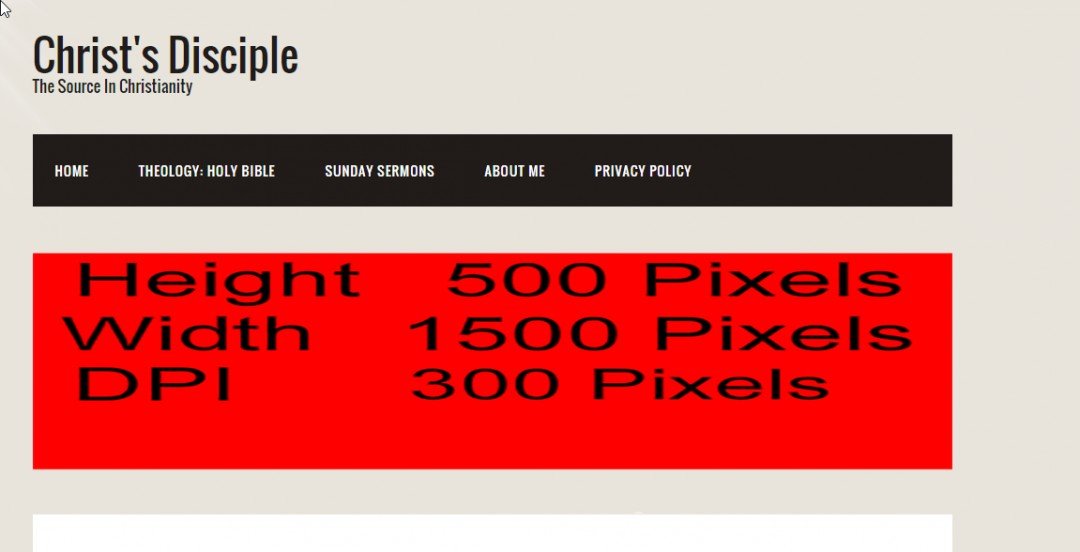
WALLAH! There you have it! This is the final result of the Featured Image on my Sample Page.
And this was the tutorial "Applying Photo Shop to Featured Image - Pages"
If you have any questions about this post, feel free to send me one and I will do my best to answer.
Cheerio.
Join FREE & Launch Your Business!
Exclusive Bonus - Offer Ends at Midnight Today
00
Hours
:
00
Minutes
:
00
Seconds
2,000 AI Credits Worth $10 USD
Build a Logo + Website That Attracts Customers
400 Credits
Discover Hot Niches with AI Market Research
100 Credits
Create SEO Content That Ranks & Converts
800 Credits
Find Affiliate Offers Up to $500/Sale
10 Credits
Access a Community of 2.9M+ Members
Recent Comments
4


Join FREE & Launch Your Business!
Exclusive Bonus - Offer Ends at Midnight Today
00
Hours
:
00
Minutes
:
00
Seconds
2,000 AI Credits Worth $10 USD
Build a Logo + Website That Attracts Customers
400 Credits
Discover Hot Niches with AI Market Research
100 Credits
Create SEO Content That Ranks & Converts
800 Credits
Find Affiliate Offers Up to $500/Sale
10 Credits
Access a Community of 2.9M+ Members
Thankyou, I will use this! :)
You are welcome.