Deal With That Pesky HTTPS Error When Uploading Images Once And For All!


Published on July 19, 2016
Published on Wealthy Affiliate — a platform for building real online businesses with modern training and AI.
Well, Bill, I am that dude. Hello fellow WA users! Today I'm just going to discuss quickly how to get around that pesky https error once and for all. I'm sure many of you have been stopped in your tracks by it as I have. As I understand, it has something to do with the Wordpress servers being overloaded / down for maintenence, whatever. But when you've been grafting all day, on a day off work and it's uploading time, and WP says in red writing 'https error', I know it's damn frustrating.
You just want to get that shiny new post out into the world and now WP has decided it doesn't like you, basically. What I'm about to discuss here is not a direct fix. But it's a damned easy workaround. I did try the tutorial builder here but this is so easy it only took two pages and that decided it didn't like me either, so here we are.
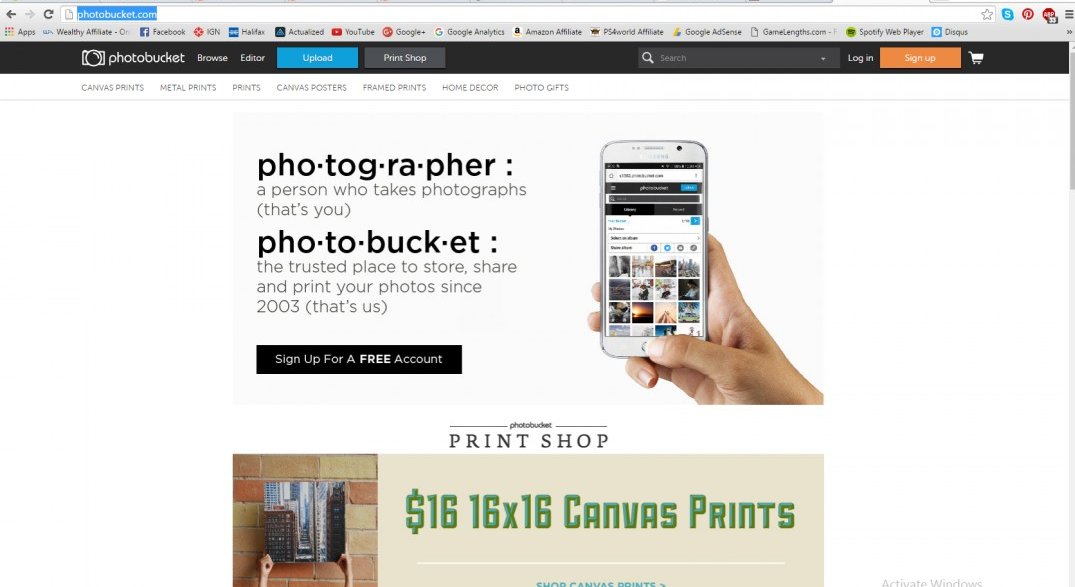
- Good ol' fashioned bullet points will get us through this! First off, you'll want to head over to http://photobucket.com/ and sign up. (May seem like a departure but stick with me)
- I recommend signing up with your gmail account as, doubtless, many of you are already on Google+ and everything will just sync up nicely.
Ready to put this into action?
Start your free journey today — no credit card required.
- Once you're staring at the barren white landscape of a new Photobucket profile, you'll want to click that blue 'Upload' button on the top of the screen there.

- Next, you can go ahead and upload any image you please from your computer. Pro tip - you'll be using this site a lot in the future so bookmark it up. Also - time to get smart! When you upload an image for the first time, create an album name for it. Things are going to get cluttered as time goes on and we don't like clutter.
- When your image is done uploading, you can view it properly and on the right hand side, you'll see a set of weird looking links. The one that fixes our problem is the HTML link.
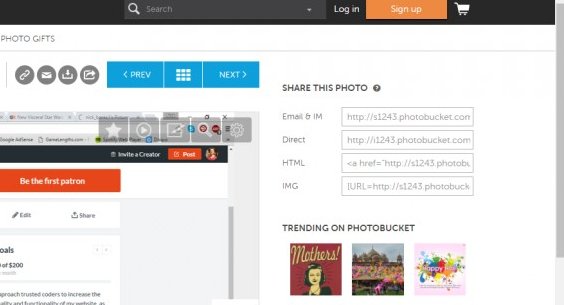
- Click that link and the lovely Photobucket will copy it for you!
- Then paste that link into the text based version of the article you've been working on. (wherever it was that you wanted it, obviously)
- Go back to visual and, hey presto, there it is!
That's right, folks, you're basically just embedding images, as you would for a YouTube video. Of course, these won't save into your WP image library but as you can see, this leaves the https error eating your dust as you race to finish line.
One last pro tip - you can use these html links to create your own custom widgets! I haven't yet found out any more handy applications but if you guys stumble across any, be sure to let me know.
Yours Truly,
Nick Banks
Share this insight
This conversation is happening inside the community.
Join free to continue it.The Internet Changed. Now It Is Time to Build Differently.
If this article resonated, the next step is learning how to apply it. Inside Wealthy Affiliate, we break this down into practical steps you can use to build a real online business.
No credit card. Instant access.