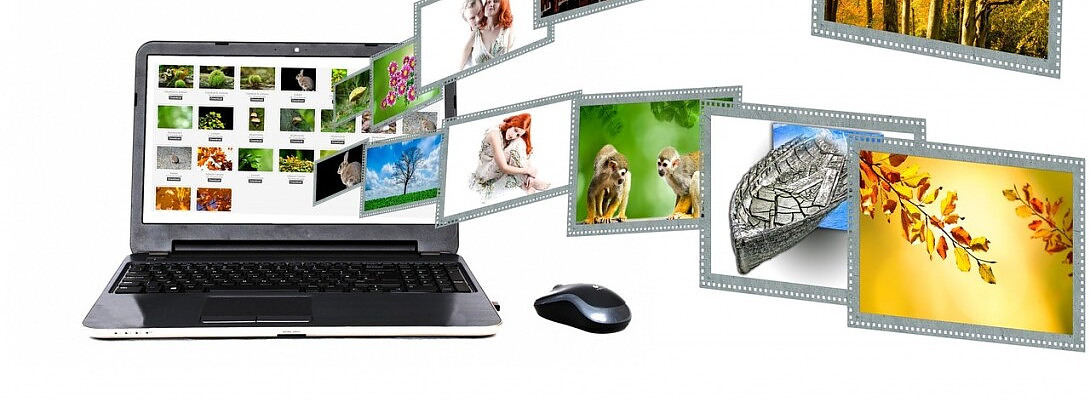
How to Create Images for a Website


Published on June 13, 2024
Published on Wealthy Affiliate — a platform for building real online businesses with modern training and AI.

Ready to stand out from your competition, we are going to learn how to create images for a website. Creating unique images can make you stand out from the rest, so let us see how you can do this now.
Creating images for a website has several pros and cons to consider
Pros
- Visuals can make a website more engaging, attractive, and memorable. Well-designed images can capture the user's attention and enhance the overall user experience.
- Images can effectively communicate complex ideas or concepts that might be difficult to explain with text alone. This is particularly useful for products, tutorials, or infographics.
- Custom images, such as logos, product shots, and lifestyle photography, can help reinforce brand identity and make a website more recognizable and memorable.
- Relevant and compelling images can encourage users to spend more time on a website and interact with the content, potentially leading to higher engagement metrics.
- Optimized images with relevant alt text and file names can improve a website's visibility in search engine results.
Cons
- Large or unoptimized images can significantly slow down a website's load times, leading to a poor user experience, especially on mobile devices or slow internet connections.
- Using images without proper licensing or permission can lead to legal issues, such as copyright infringement claims or lawsuits.
- Managing and updating a large number of images on a website can be time-consuming and require ongoing effort, especially if the website's content changes frequently.
- Images without proper alt text or descriptions can create accessibility barriers for users with visual impairments or those using screen readers.
- Creating visually appealing and consistent images can be challenging, especially if you lack design skills or resources. Poor image quality or design can negatively impact the overall website experience.
it's essential to optimize images for web use (e.g., compressing file sizes, using appropriate file formats), ensure proper licensing or attribution, and follow best practices for accessibility and SEO. Additionally, developing a consistent visual style guide and maintaining a well-organized image library can help streamline the image management process
Free resources that you can use to create high-quality images
- Canva is a popular online graphic design tool that offers a user-friendly interface and a vast library of templates, fonts, and design elements. You can create various types of graphics, including social media posts, presentations, and website graphics.
- Pexels is a free stock photo library with a wide range of high-quality images that you can use for personal and commercial purposes without attribution.
- Unsplash is another popular source for free stock photos. The images are contributed by a community of photographers, and they are available for personal and commercial use without attribution.
- Pixabay offers a vast collection of free stock images, illustrations, vector graphics, and videos that you can use without attribution or licensing fees.
- GIMP is a free and open-source image editing software that provides a wide range of tools for photo retouching, image composition, and image authoring.
- Inkscape is a free and open-source vector graphics editor that you can use to create scalable vector graphics (SVG) for your website.
- Vectr is a free, web-based vector graphics editor that allows you to create and edit vector graphics directly in your web browser.
- Google Fonts is a library of open-source fonts that you can use on your website for free.
- Font Squirrel is another resource for free, high-quality fonts that you can use for both personal and commercial projects.
- Color Hunt is a free resource that provides color palettes that you can use for your website design or graphics.
Remember to always check the license terms and attribution requirements for any resources you use, and be mindful of copyright laws. Additionally, while these resources are free, you may need to invest time and effort to learn how to use them effectively.
Here's a step-by-step guide on how to create images
Determine the types of images you need for your website, such as logos, banners, product images, illustrations, or infographics.
Ready to put this into action?
Start your free journey today — no credit card required.
Choose your tools Based on your image needs, select the appropriate tools from the free resources available. For example:
- Canva is great for creating banners, social media graphics, and simple illustrations.
- GIMP or Vectr is suitable for more advanced image editing and vector graphics.
- Pexels, Unsplash, or Pixabay are excellent sources for free stock photos.
Set up your workspace Install the software you've chosen (if applicable) and familiarize yourself with the user interface and tools. Review any tutorials or documentation to get started.
If you're creating images from scratch, start by setting up a new project with the appropriate dimensions for your website. If you're using stock photos, browse through the libraries and download the images you want to use.
Use the tools provided by your chosen software or website to design and edit your images.
Here are some tips to get you started
- For logos and graphics, use vector graphics tools to create scalable designs.
- For photo editing, use tools like cropping, resizing, adjusting brightness/contrast, and applying filters.
- For banners and infographics, use templates or create your layouts with text and graphics.
- Pay attention to color schemes, typography, and branding consistency.
Optimize before using your images on your website, optimize them for the web to ensure fast loading times.
This typically involves
- Compressing image file sizes (e.g., JPEG compression for photos, PNG for graphics with transparency)
- Resizing images to the appropriate dimensions for your website
- Adding descriptive file names and alt text for accessibility and SEO
Export your images in the appropriate file formats (e.g., JPEG, PNG, SVG), and upload them to your website's server or content management system (CMS).
Once your images are live on your website, test them across different devices and browsers to ensure they display correctly. If needed, make adjustments and repeat the process until you're satisfied with the results.
Regularly review your website's images to ensure they're up-to-date and consistent with your branding. Update or replace images as needed to keep your website fresh and engaging.
Creating high-quality images for your website may require some practice and experimentation. Don't be afraid to try different tools and techniques to find what works best for your needs and skill level.
Final Thoughts
- Maintain a consistent visual style across all your website's images. Use the same color palette, fonts, and design elements to reinforce your brand identity and create a cohesive look and feel.
- Ensure that your images are optimized for both desktop and mobile devices. Consider using responsive images that adjust to different screen sizes and resolutions.
- Make sure your images are accessible to users with disabilities by providing appropriate alt text descriptions.
- Striking a balance between image quality and file size is crucial for maintaining fast load times. Use image compression tools and techniques to reduce file sizes without compromising visual quality.
- Design trends and user preferences for images can change over time. Keep an eye on current trends and be willing to update your website's images periodically to keep them fresh and appealing.
- While images can enhance the visual appeal of your website, be mindful of their placement and usage. Avoid cluttering your pages with too many images, which can distract users and slow download times.
- If you anticipate your website's content and image needs will grow over time, establish a scalable system for organizing and managing your image assets from the beginning.
- Always ensure that you have the necessary rights and permissions to use any images on your website, whether they are stock photos or custom-created assets.
- Regularly review your website's analytics and user feedback to identify areas where your images could be improved or updated to better serve your audience and achieve your business goals.
Creating effective and visually appealing images for your website is an ongoing process that requires attention to detail, creativity, and a commitment to continuously improving the user experience
Did this information help you?
Jeff
Share this insight
This conversation is happening inside the community.
Join free to continue it.The Internet Changed. Now It Is Time to Build Differently.
If this article resonated, the next step is learning how to apply it. Inside Wealthy Affiliate, we break this down into practical steps you can use to build a real online business.
No credit card. Instant access.