How to Create Facebook Reels With Kre8or


Published on July 22, 2026
Published on Wealthy Affiliate — a platform for building real online businesses with modern training and AI.

Hey Wealthy Affiliate Community, huddle for this blog, but also take a look at Kyle and Eric's recent posts. Kyle does a great introduction, and Eric's blog has the greater details.
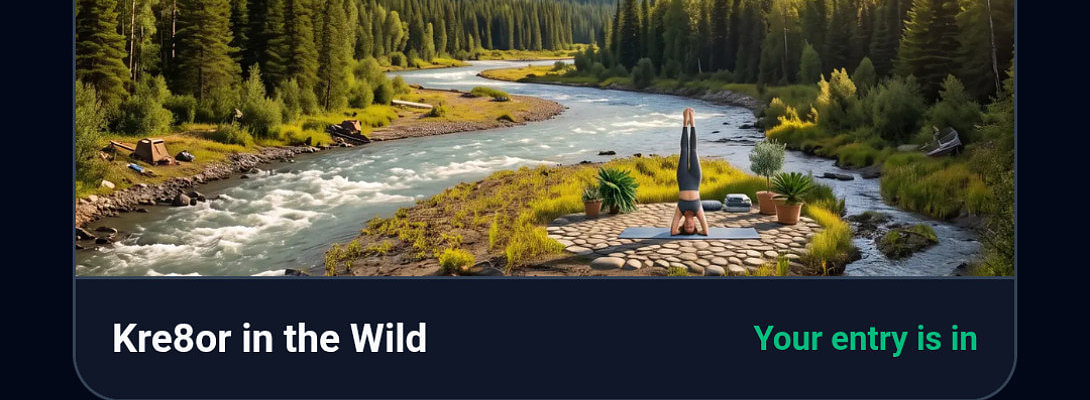
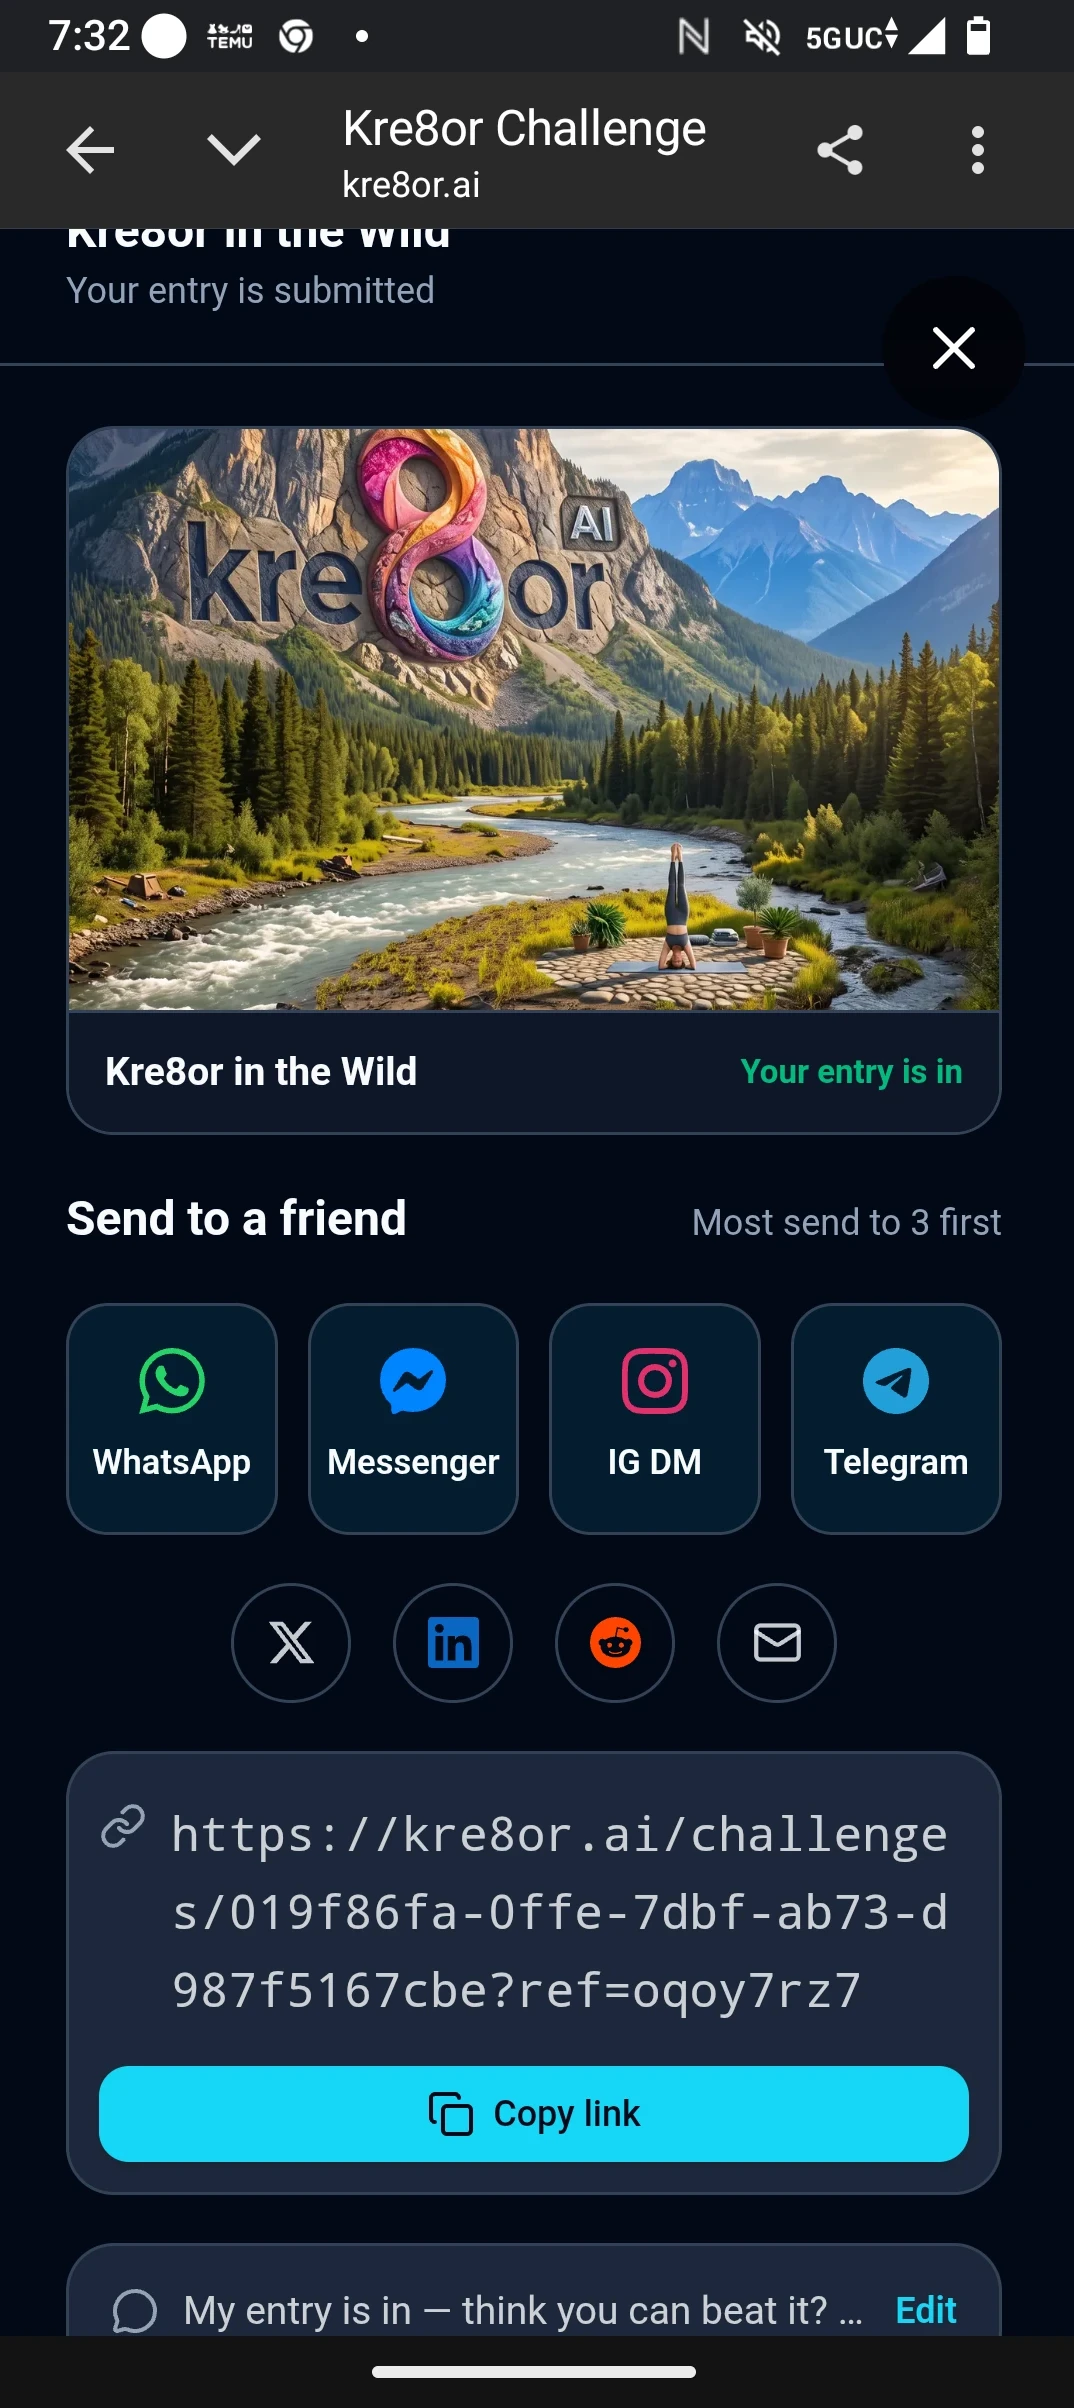
Here is an example of what if we use our image studio to help reference, and I think it turned out marvelous, but need your opinion.
How does it look? Please let me see your creations, if your ready to showcase your talents...
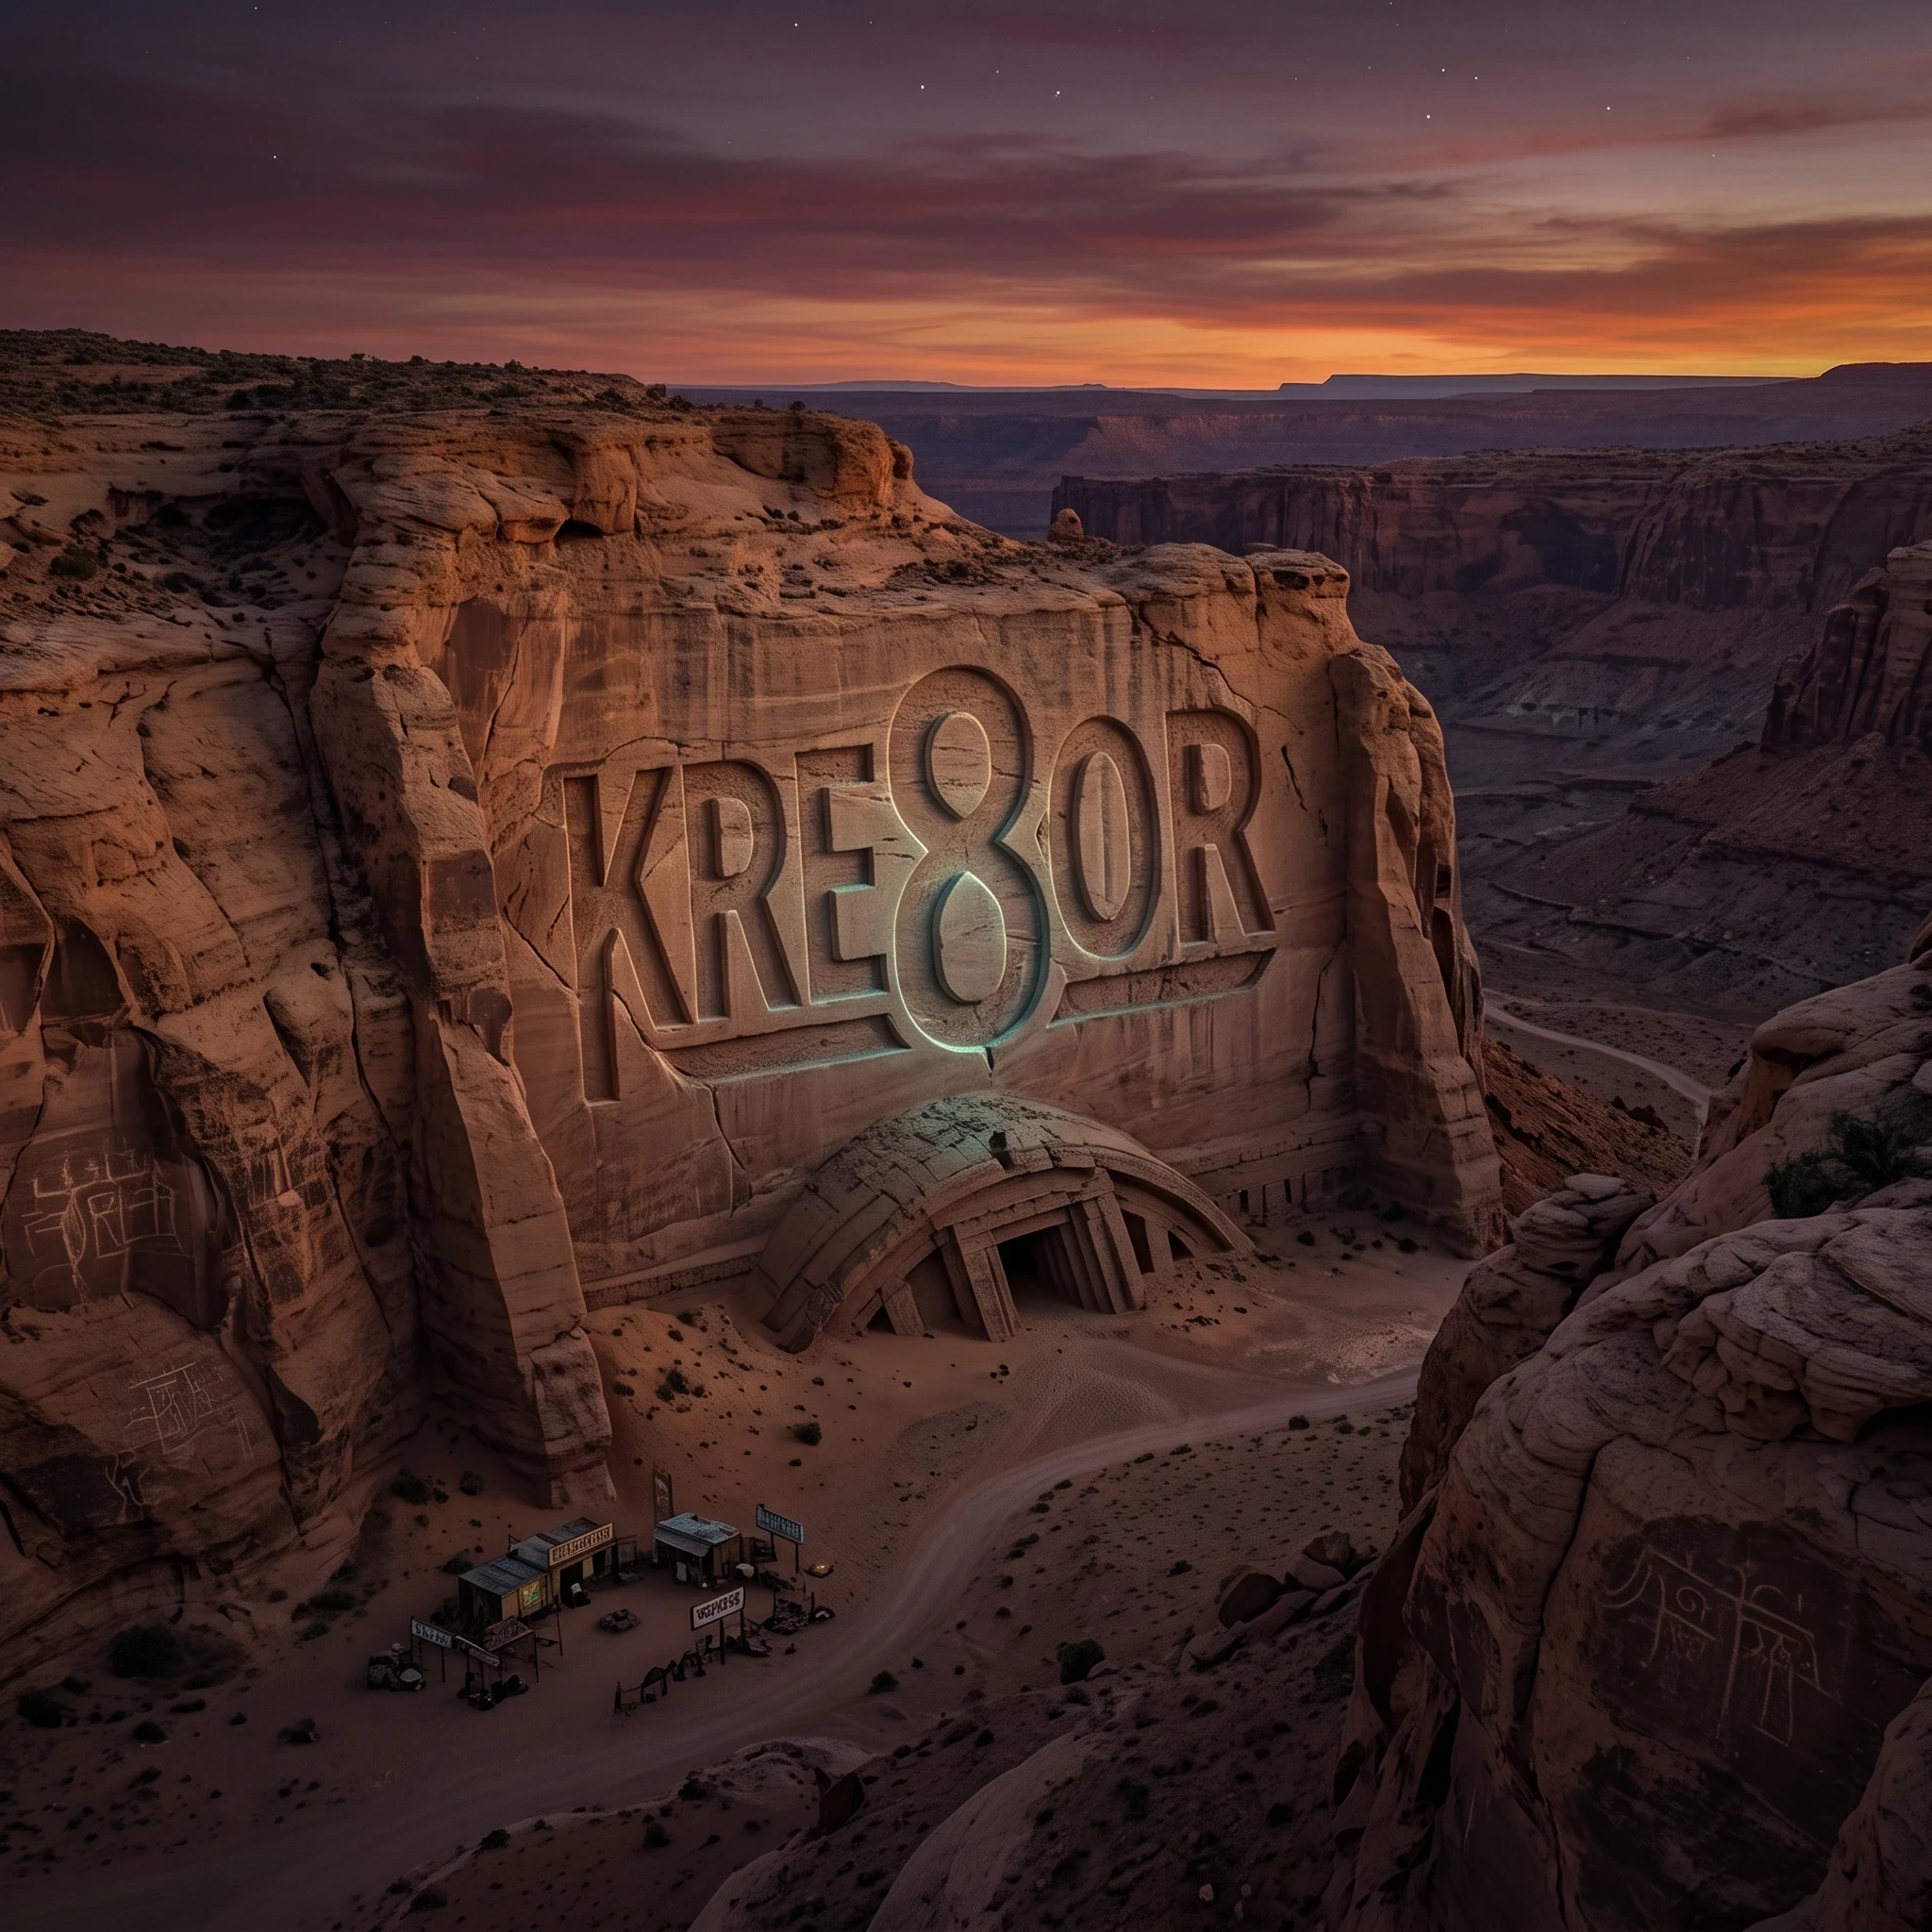
Now imagine our new creations take flight on Facebook. I'm trying out this idea, and made this blog a how-to.
That said, please do consult the experts, Kyle, Carson, Jay, EricCantu and all of the instructions that are rolling out . Let me know your thoughts in the comments.
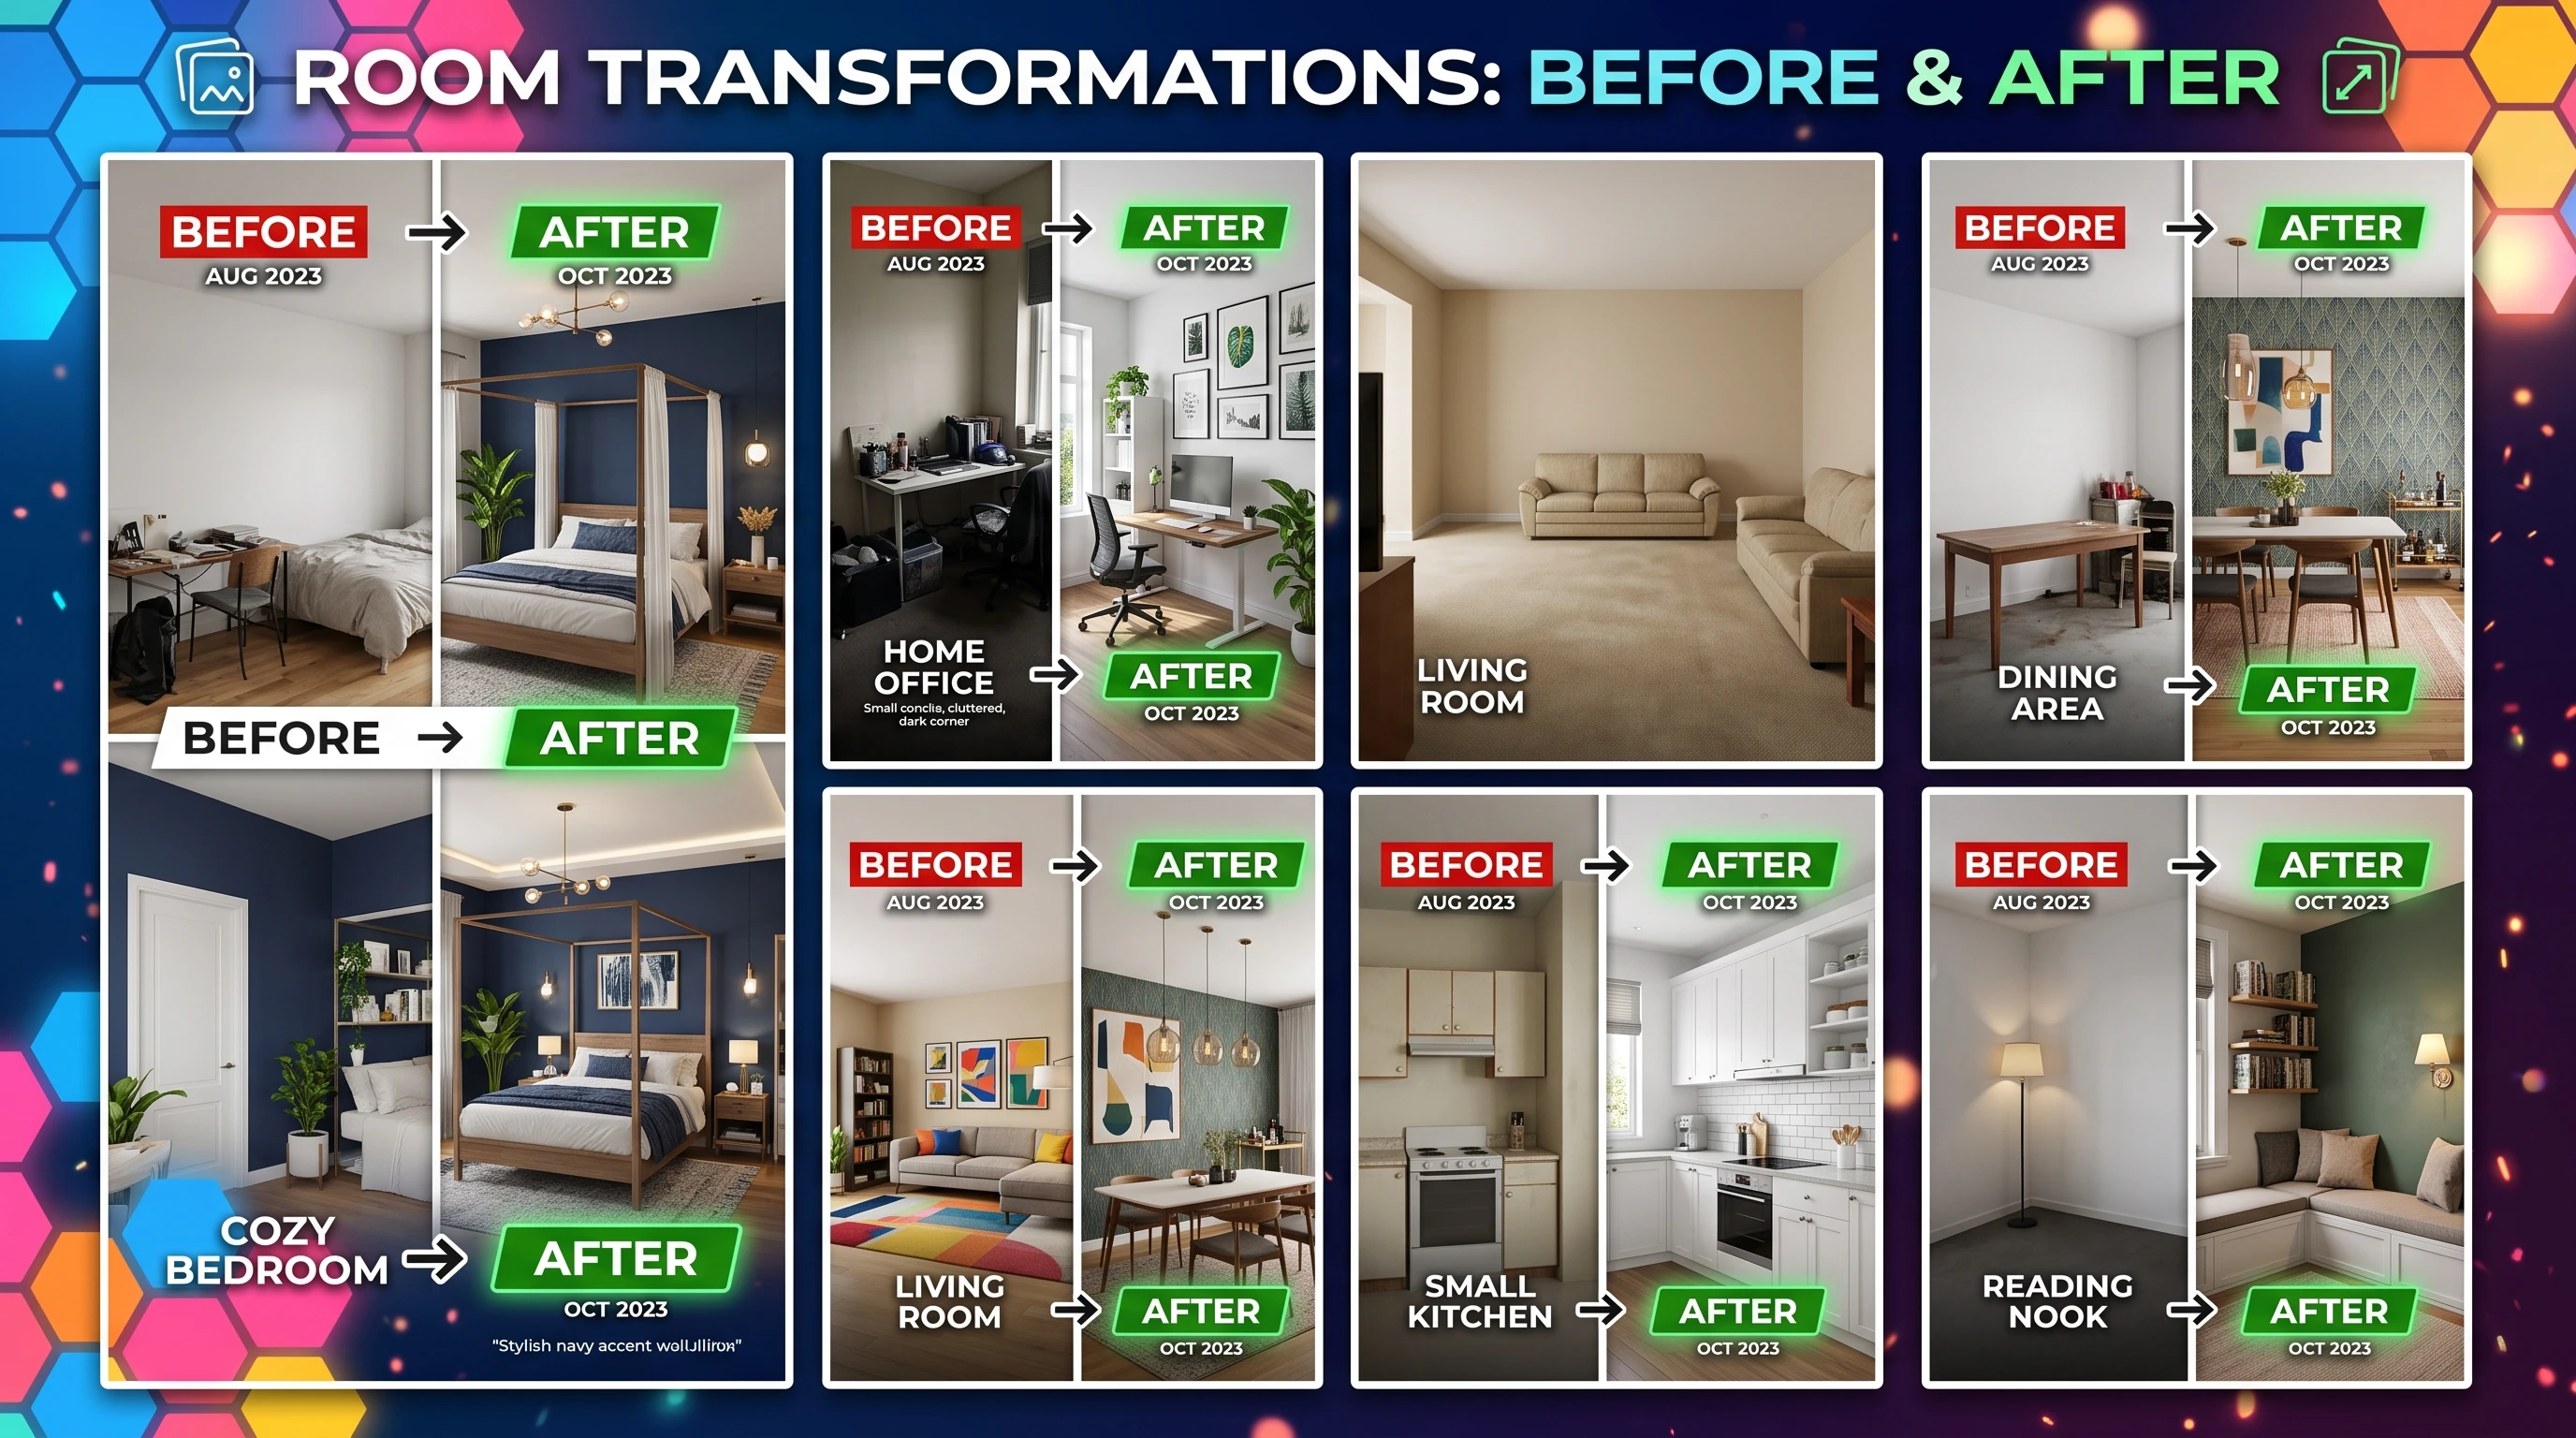
Creating Facebook Reels using visuals from Kre8or is one of my favorite ways to get viewer attention for before and after transformations, digital art reveals, or showing off process changes in design. Having an effective workflow makes the idea to publishing process both fun and easy, even if you're completely new to Facebook Reels or Kre8or.
Understanding Facebook Reels and Using Kre8or For Visual Content
Facebook Reels are short vertical videos (up to 90 seconds) that show up in feeds and suggestion pages, making them a great choice when we want creative projects, digital transformations, or art demos to get in front of a bigger audience. Kre8or is an AI image generation tool, perfect for making unique before and after shots, reimagined interiors, and quick mockups that turn plain concepts into surprising visuals. Combining both tools gives me a way to stand out without needing advanced video skills.
Anyone can make effective Reels by learning a few simple techniques. I don’t need professional video experience. Just a clear workflow and some practice with transitions, strong visuals, and attention catching captions.
Step 1: Generating and Saving Kre8or Images
First, I set up the visuals. Kre8or lets me choose a prompt and create different versions of a scene, design, or artwork. I often make two or three images for each project, like a plain room, a mid transform phase, and the final completed look. Timing the visual reveal keeps swipe happy viewers watching longer.
- Choose Your Base Image: I start with a “before” picture, either created with Kre8or or uploaded as a reference. For a simple example, I might use a photo of a plain living room.
- Generate the Transformation: Next, I run a prompt in Kre8or to deliver the “after” result. This could be the same room redesigned using a modern style, different color schemes, or even wild sci fi elements.
- Download High Resolution Copies: I always export images in the highest possible resolution. Downloading to my phone or desktop helps avoid pixelation or blurry results during video editing.
- Grab Your Kre8or Share Link (Optional): If I want viewers to interact with my prompt, test it themselves, or use my affiliate link, I copy the remix/share link for use in the final caption or comments.
Step 2: Turning Images Into a Vertical Video
Facebook Reels only accept vertical videos (9:16 ratio), so it’s really important to take those Kre8or images and turn them into a short video file. There are several easy methods. Sometimes I use Facebook’s in app tools, but apps like CapCut or Canva give more flexibility and smoother effects.
Ready to put this into action?
Start your free journey today — no credit card required.
Making Reels With the Facebook App
- Start a New Reel: In the Facebook app, I tap the Reels tab, then hit “Create Reel.”
- Select Kre8or Images: From my gallery, I tap in order: first the before, then the after. I use "Select Multiple" if needed.
- Apply Transitions: Using built in effects, I sometimes add a swipe, fade, or pop in to keep things interesting as the image switches from "before" to "after."
- Adjust Timings: Most viewers have a short attention span, so I keep the first image visible for around 1.5 to 2 seconds, quickly moving to the finished result.
Making Reels With CapCut or Canva (Recommended for More Effects)
- Start a 9:16 Vertical Project: In CapCut or Canva, I create a new video and select vertical 9:16 as my project aspect ratio.
- Upload Images in Sequence: I drop the before image first, then the after, and sometimes a "midway" design for extra drama.
- Add Transitions and Movement: Simple effects, like a gentle zoom in, a slow pan, or animated morph, make my slideshow video look polished. I avoid overdoing effects, since too much can distract from the main visual punch.
- Export as MP4: After previewing, I export in 1080p to keep the video clear and crisp for Facebook upload.
Step 3: Polishing and Customizing the Reel
After getting my basic video ready, I add a few finishing touches. These details make my Reel more engaging and help reach new viewers.
- Add Trending Audio: Music and sound effect tracks add a vibe to my Reel. I browse the Audio section for music that matches the mood. Dramatic for big reveals or upbeat for fun transformations. Trending tracks often boost discoverability.
- Overlay Text and Visual Hooks: I put a short text “hook” like “Watch this AI Room Makeover!” or “See how I transformed this sketch.” The overlay appears at the start and fades out just as the reveal appears.
- Layer on Stickers or Emojis (Optional): Sometimes I add a quick sticker or arrow to draw attention, but I avoid cluttering the visual since the images should stand out on their own.
Step 4: Writing an Effective Caption and Publishing
Captions can really help my Reel perform, especially if I want viewers to get involved or try Kre8or themselves. Being clear and direct gets the best results.
- Start With a Clear Headline: I use something simple like “AI Designed This Dream Bedroom!” to catch interest.
- Explain The Reel in a Sentence: A short description gives context, such as “Compared a real room to its AI redesign. Which would you pick?”
- Include Kre8or Links or Prompts: If I want to share my prompt or invite remixing, I drop the Kre8or share link here.
- Add Hashtags: I include hashtags for both reach and relevance, like #FacebookReels, #AIDesign, #Kre8or, or #RoomTransformation.
- Mention Teamwork or Inspiration (Optional): I sometimes tag Kre8or or other creators for more potential shares and credit.
After a last preview, I hit Publish and add the reel to my story or page for wider exposure.
Common Challenges with Facebook Reels from AI Images (And How I Solve Them)
While making these types of Reels, I find a few hurdles crop up, mostly around image sizing, pacing, or making sure my content doesn’t look too much like an ad.
- Blurry or Cropped Images: Downloading the largest file size from Kre8or and using a 9:16 template from the start help prevent quality loss.
- Too Slow or Fast Transitions: Testing different timings and previewing the video lets me find the best pacing for attention. Typically, I keep each image on screen for two seconds or less.
- Copyright or Music Restrictions: Using only approved or in app music means my Reel won’t get muted or restricted after posting.
- Boring Slideshows: Adding just a touch of movement (zoom, slide, overlay text) goes a long way. Crowded visuals or too many effects can make videos hard to watch.
Helpful Tips for Making Eye-Catching Reels
Based on my experience, here are a few helpful extras to give a boost to your results:
- Use Contrasting Before and After Reveals: The more dramatic the transformation, the stronger the viewer reaction, especially when there’s a clear difference between start and finish images.
- Keep Branding or Inspiration Subtle: Quick watermarking with my handle in a corner keeps credit safe without dominating the video.
- Stay Consistent With Style: Repeating similar Reel formats or visual styles builds a recognizable look and makes regular viewers more likely to stop scrolling and watch.
- Monitor Performance: Checking insights for likes, comments, and shares helps me learn what worked for future posts.
Practical Uses for Facebook Reels Made with Kre8or Images
People use this combo for more than just fun art. Here are some ideas I find especially useful:
- Interior Design and Architecture: Showing space makeovers, remodel previews, or color swaps in a few simple transitions.
- Digital Art Portfolios: Sharing a creative process, such as "pencil sketch to vibrant painting" in rapid sequence.
- Product Design: Comparing a hand drawn mockup to the AI enhanced finished product.
- Social Media Marketing: Making quick transformation videos for businesses, like salon styles, pet grooming reveals, or storefront upgrades.
Frequently Asked Questions About Creating Reels With Kre8or
Here are some questions I often get from friends and followers:
Question: Can I use more than two images in a Reel?
Answer: Yes, I can use as many images as I want, but viewers respond best when transitions are smooth and each step feels connected. Three to four images usually work great, like before, midway, and after.
Question: What’s the ideal video length for Facebook Reels?
Answer: I usually keep Reels under 30 seconds to match most people’s attention spans. However, going up to 60 or even 90 seconds is fine if there’s a strong story or transformation to show.
Question: Are there free tools for video editing?
Answer: I use Canva for most projects, since both offer free versions with plenty of features like aspect ratio settings, transitions, text overlays, and music integration.
Making Facebook Reels with Kre8or made images is a creative and efficient way to showcase transformations, tell visual stories, and attract new followers. With a little planning and practice, anyone can share high quality content, connect with their audience, and enjoy producing viral ready Reels that truly build your business.
Share this insight
This conversation is happening inside the community.
Join free to continue it.The Internet Changed. Now It Is Time to Build Differently.
If this article resonated, the next step is learning how to apply it. Inside Wealthy Affiliate, we break this down into practical steps you can use to build a real online business.
No credit card. Instant access.