Lesson 1: Creating Post-Worthy Images in Canva
*Note: This training assumes you will be able to setup and create your Instagram and Canva profiles and usernames and passwords.
Instagram is all about the images, and by default all the images you will be posting on Instagram are square with a pixel size of 1080 x 1080.
This first 3 steps of the training "Using Canva stock images" is essentially a repeat of the steps I included from my post “Instagram Made Simple Using Canva.” You can re-read the post here:
Instagram Made Simple Using Canva
Steps 4-7 of the training "Using Your OWN Images" shows how to modify your OWN images in Canva, and then download them to your computer. You then save these from your computer to your smartphone, as all posting on Instagram is only done using your smartphone.
Here from Steps 1-7 is the only time I use my desktop (or laptop) computer, to create my images in Canva. However, you can create the same images using the Canva app on your smartphone, but I prefer using Canva on my desktop to create images as it is much quicker and easier to me.
The final Steps 8-12 "Downloading Images Using the Canva Smartphone App" demonstrate how to download all of your images from Canva using the Canva app on your smartphone once you've completed Steps 1-7. This is the EASIEST way to download your images.
Using Canva stock images
1. Once you have created a username and password and have logged into Canva, go to the top of the main page “Create a Design” and to the far right click “More.”
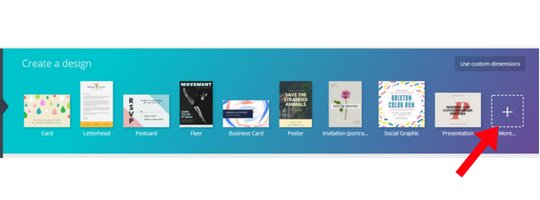
This will bring up 62 different templates, 7 of which are social media templates.

2. At the far right of “Social Media Posts”, click “Instagram Posts”. This is where you “drag and drop” your image which is set at the Instagram default size of 1080 x 1080.
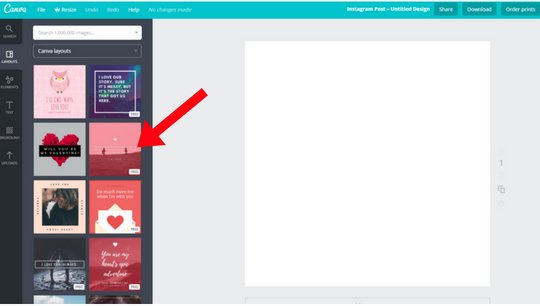
3. You can select one of the default images provided from Canva in the far left column (see below)

Using Your OWN Image
However, the majority of the time I use my OWN images saved from my computer or another drive, and then I will modify each of these images in Canva before posting to Instagram.
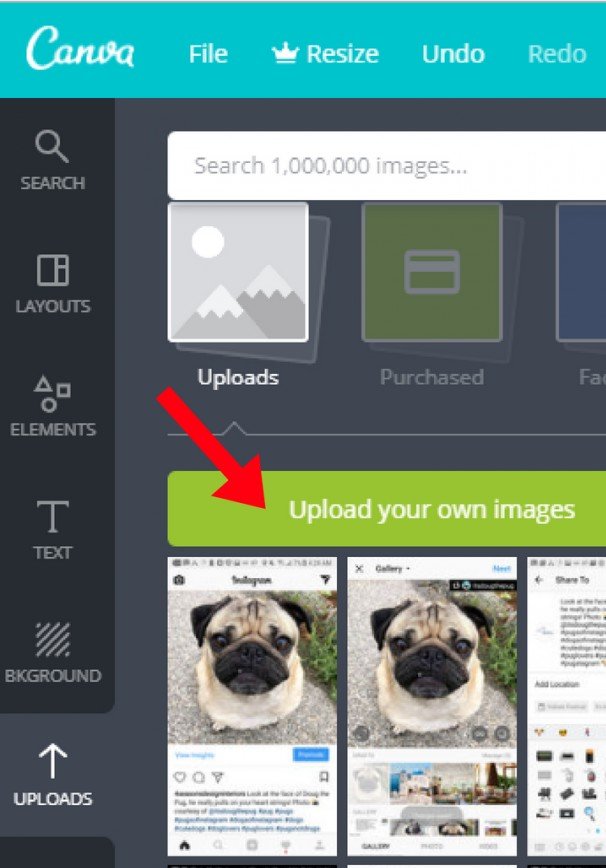
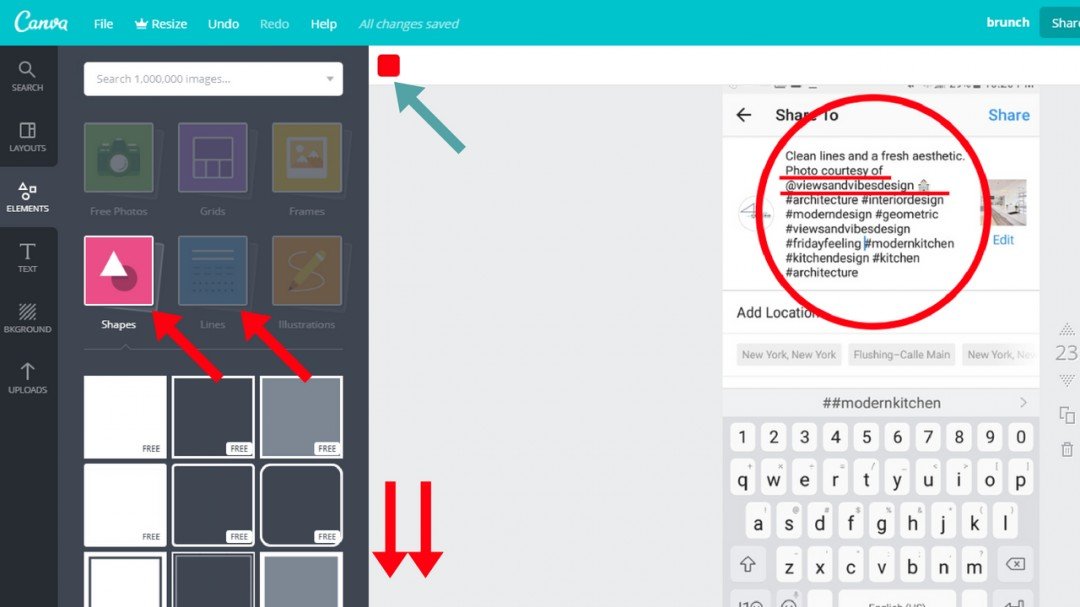
4. From the upper left column in Canva, select "Uploads",
Then upload one of your own images from your computer or from another source drive by clicking "Upload your own images".
5. On the far left, choose from Elements, Text, Background, Layouts. Then use some of the FREE cool design tools i.e. Shapes, Lines, Illustrations, Free Photos, Icons, etc..
You can change Elements, Text, Background, Layouts to any hexagonal HTML colors.
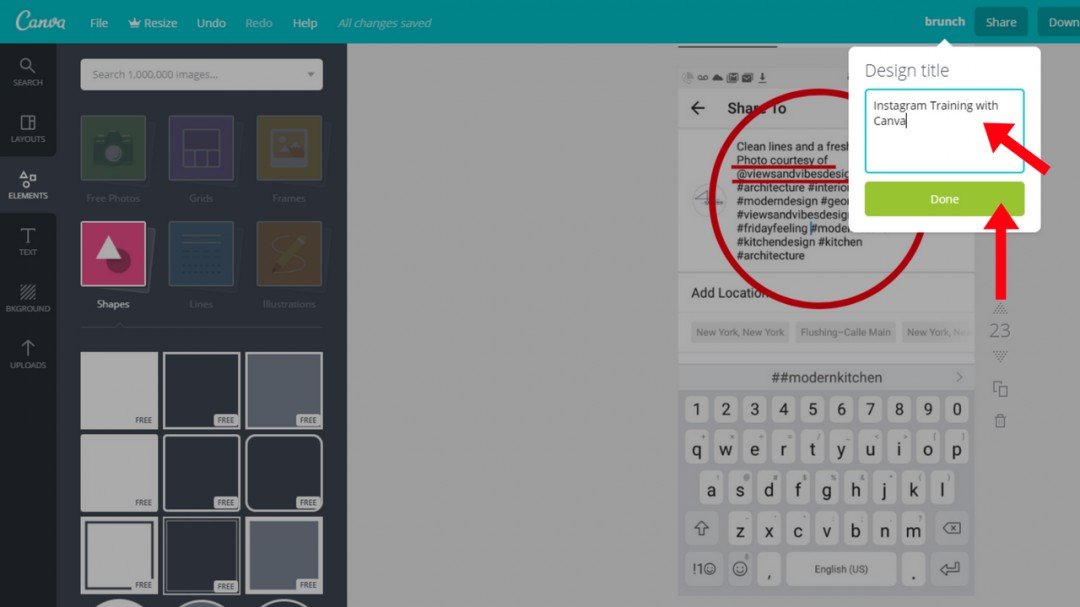
6. Rename the Design Title to your page. Click "Done."
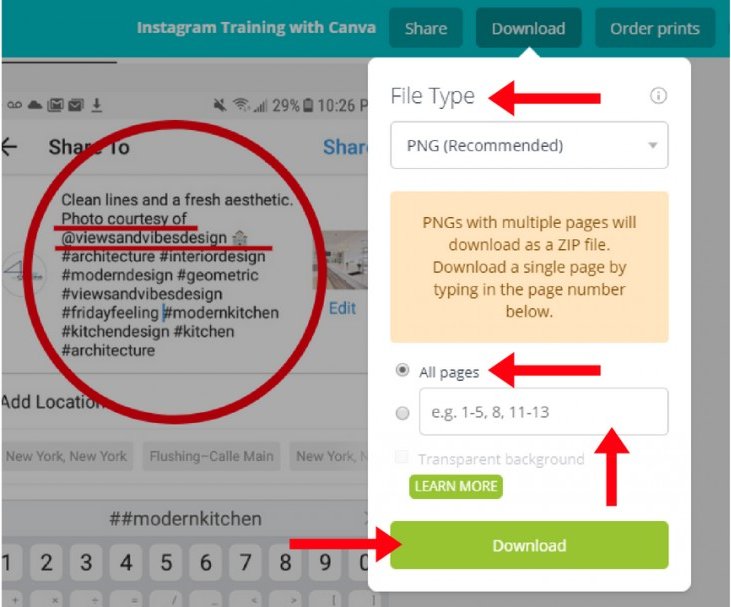
7. To download files to your computer, Click “Download” in the top tool bar, and a drop down menu will appear. Then select “File Type”.
Next select “All pages” or multiple pages of a page range e.g., 1-5, 5-8, etc.
The maximum limit for the FREE version is 30 pages per file. All files containing more than one page is downloaded as a zip file. Each “page” within a file can contain multiple images, text, graphics, or multiple icons.
Once all of your images are modified to satisfaction, click “Download”.
You will then need to transfer your Canva images from your desktop to your smartphone, as all Instagram posting is dome from your smartphone.
The way I do this is either by transferring my Canva images to my Google Drive then saving them in my image gallery of my phone. Or I will email myself these images and save them on my phone to my image gallery.
But there is a MUCH easier way.
Downloading Images Using the Canva Smartphone App
Alternatively,you can download the FREE Canva app to your smartphone and then download your images from the app. This is the easiest and most efficient way to download ALL your Canva images once you've created them on your desktop or laptop.
Here is how:
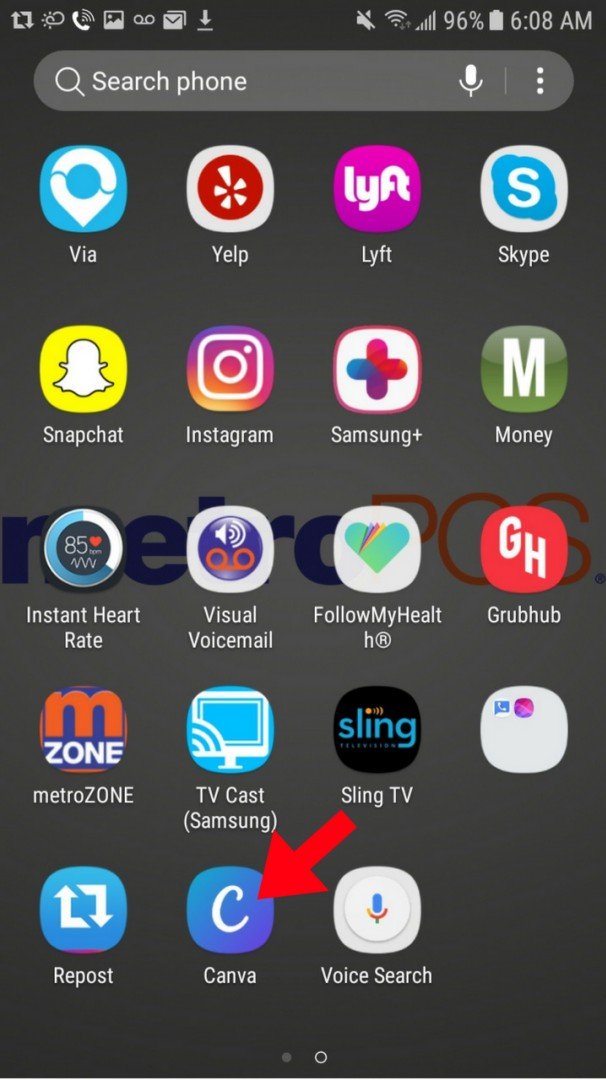
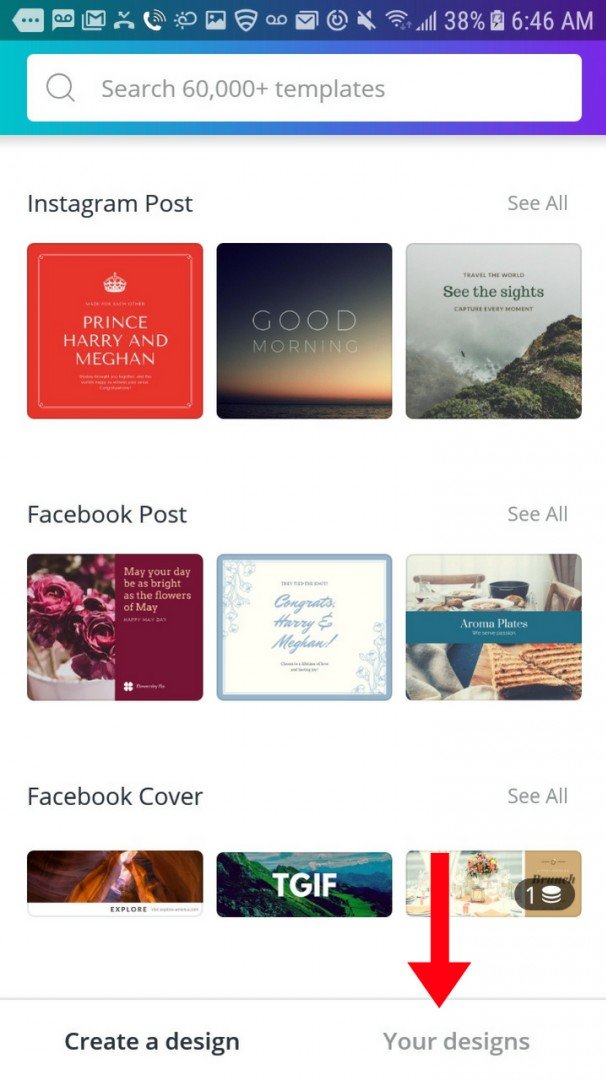
8. From your smartphone, select the Canva app icon.
9. On the bottom right of the next screen, select “Your Designs”
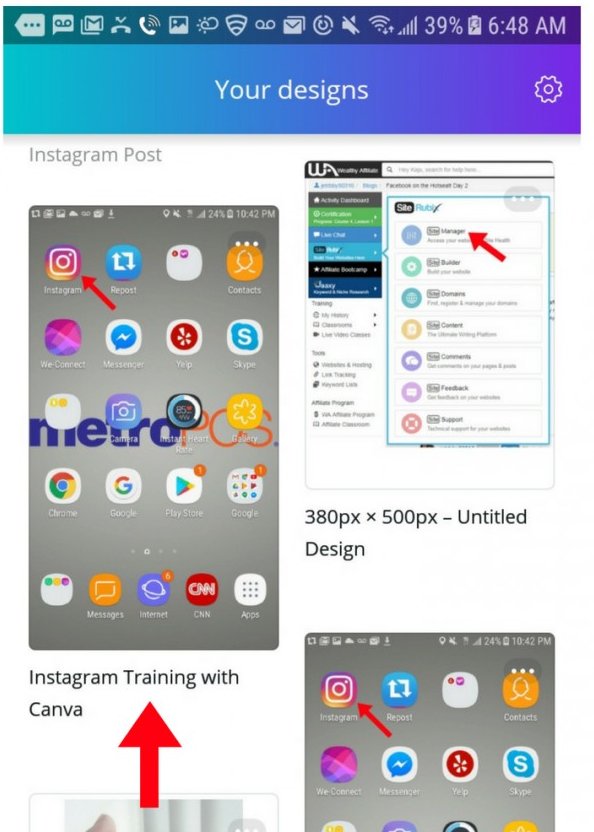
10. On the next “Your Designs” screen, select the file you want to download (in this case my file was “Instagram Training with Canva”)
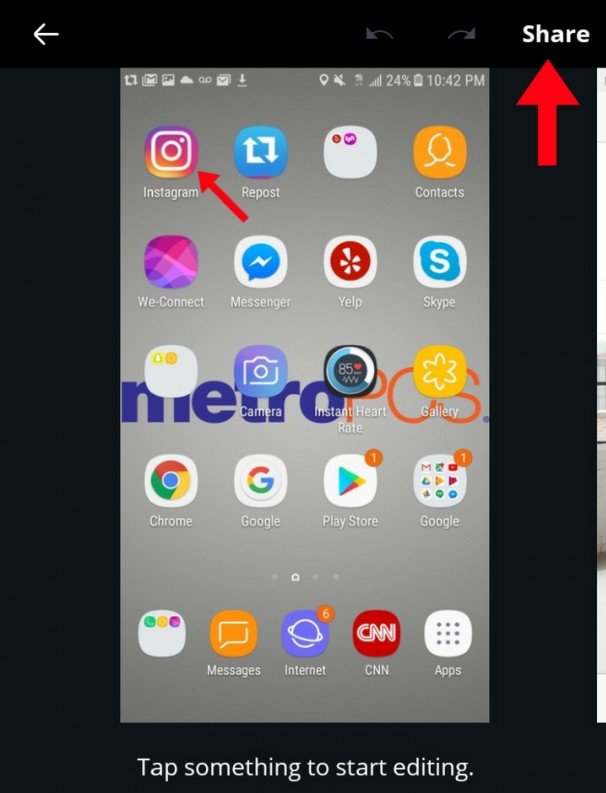
11. On the next screen, select “Share”. This will start the download process.
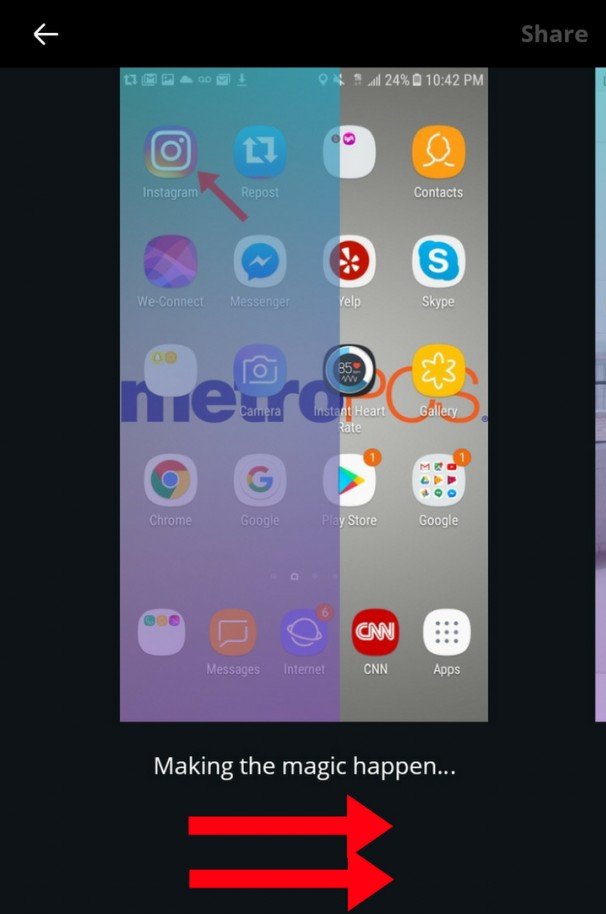
12. Downloading of the file (including all images) will be complete when the “shaded screen” completes its full movement across from left to right.
Okay,once you’ve completed these steps, go to Lesson 2 by clicking “Next Page.”