I chose Other and I am now offered further options to select my picture. The main panel shows previous pictures I have used. See, not many, I've only just started using it.
I have chosen "Pick from Windows" so I can go to any directory on my PC.

Whilst you had your bathroom break, I used the normal Windows explorer method to locate and select the picture I needed. It is now in the Instagram assembly area and I can go through the process of cropping, and picking the various settings to enhance it if I choose.
I will skip the enhancement process in the interest of time and go right to the pre-post stage where I get to put in comments and descriptions.

I have pasted some text into the comment area. This includes the URL to my site relating to the picture as well as some hashtags for good measure. Obviously you can go through and update the other areas as appropriate.

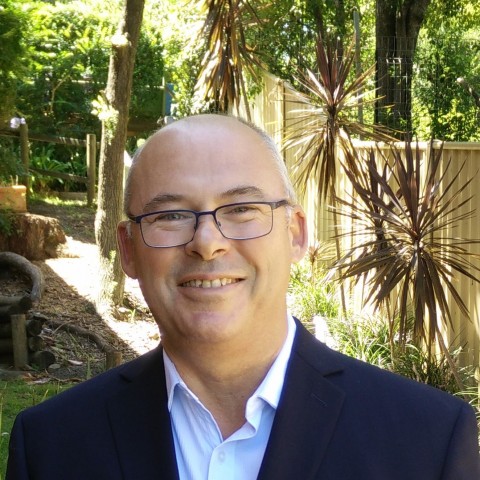
Here we have our finished product. A nice photo post with the appropriate text and links to help us publicise our great works.
I don't maintain to be an expert, nor that this is the definitive way to do it, but it works for me and it has me promoting nicely on Instagram.
If you want to follow me, I am peterdoornbos. I will follow you back.

~Rae Anne